Local livestreaming (old)
In this page
Single-sensor Livestreaming →\ Local Livestreaming [Multi-Perspective] →
Local live streaming refers to sending a Depthkit stream to another app (for example Unity) running on the same computer via Spout. This is the foundation of all forms of Depthkit live streaming, and can be augmented to send the live stream over a local network, or over the internet via peer-to-peer connections or broadcast infrastructure.
This method of live streaming has some benefits and trade-offs:
- Ultra-low latency - The delay between Depthkit and the receiving app is nearly imperceptible.
- High-performance PC required - Because one computer handles both the capture of Depthkit sensor data as well as the 3D reconstruction and rendering, a high-performance computer with a powerful CPU and GPU is required.
Single-sensor Livestreaming
This guide will walk through how to set up local live-streaming from Depthkit into Unity with a single sensor.
Live-streaming from Depthkit requires both the Depthkit application as well as the Depthkit Expansion Package for Unity.
Getting started in Depthkit
- Launch Depthkit and ensure your license reads Depthkit Pilot. Create a new project.

- By default, the application will launch in the Pair Camera workspace. Head over to the Record workspace tab or navigate there by going to the View menu and selecting Record.

- Under Edit → Preferences, select Enable Record Context Live Stream under Live streaming settings. Make note of the Discoverable Live Stream Name.


📘 Livestreaming Resolution Adjustment
To scale the Depthkit livestream down - for example, to fit within the constraints of a broadcast pipeline's resolution - adjust the Live Output Texture Maximum Width/Height sliders.
🚧 Please note that Body Index in the live stream is currently only available for the Kinect for Windows v2.
- Once enabled, you should see a notification in the upper left corner of the 3D viewport confirming that Livestreaming in enabled.

- In your Depthkit project, go to your Exports folder and locate the livestream_meta text file. You will need this file for Unity.

Configuring a Unity project for Livestreaming
- Launch Unity and create a new project. For this guide, we will get started in the Built-in Render Pipeline with Unity 2019.4 LTS.

- Under Edit → Project Settings → Package Manager, expand Scope Registries. Add a new registry.

-
Enter the following information for the New Scoped Registry:
-
Name: Keijiro
- URL: https://registry.npmjs.com
- Scopes: jp.keijiro

Save the registry.
- In the Package Manager, click the add icon and select Add package from disk.

-
Locate the
depthkit.corepackage folder. Within this folder, select thepackage.jsonfile and click Open. -
Repeat this step for the Depthkit.Live package.
-
Once imported, you will see the addition of Depthkit Core and Depthkit Live within the Package Manager. Select Depthkit Core and expand the Samples toggle. Import the available Depthkit Core Built-in RP Prefab. This will import a Depthkit clip prefab that is preconfigured for your project.

-
Locate this prefab under Assets → Samples → Depthkit Core →
<VERSION>→ Prefabs Studio Built-in RP. Drag the Depthkit Clip + Core Built-in RP Look into the Hierarchy. This will add an empty Depthkit Core clip to your scene. -
Return to your Depthkit livestream metadata text file in your Depthkit project folder. Drag or copy/paste it into your Unity project, under Assets.

- Back in the Hierarchy, select your Depthkit clip and see the Inspector. In the Depthkit Clip component, select the video player dropdown and select Livestream Player (Spout).

- Drag and link your livestream_meta file to the Meta Data File field, just below the video player.
- In the Depthkit Clip component, under Advanced Settings, disable the poster image.

Once linked, the Depthkit Clip component will report that your clip is setup.
- In the Spout Receiver Component, select the Source Name Depthkit.

Press Play and you will see the live stream from Depthkit into your unity scene.
❗️ Livestreaming performance
Your stream may run slowly in Unity until you enter Play mode or if the Depthkit application is in the background. For best performance enter Play mode, click on the Depthkit application window to bring it to front.
Local Livestreaming [Multi-Perspective]
When setting up your project for multi-perspective livestreaming, follow our Calibration guide →.
- Once your sensors are calibrated, under Edit → Preferences, select Enable Record Context Live Stream under Live streaming settings.

📘 Livestreaming Resolution Adjustment
To scale the Depthkit livestream down - for example, to fit within the constraints of a broadcast pipeline's resolution - adjust the Live Output Texture Maximum Width/Height sliders.
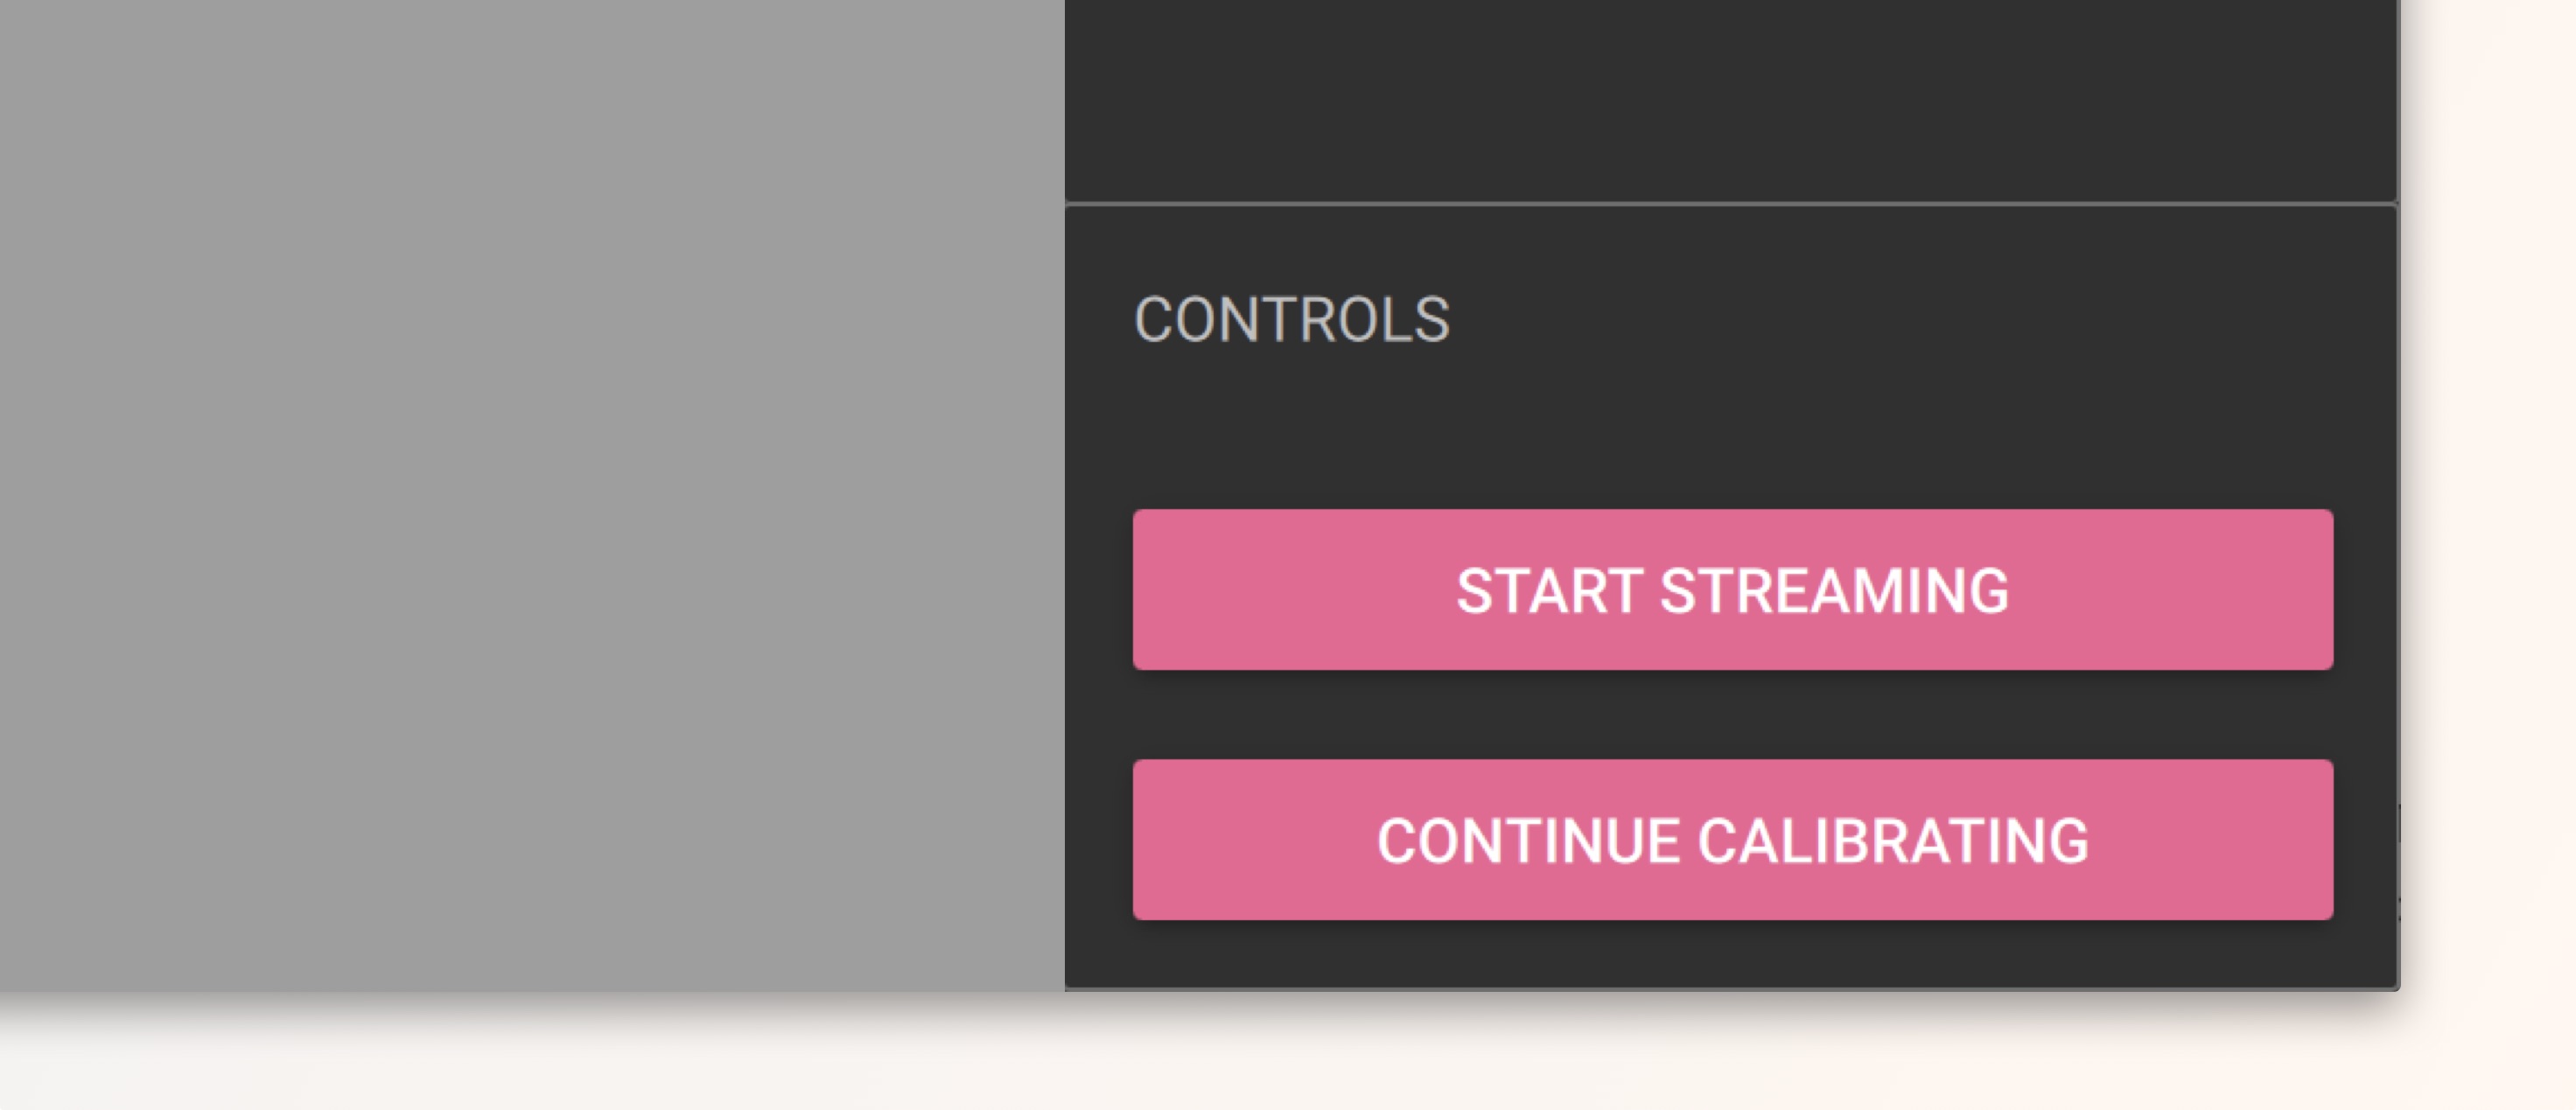
- In the Multicam workspace, click the Start Streaming button. Once streaming, you should see a notification in the upper left corner of the 3D viewport confirming that Live streaming in enabled.

📘 When you have Livestreaming enabled, you cannot edit the depth range in Depthkit.
To modify the depth range, disable Livestreaming and make the adjustments, then re-enable it. You'll need to replace your metadata in Unity after modifying the depth range for correct rendering.
-
In your Depthkit project, go to your Exports folder and locate the livestream_multicam_meta.txt file. Open this file in a text editor, scroll to the bottom, and make note of the
textureHeightandtextureWidthvalues. -
Bring this file into your Unity project.
-
Under Edit → Project Settings → Package Manager, expand Scope Registries. Add a new registry.

- Enter the following information for the New Scoped Registry:
- Name: Keijiro
- URL: https://registry.npmjs.com
- Scopes: jp.keijiro

Save the registry.
-
In the Package Manager, click the add icon and select Add package from disk. Locate the Depthkit.Core package folder. Within this folder, select the
package.jsonfile and click Open. -
Repeat this step for the Depthkit.Studio and Depthkit.Live packages in your Unity project. Import the Depthkit Studio Built-in RP prefab.

-
Locate this prefab under Assets → Samples → Depthkit Studio →
<VERSION>→ Prefabs Studio Built-in RP. Drag the Depthkit Clip + Studio Built-in RP Look into the Hierarchy. -
Return to your Depthkit livestream metadata text file in your Depthkit project folder. Drag or copy/paste it into your Unity project, under Assets.
-
Back in the Hierarchy, select your Depthkit clip and see the Inspector. In the Depthkit Clip component, select the video player dropdown and select Depthkit Live Player.

-
Drag and link your livestream_multicam_meta.txt file to the Meta Data File field, just below the video player.
-
In the Depthkit Clip component, under Advanced Settings, disable the poster image.

Once linked, the Depthkit Clip component will report that your clip is setup.
- In the Spout Receiver Component, select the Source Name Depthkit.
Hit Play for multi-camera local live-streaming.