Local livestreaming
In this page
What You'll Need →
Setting up Depthkit →
Setting up Unity →
Tips and troubleshooting →
Local live streaming refers to sending a Depthkit stream to another app (for example Unity) running on the same computer via Spout. This is the foundation of all forms of Depthkit live streaming, and can be augmented to send the live stream over a local network, or over the internet via peer-to-peer connections or broadcast infrastructure.
This local method of live streaming has some benefits and trade-offs:
- Ultra-low latency - The delay between Depthkit and the receiving app is nearly imperceptible.
- No network infrastructure needed - A local live stream all runs on one computer, so items like network routers, switches, and internet connections are not needed to transport the live stream.
- High-performance PC required - Because one computer handles both the capture of Depthkit sensor data as well as the 3D reconstruction and rendering, a high-performance computer with a powerful CPU and GPU is required. To divide these tasks between multiple computers, consider live streaming over a local network.
You’ll Need
- A PC to run Depthkit and Unity - The hardware requirements forDepthkit Core and Depthkit Studio are recommended for capture only; You may need a higher-performance computer to livestream and render in Unity simultaneously.
- The Depthkit PC app
- An active Depthkit license which includes Livestreaming, like Depthkit Studio - Seehttps://www.depthkit.tv/get.
- Sensor(s) and necessary accessories like data and power cables. If using multiple sensors with Depthkit Studio, you’ll also need sync cables and a calibration chart.
- Unity - See theRelease Notes of the latest Depthkit Expansion Package for the correct version number to use.
- Depthkit Expansion Package for Unity
- An internet connection to log in to Depthkit and add some Unity packages.
Setup Depthkit
The first part of this process is to set up Depthkit to send out the live stream.
- Launch Depthkit and ensure you are logged in with a license which supports live streaming, like Depthkit Studio.
- Create a new project.
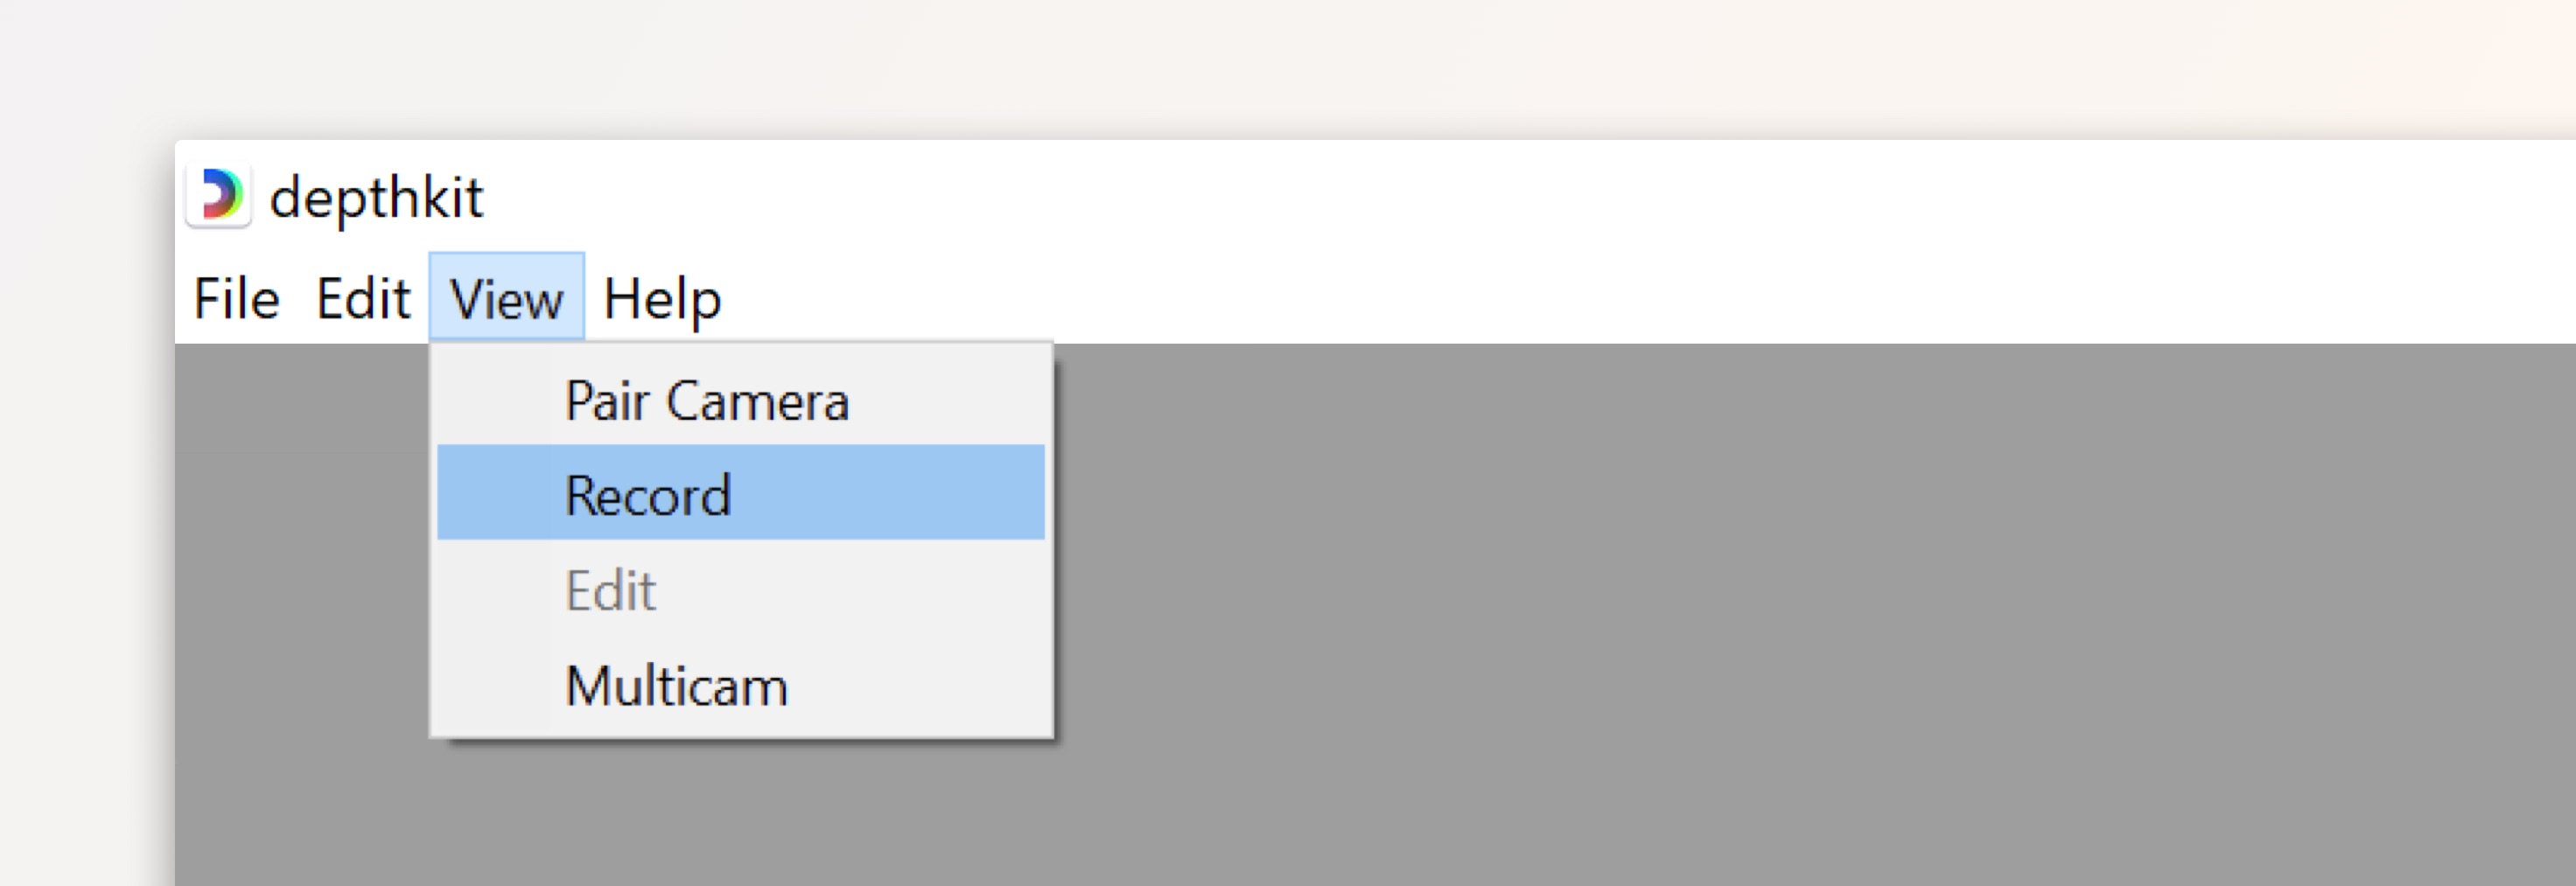
- For single-sensor live streaming, navigate to the Record workspace tab or View menu and select Record.
- For multi-sensor live streaming, enter the Multicam workspace, create a multicam calibration, then click the Start Streaming button.
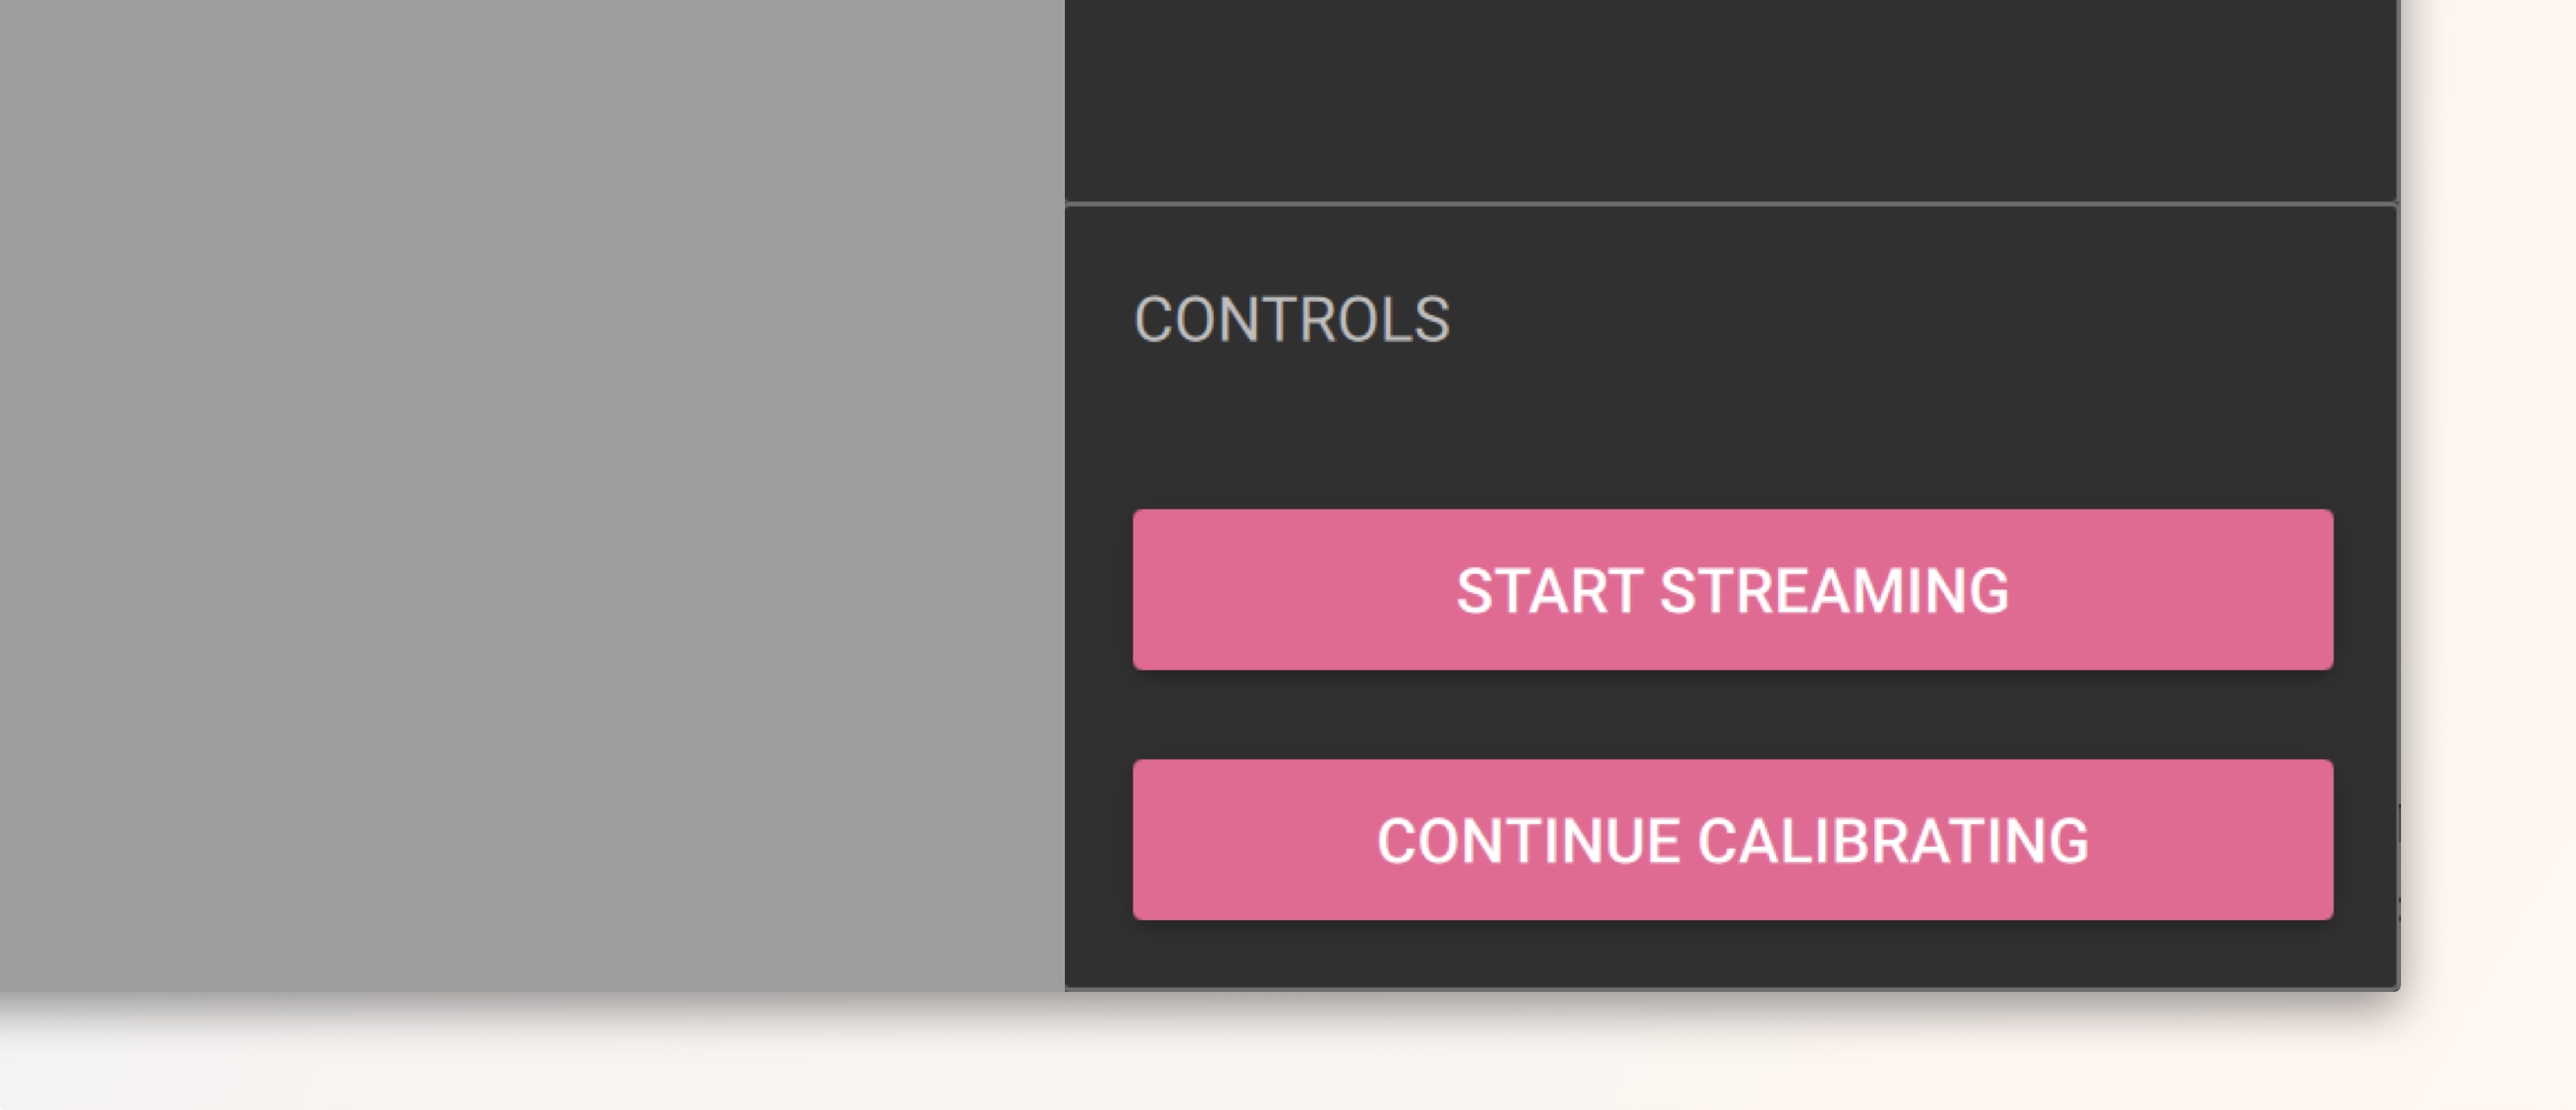
- Configure the sensors’ options, including resolution, exposure, and white balance.
- Set the Near and Far clipping planes to remove unwanted geometry and increase the fidelity of the depth data. Get these planes as close to your subject as possible without cropping away any part of your subject. These clipping plane positions will not affect any recordings you make, but they will affect the live stream.
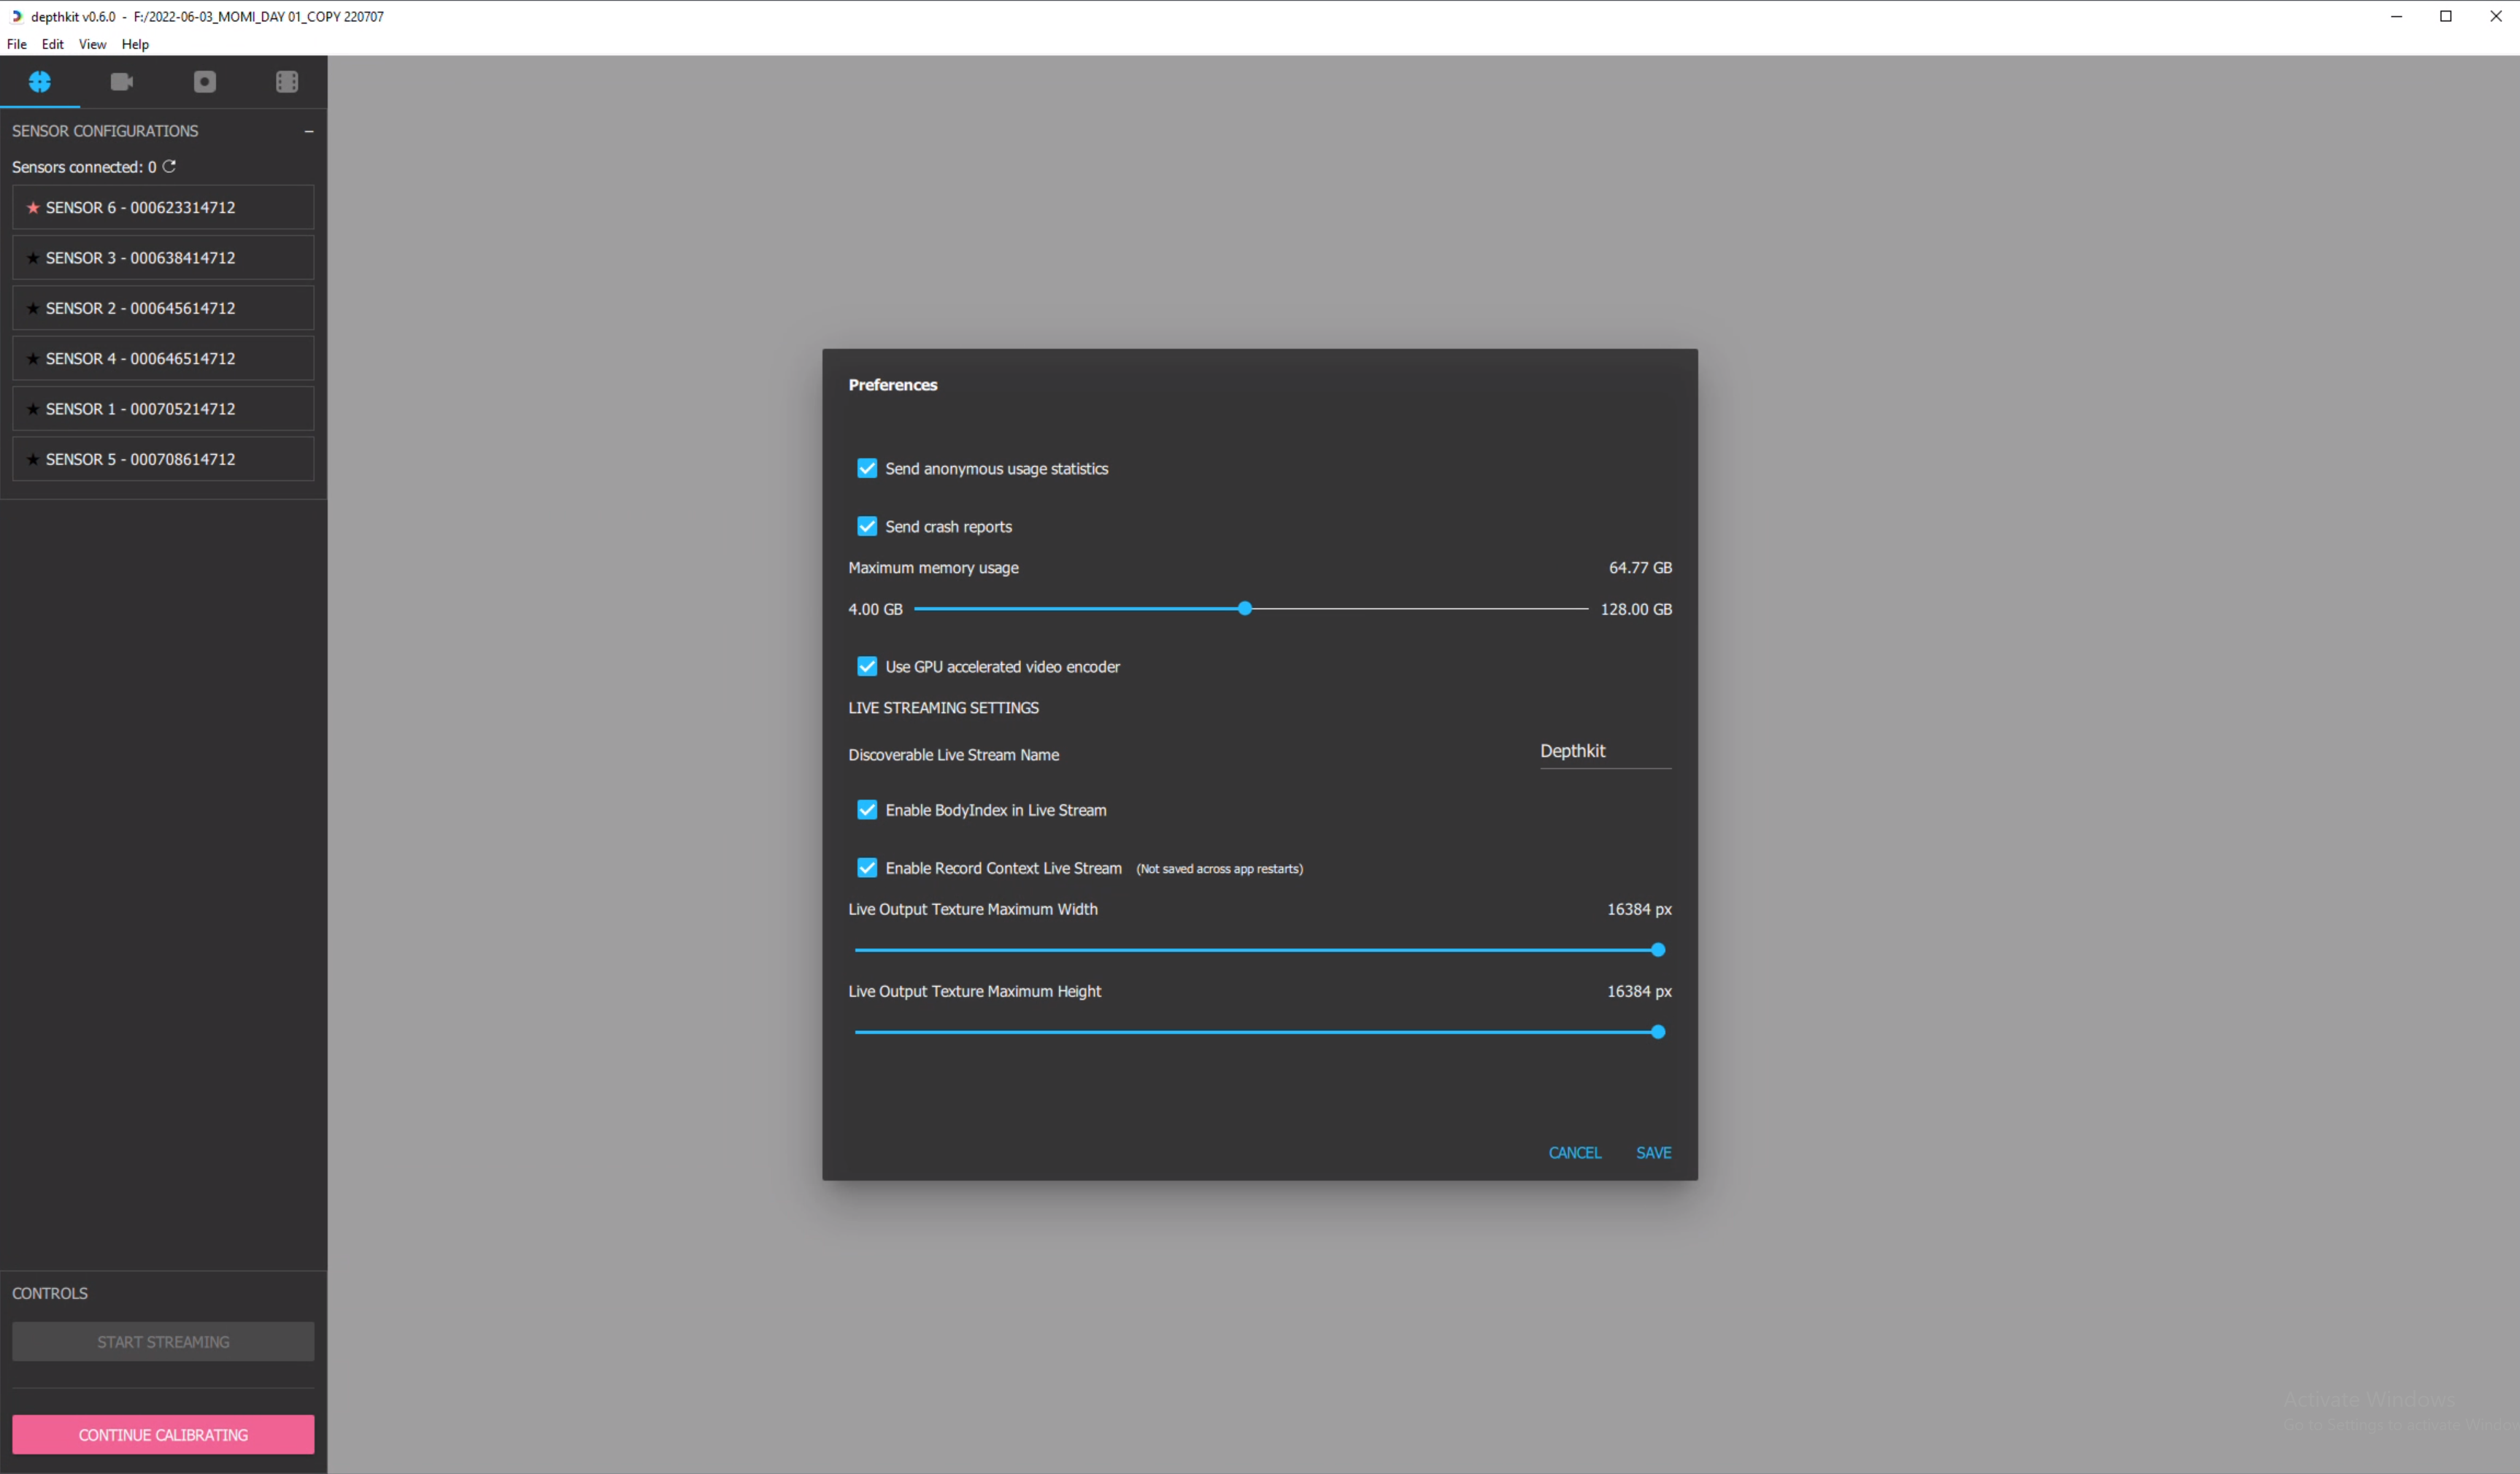
- Open Depthkit's preferences pane by selecting Edit → Preferences.
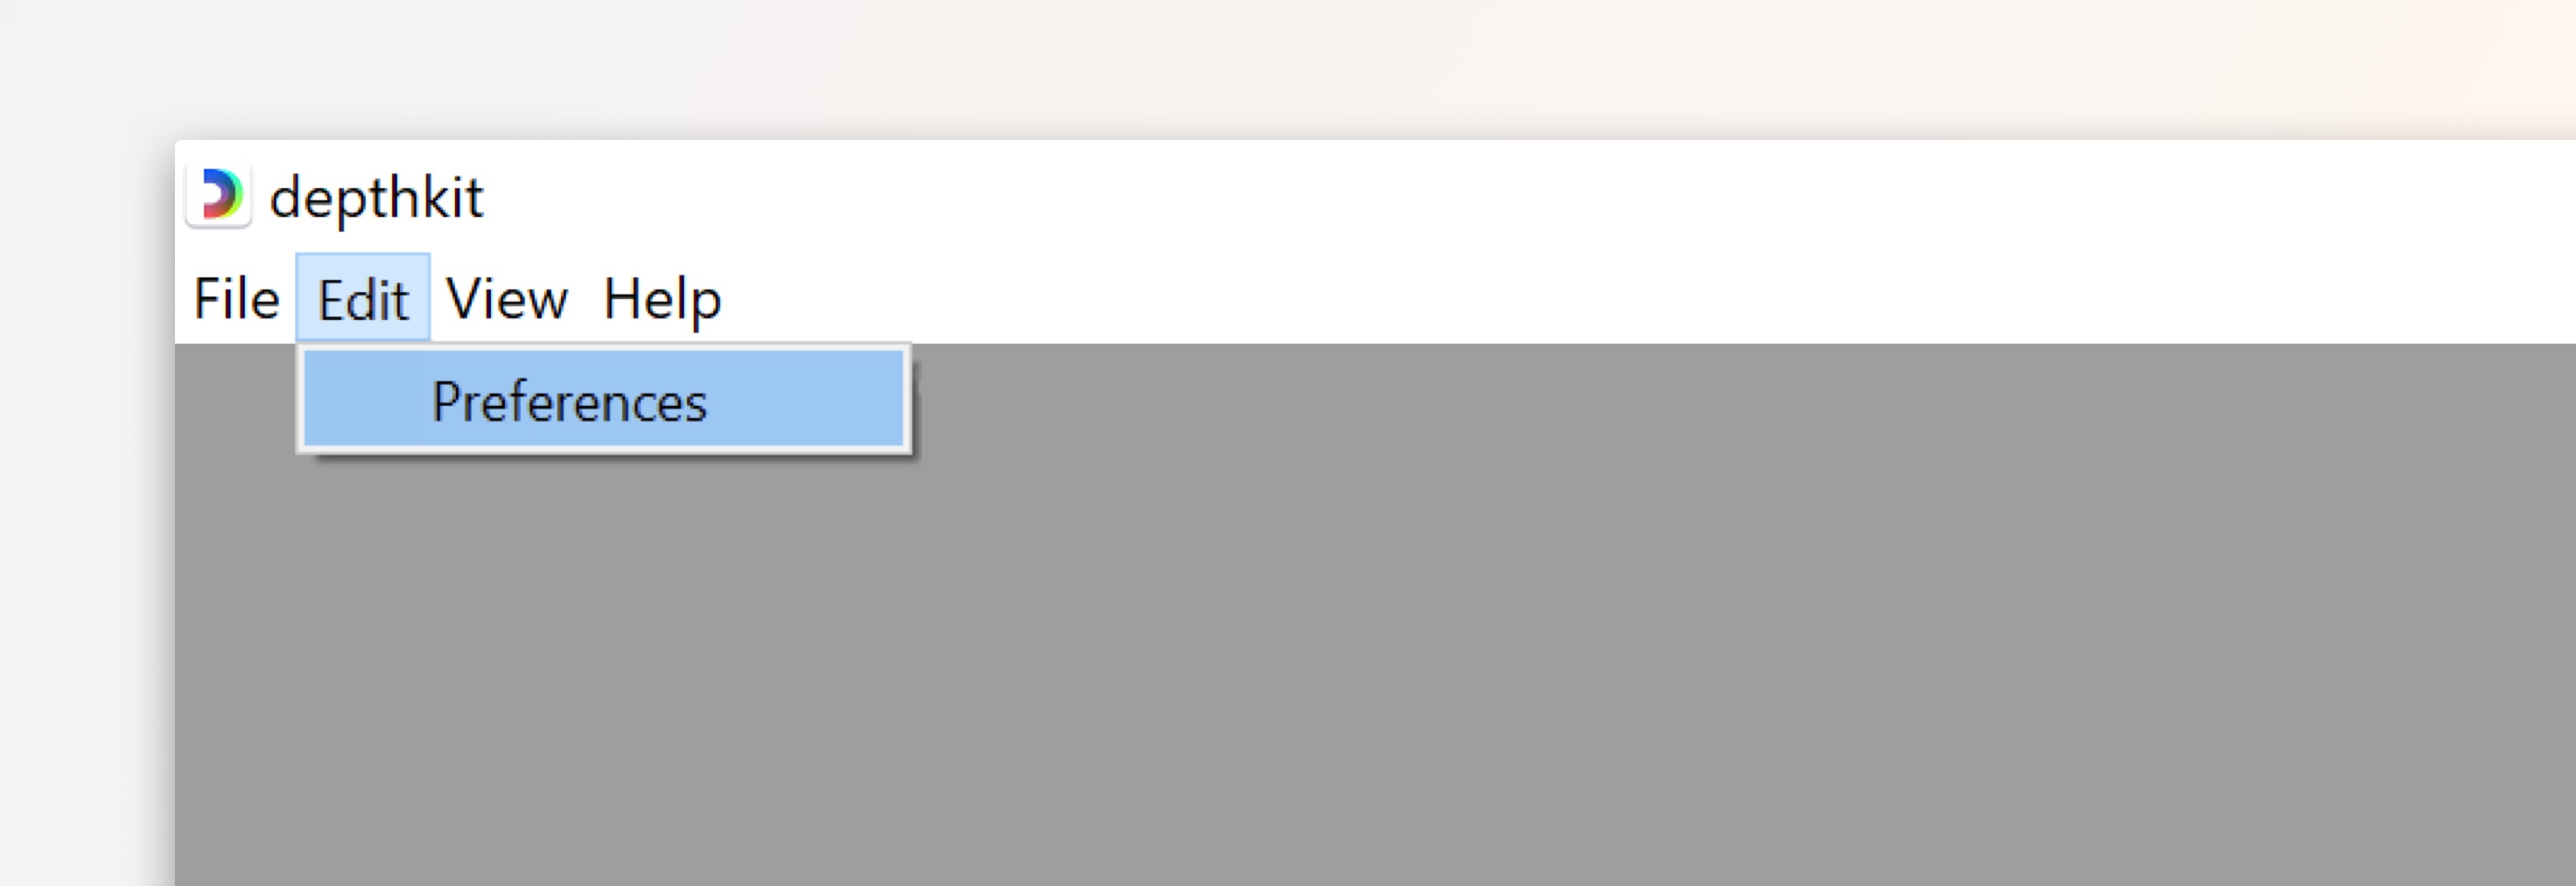
- Under Live streaming settings, select Enable Record Context Live Stream. Make note of the Discoverable Live Stream Name, which by default is set to "Depthkit".
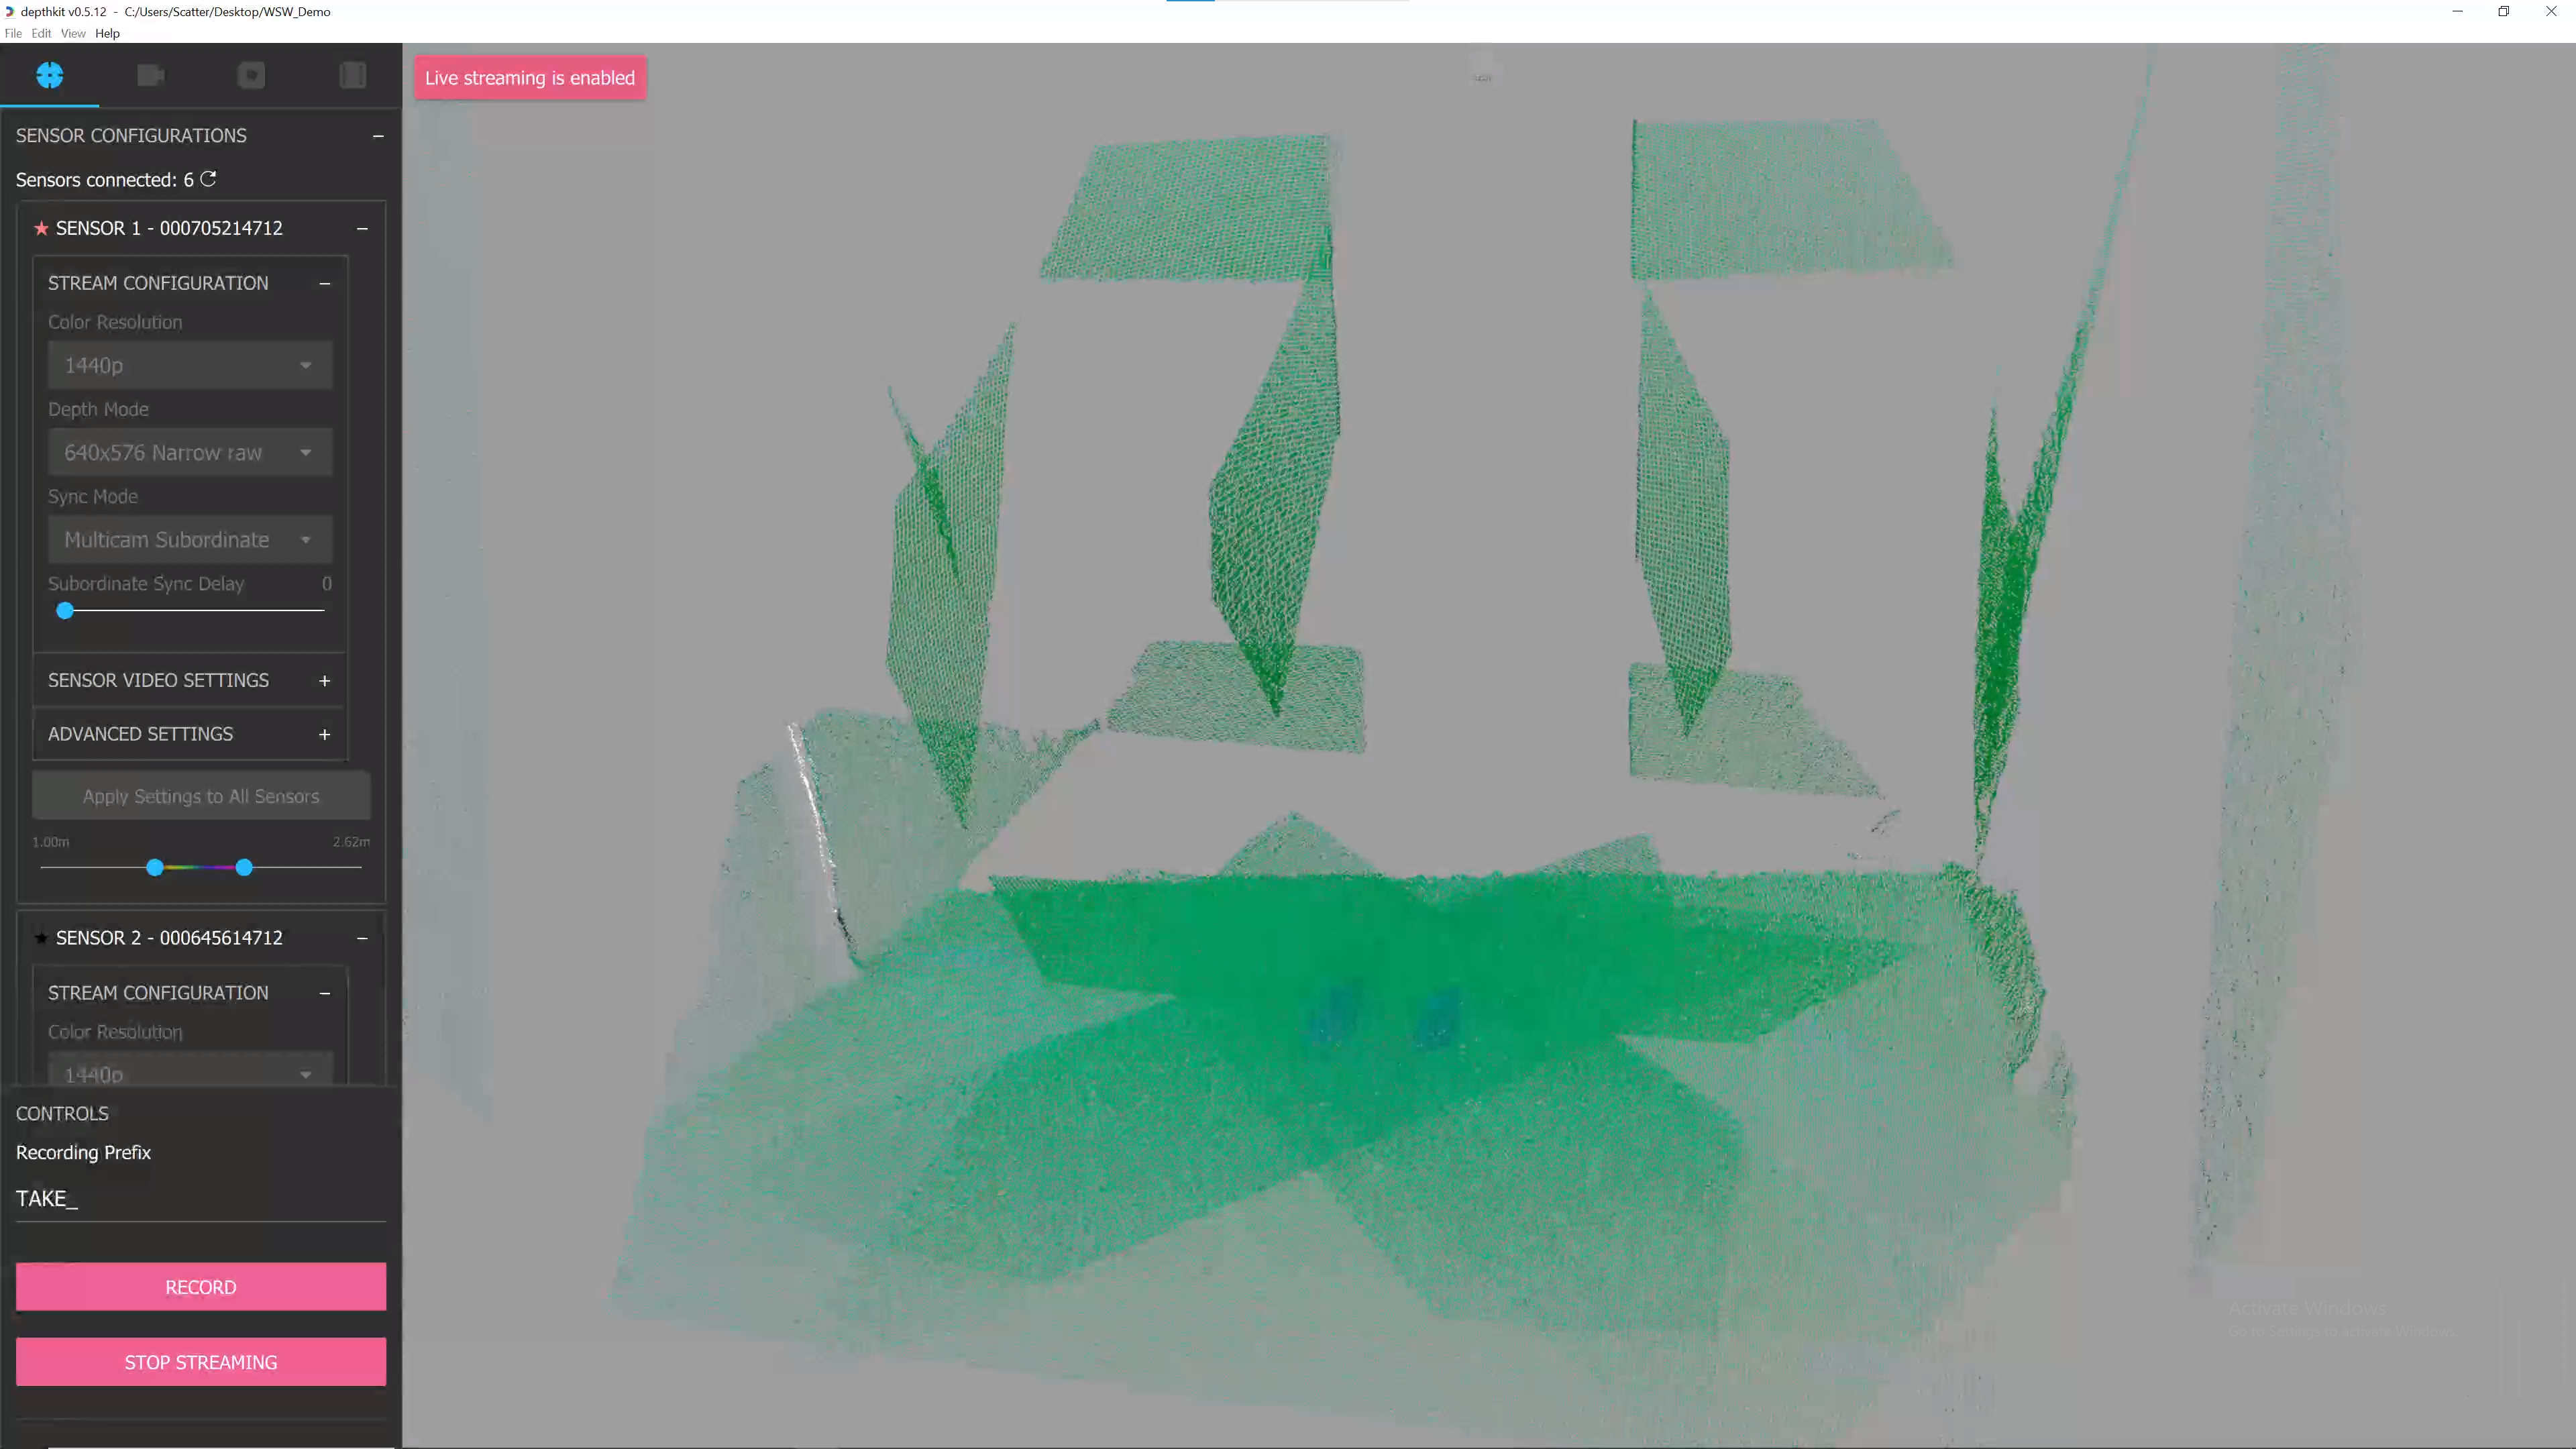
When you have Livestreaming enabled, you cannot edit the depth range in Depthkit.To modify the depth range of any of the sensors, disable Livestreaming and make the adjustments, then re-enable it. You'll need to replace your metadata in Unity after modifying the depth range for correct rendering.
- Set the Live Output Texture Maximum Width and Height. This is not necessary for local livestreaming, but may improve performance on the rendering portion of the pipeline.
Please note that Body Index in the live stream is currently only available for single-sensor live streaming with the Kinect for Windows v2.
- Save the preferences.
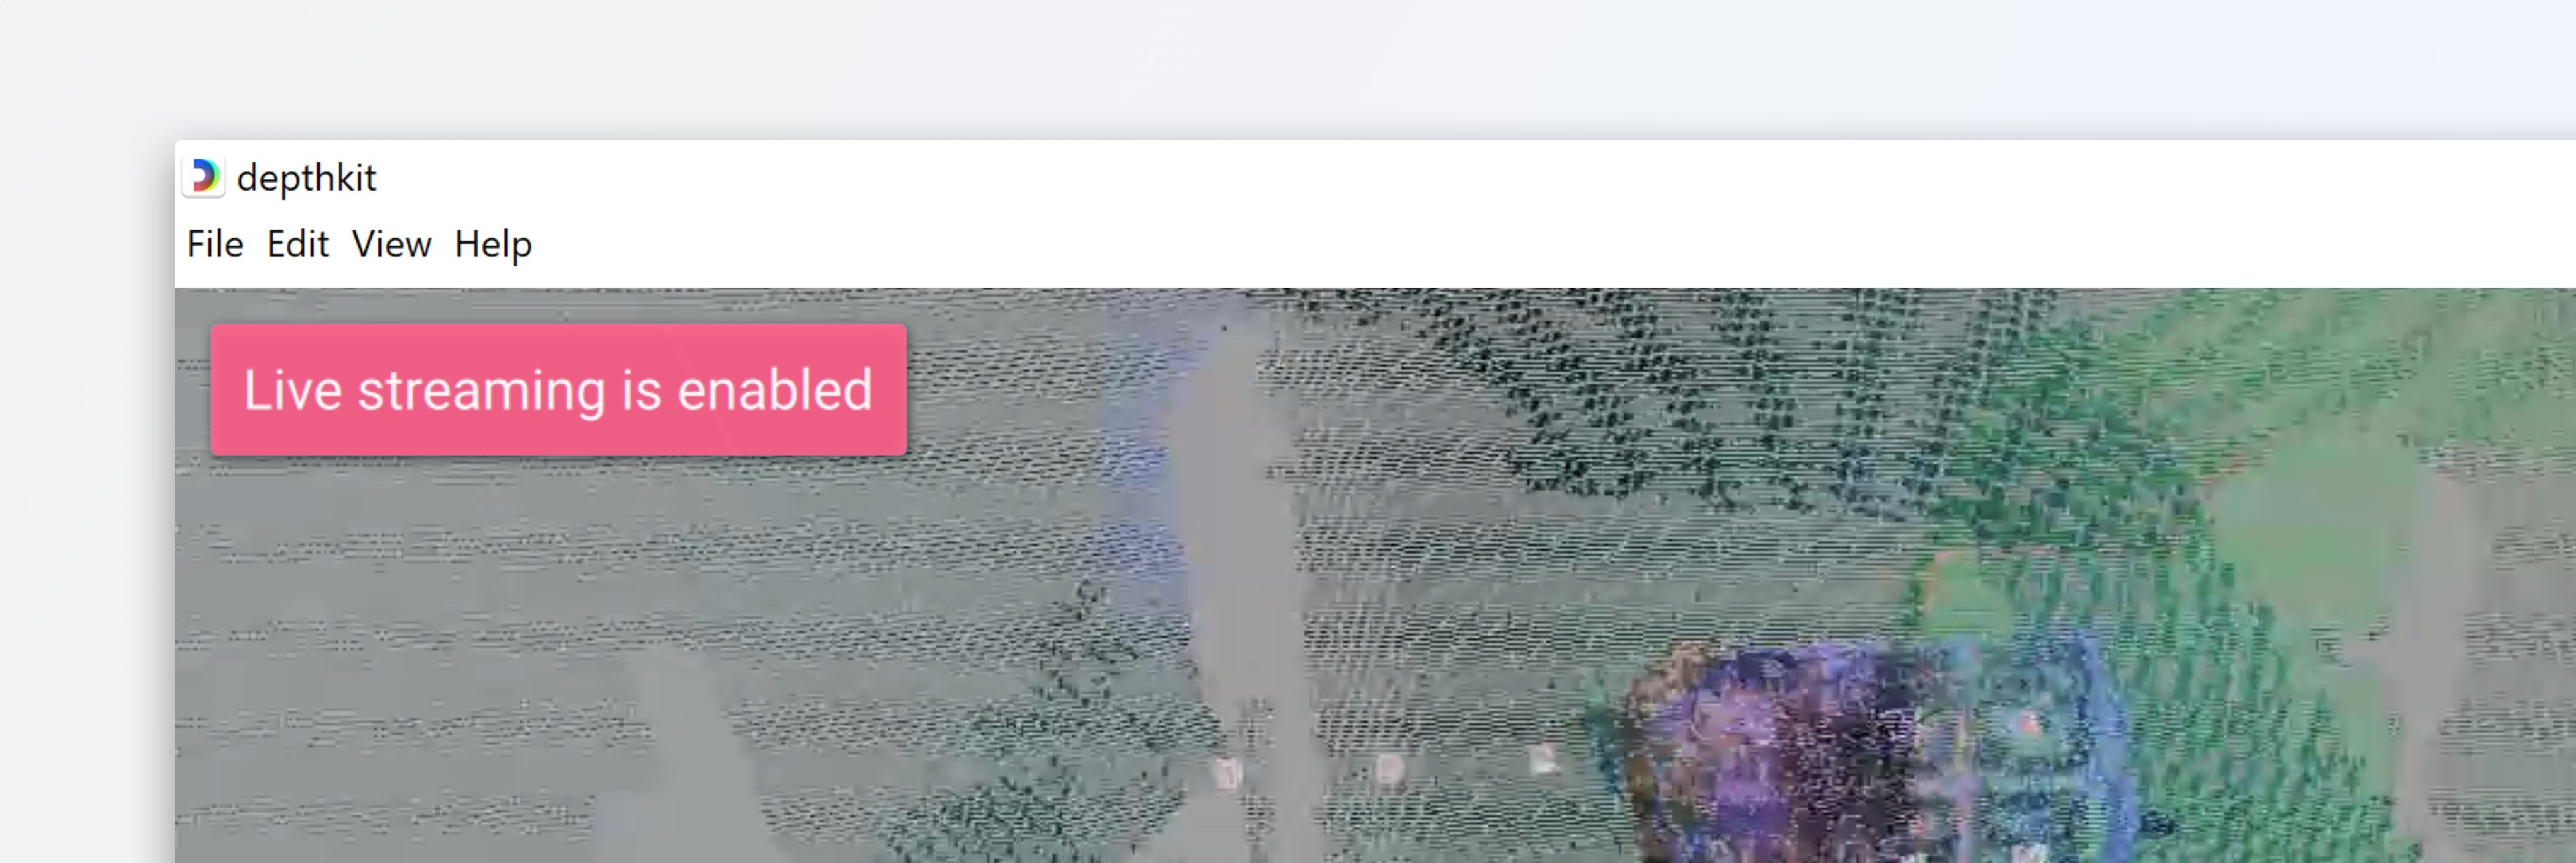
- Begin streaming again. Now there will be indicator in the upper left corner of the 3D viewport confirming that live streaming in enabled.
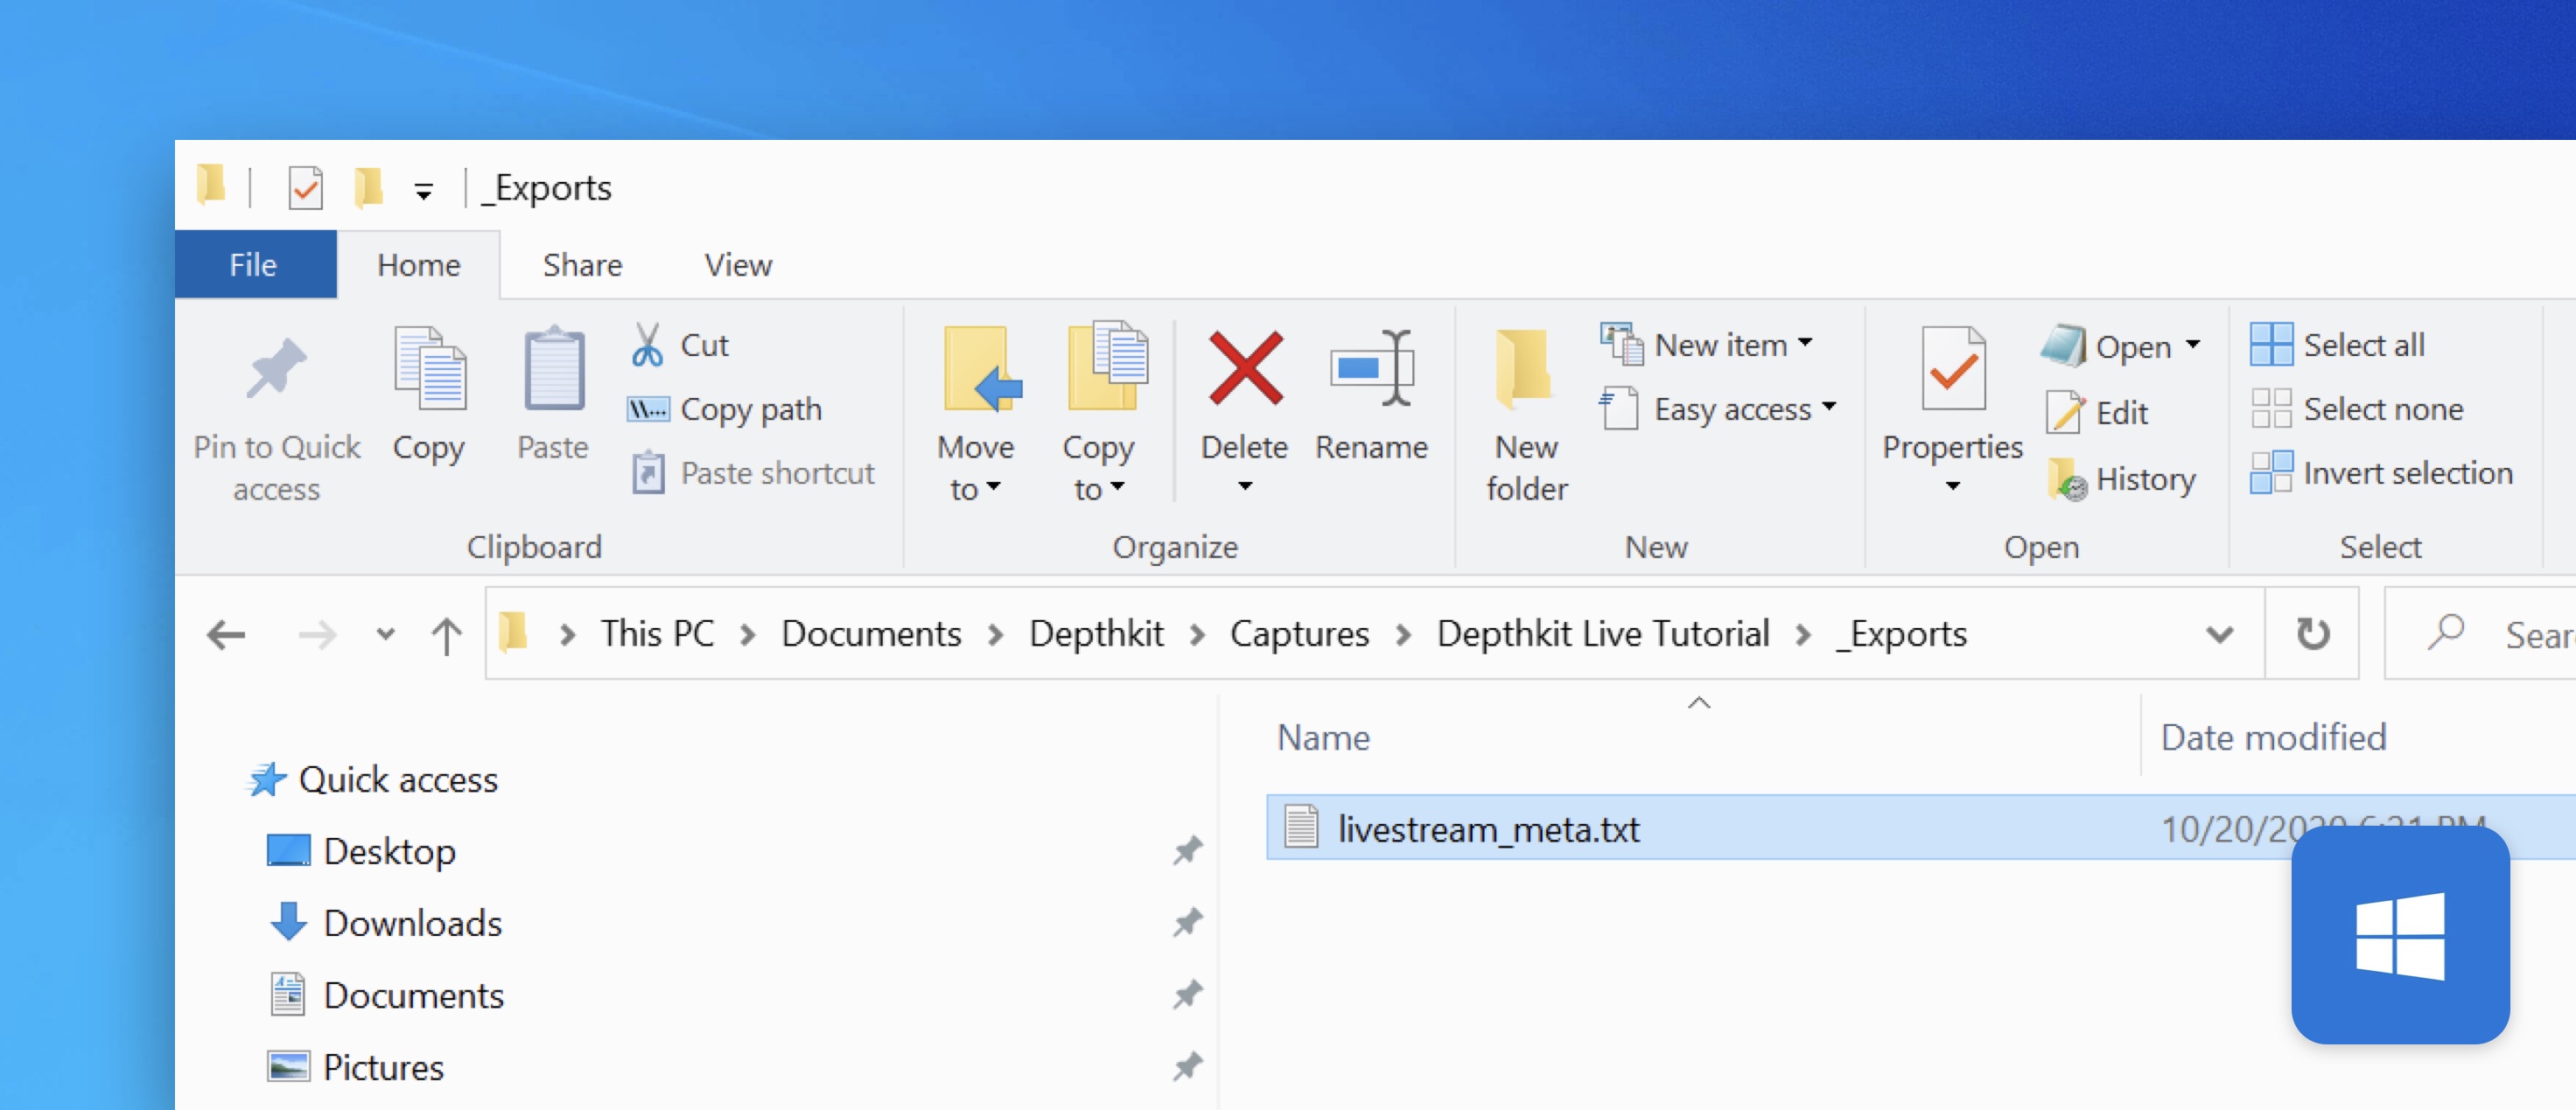
- In your Depthkit project, go to your Exports folder and locate the livestream_meta.txt file. You will need this file for Unity. For multi-sensor live streams, this file is named livestream_multicam_meta.txt.
Configuring a Unity project for Livestreaming
- Launch Unity and create a new project.
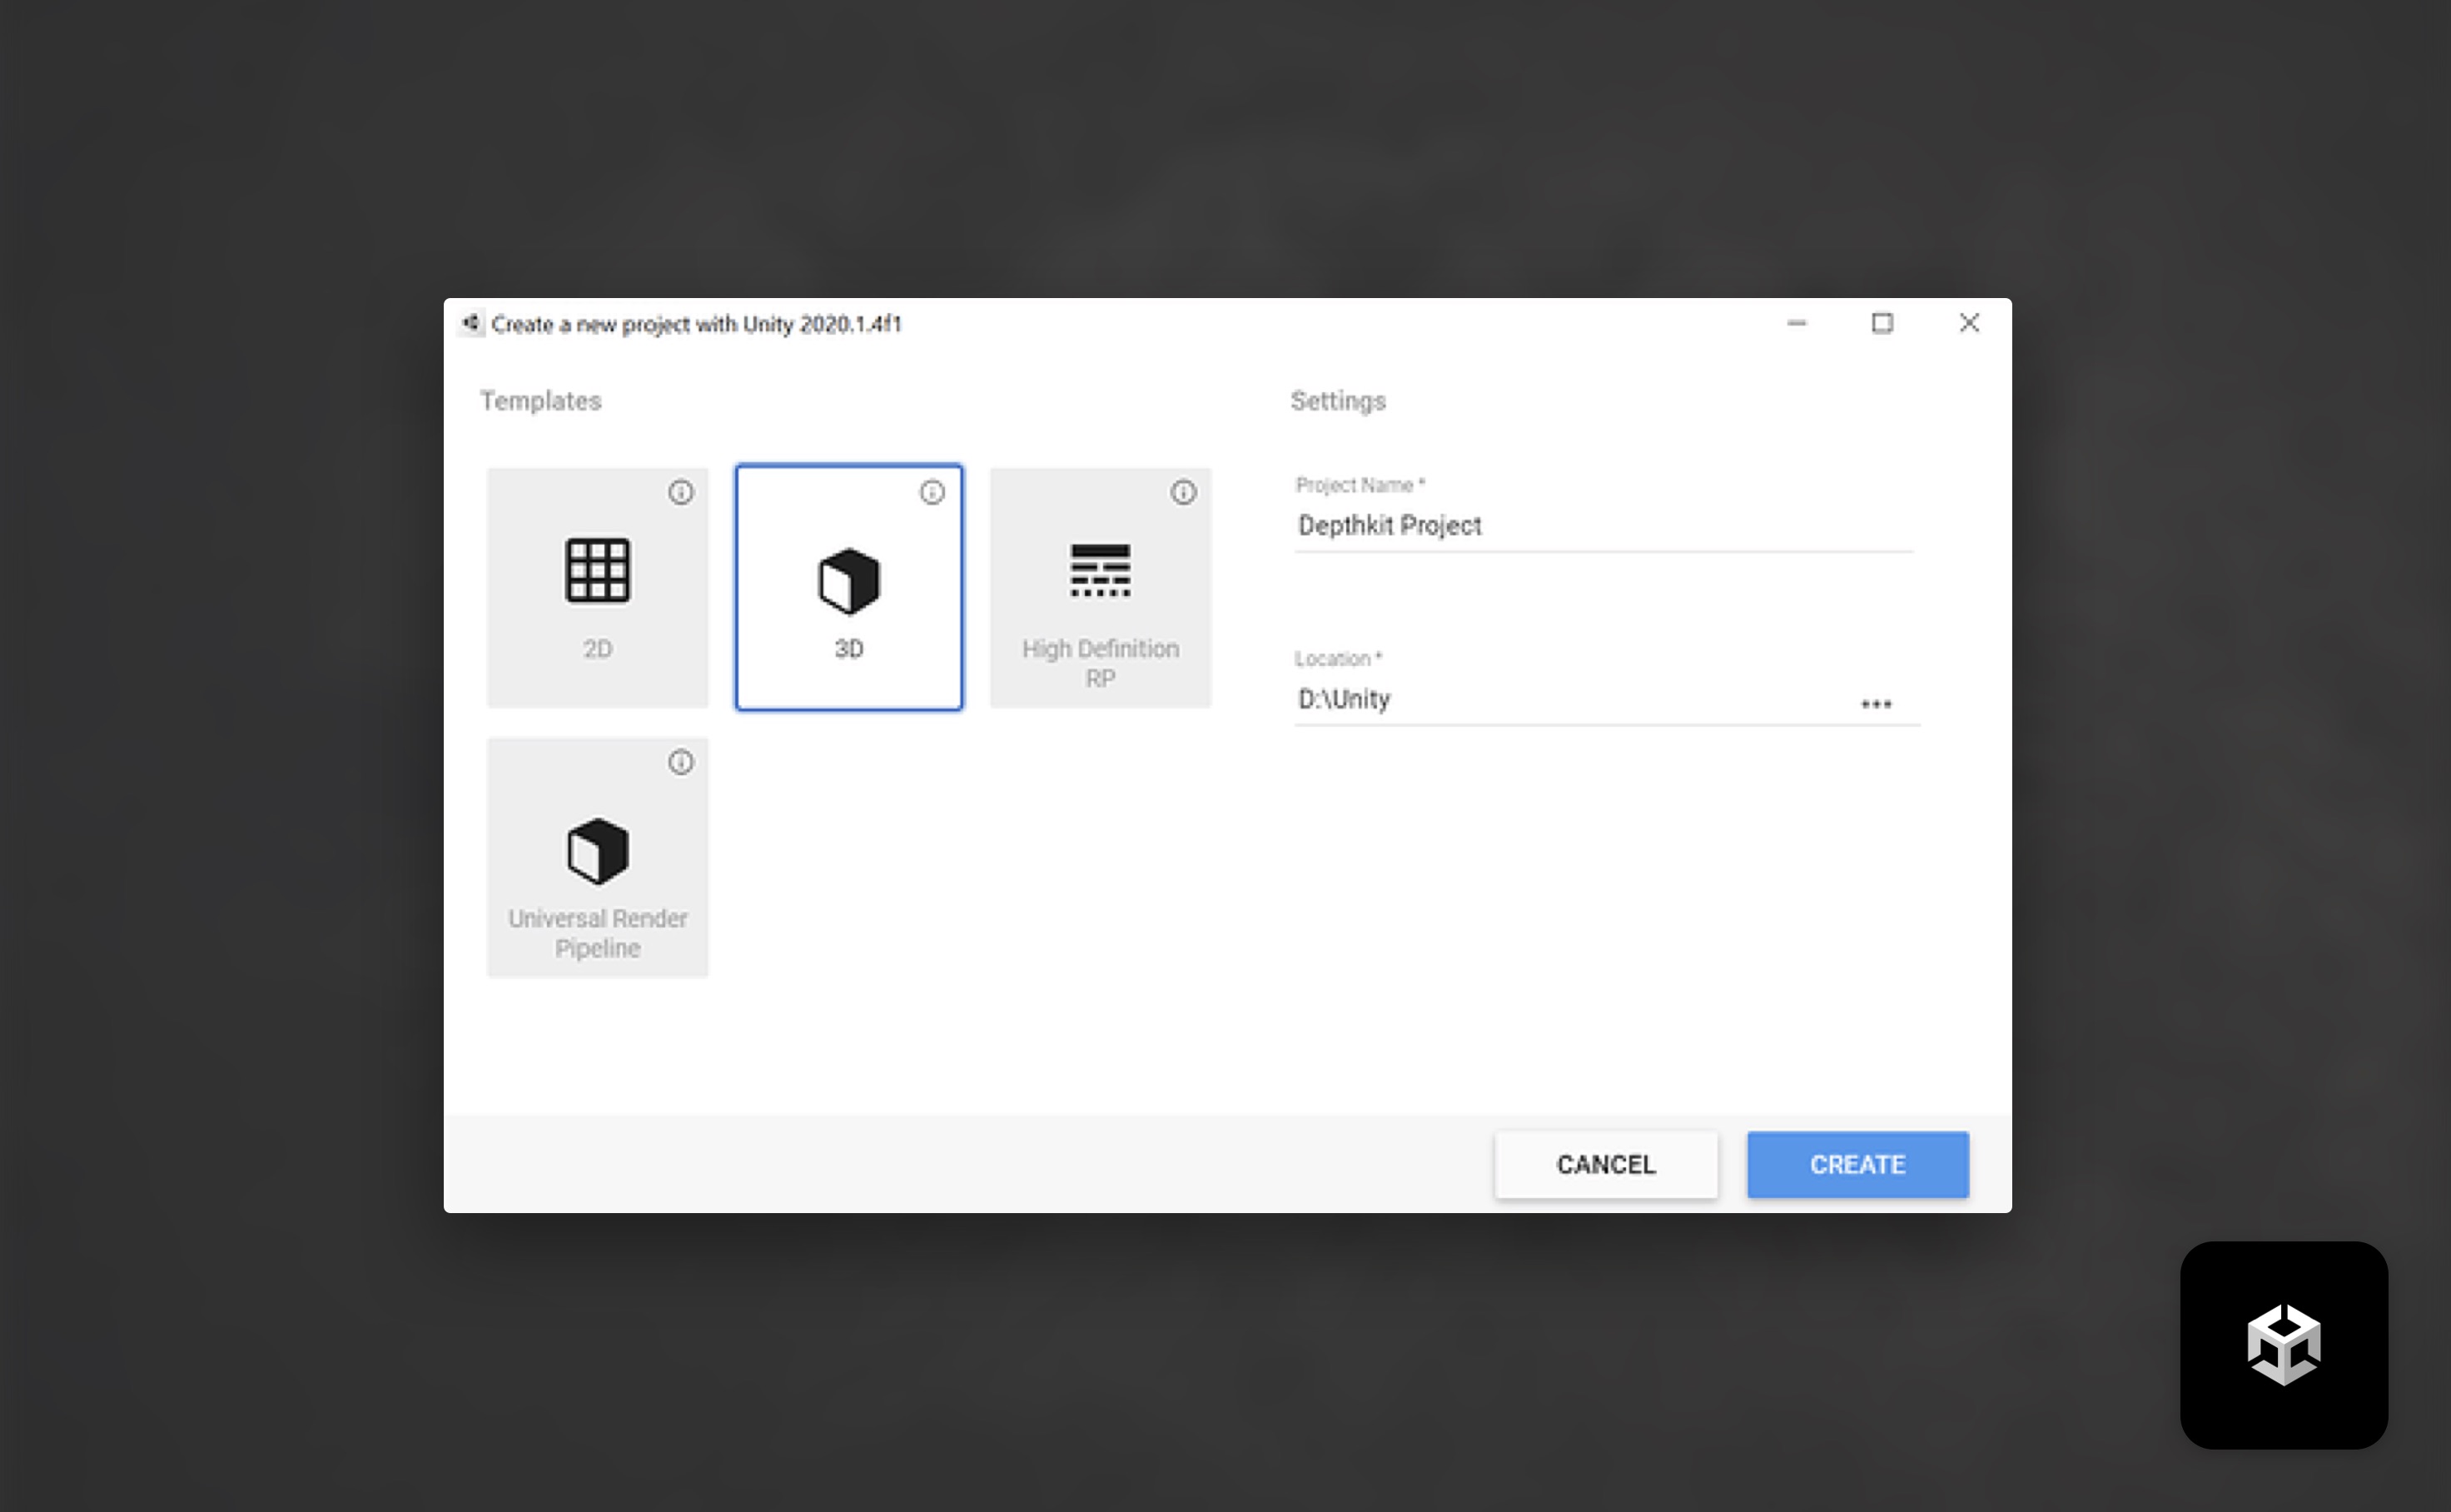
KlakSpout <> Unity 2022 WorkaroundAn issue with KlakSpout in Unity version 2022 may require a modification to the KlakSpout package to get it to work. See this post for more details.
- For Unity version 2020, add Keijiro's Spout plugin to Unity by navigating to Edit → Project Settings → Package Manager, expanding Scoped Registries, and adding a new registry with the Name: Keijiro, URL: https://registry.npmjs.com, and Scopes: jp.keijiro.
- Save the registry.
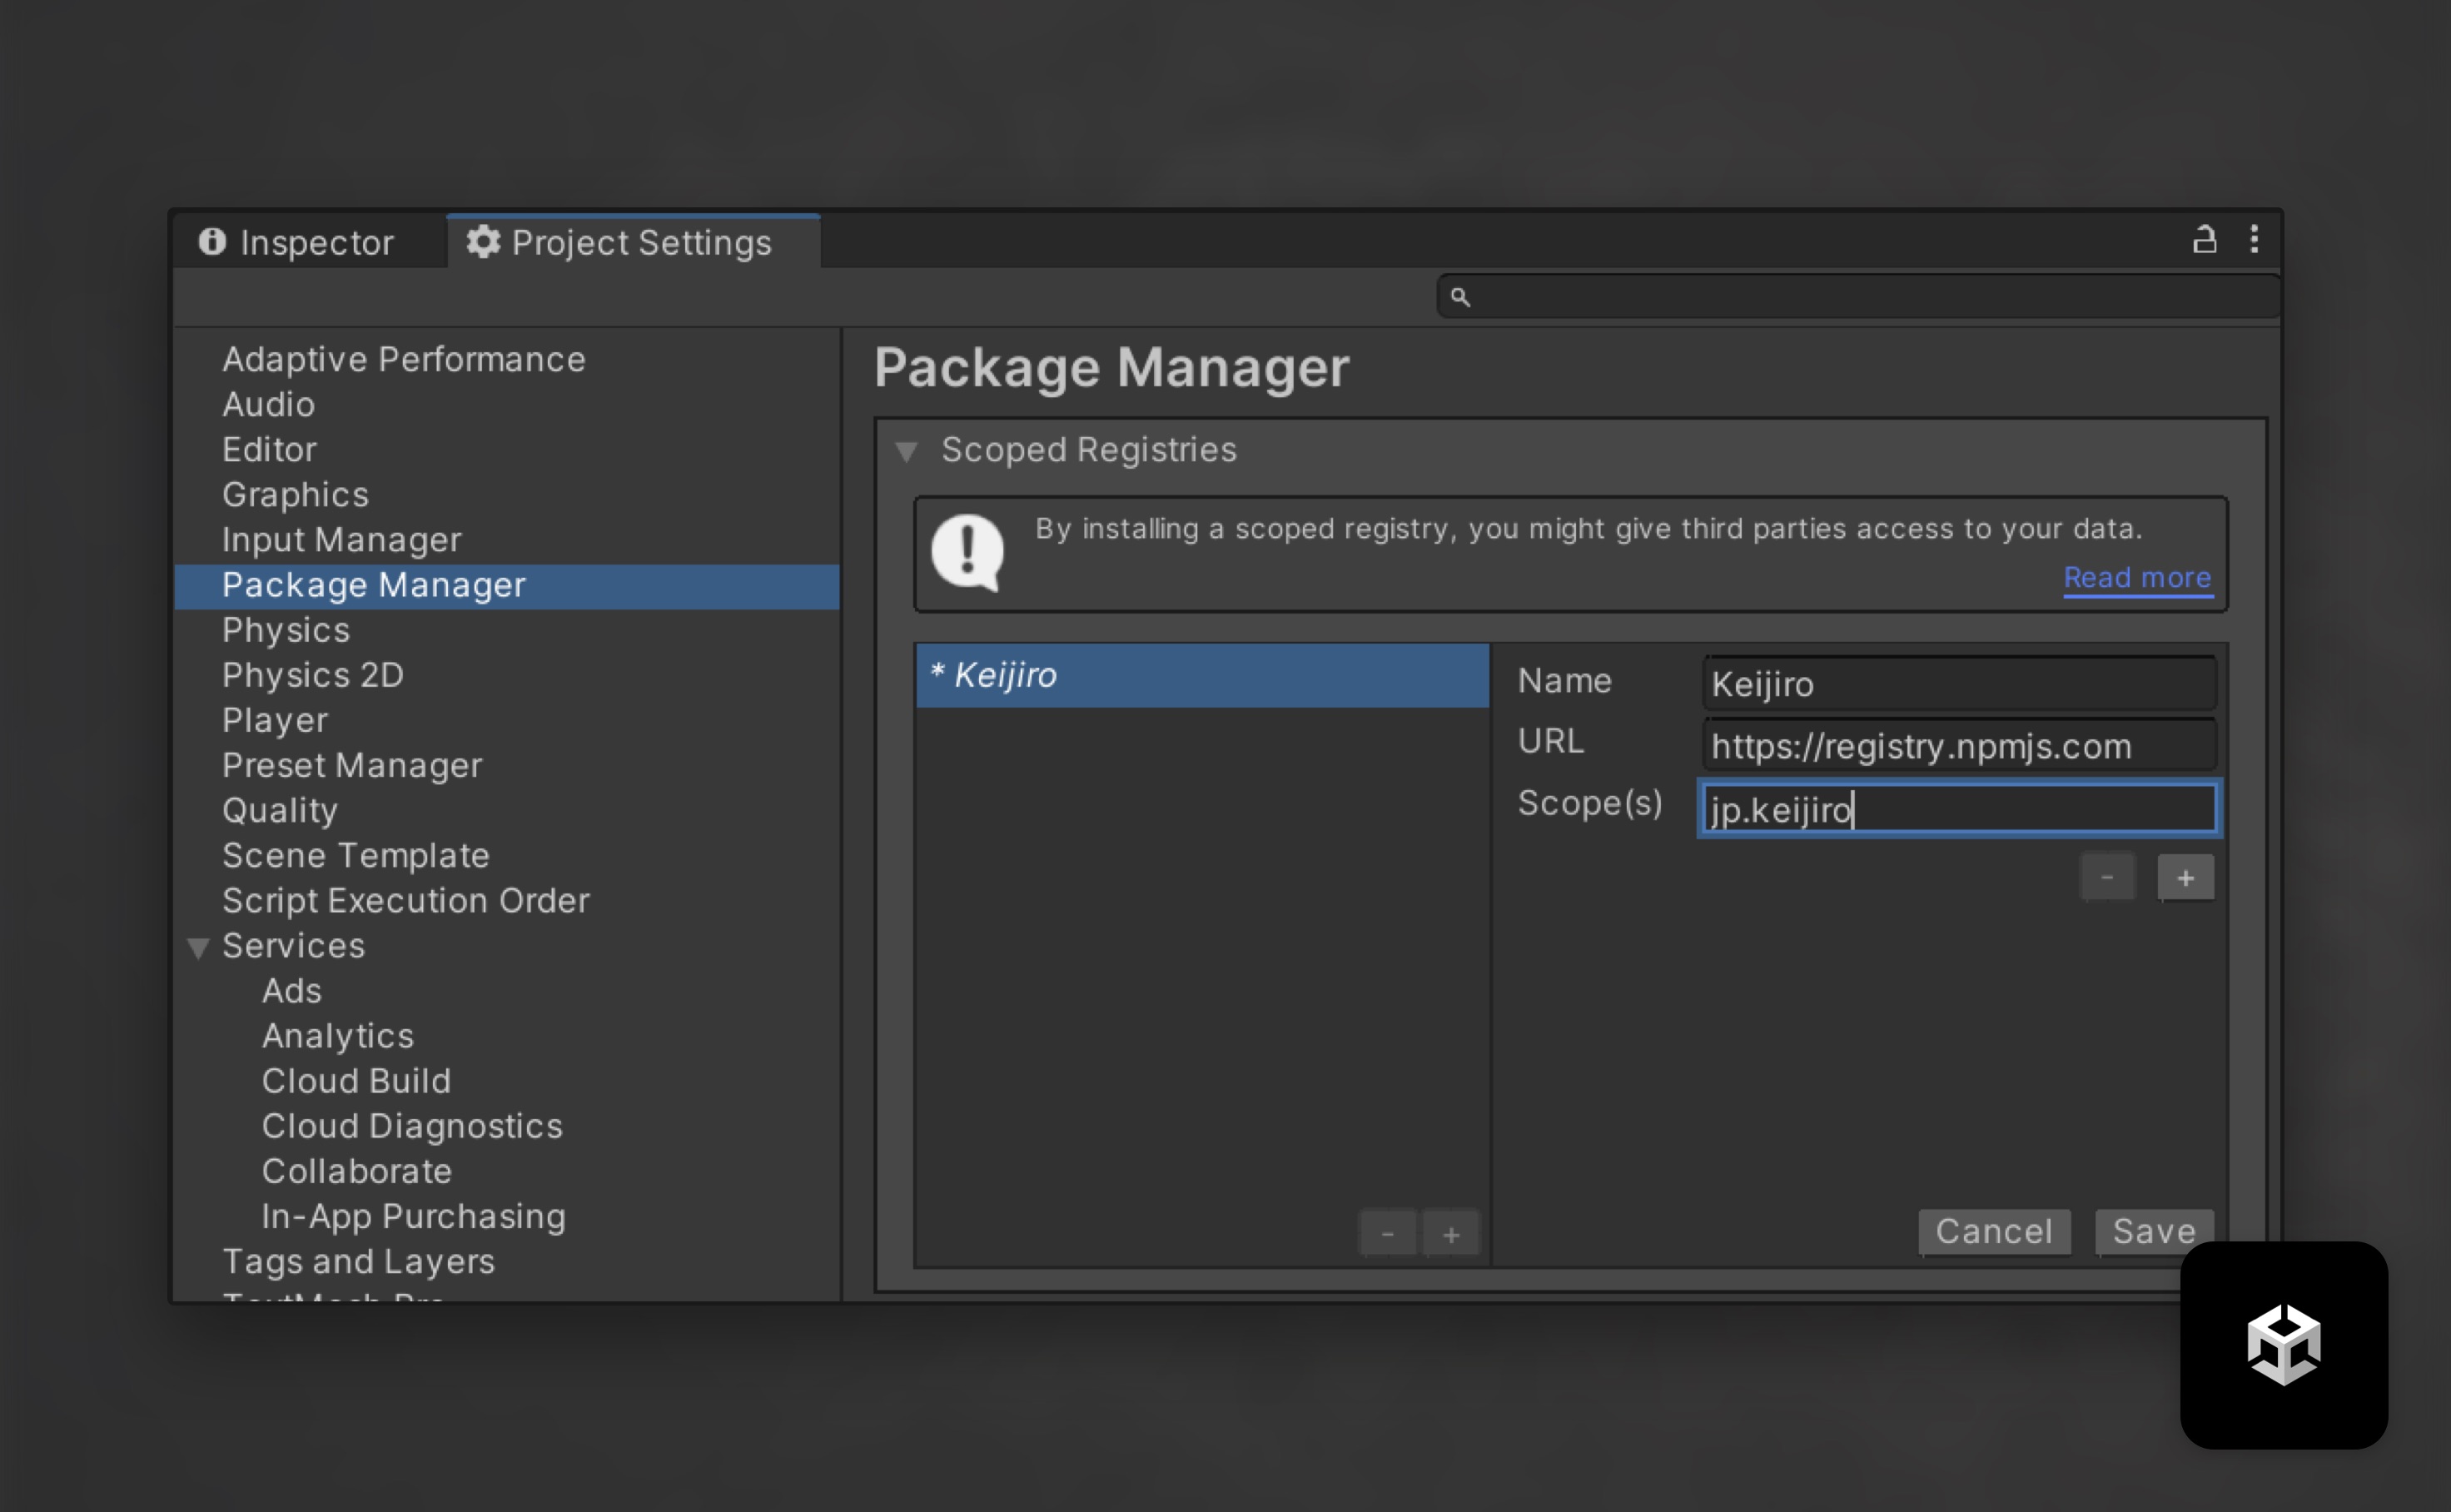
Add the Depthkit Expansion Packages.
- In the Package Manager, click the add icon and select Add package from disk.
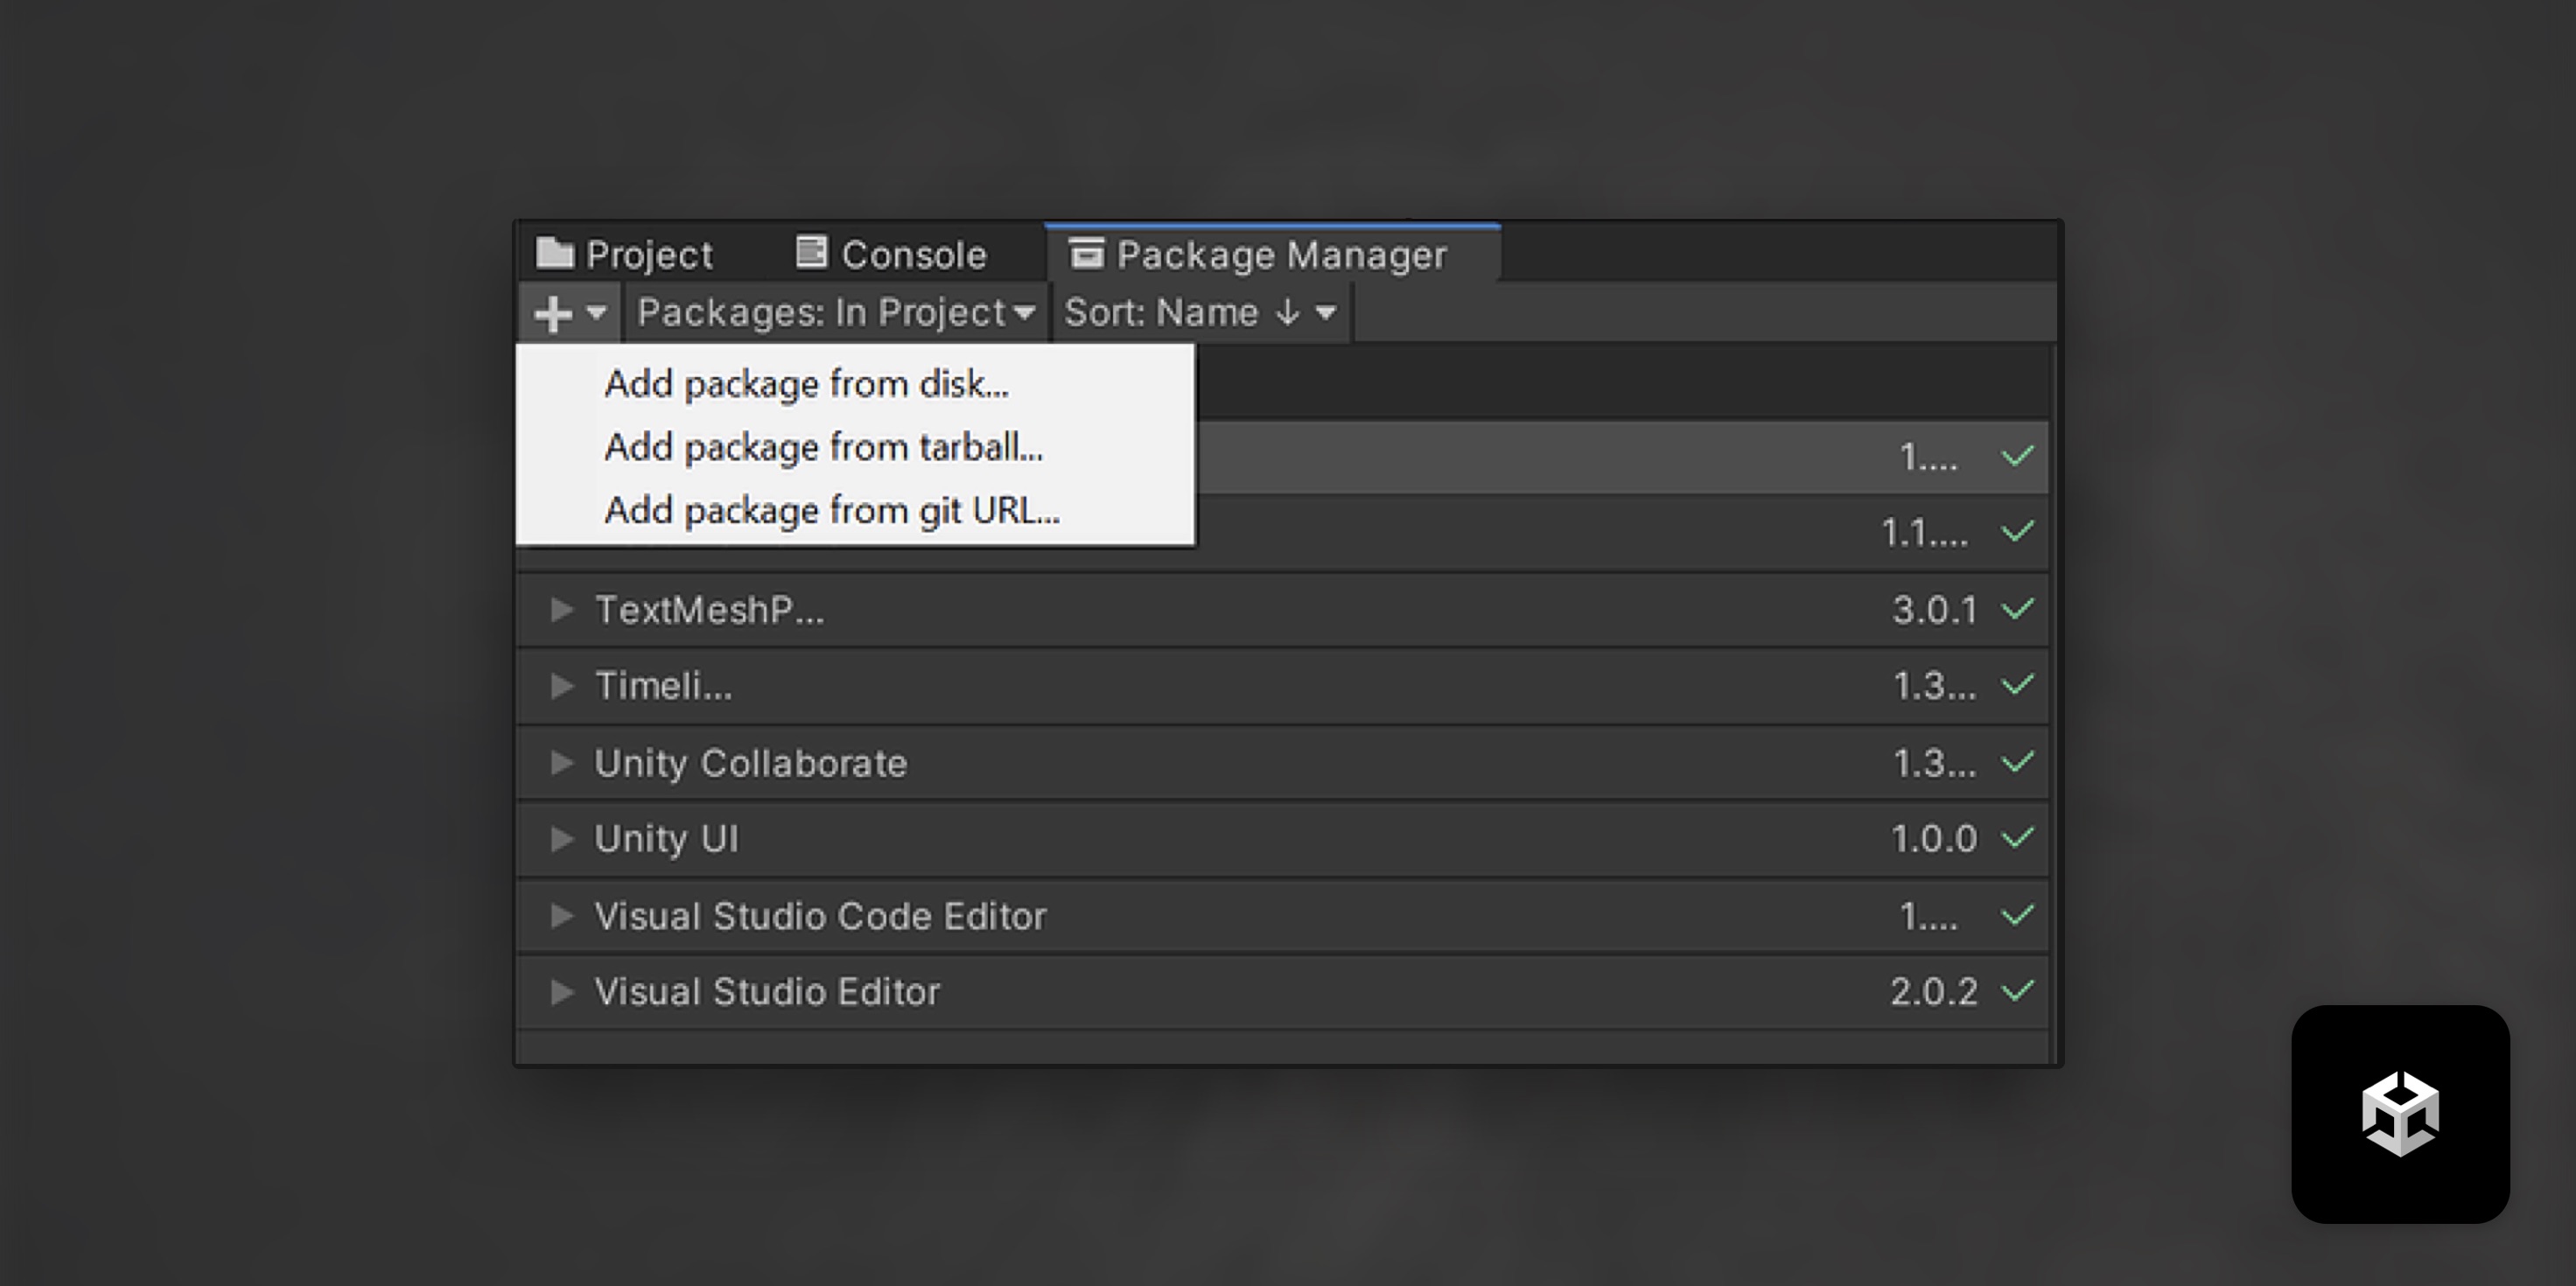
- Add the Depthkit Expansion Packages in the following order:
- depthkit.core
- depthkit.live
- If using Depthkit Studio assets, add depthkit.studio or depthkit.studio.lite.
- If using URP/HDRP, add Depthkit Core (and Studio) Shader Graph and/or VFX Graph plugins.
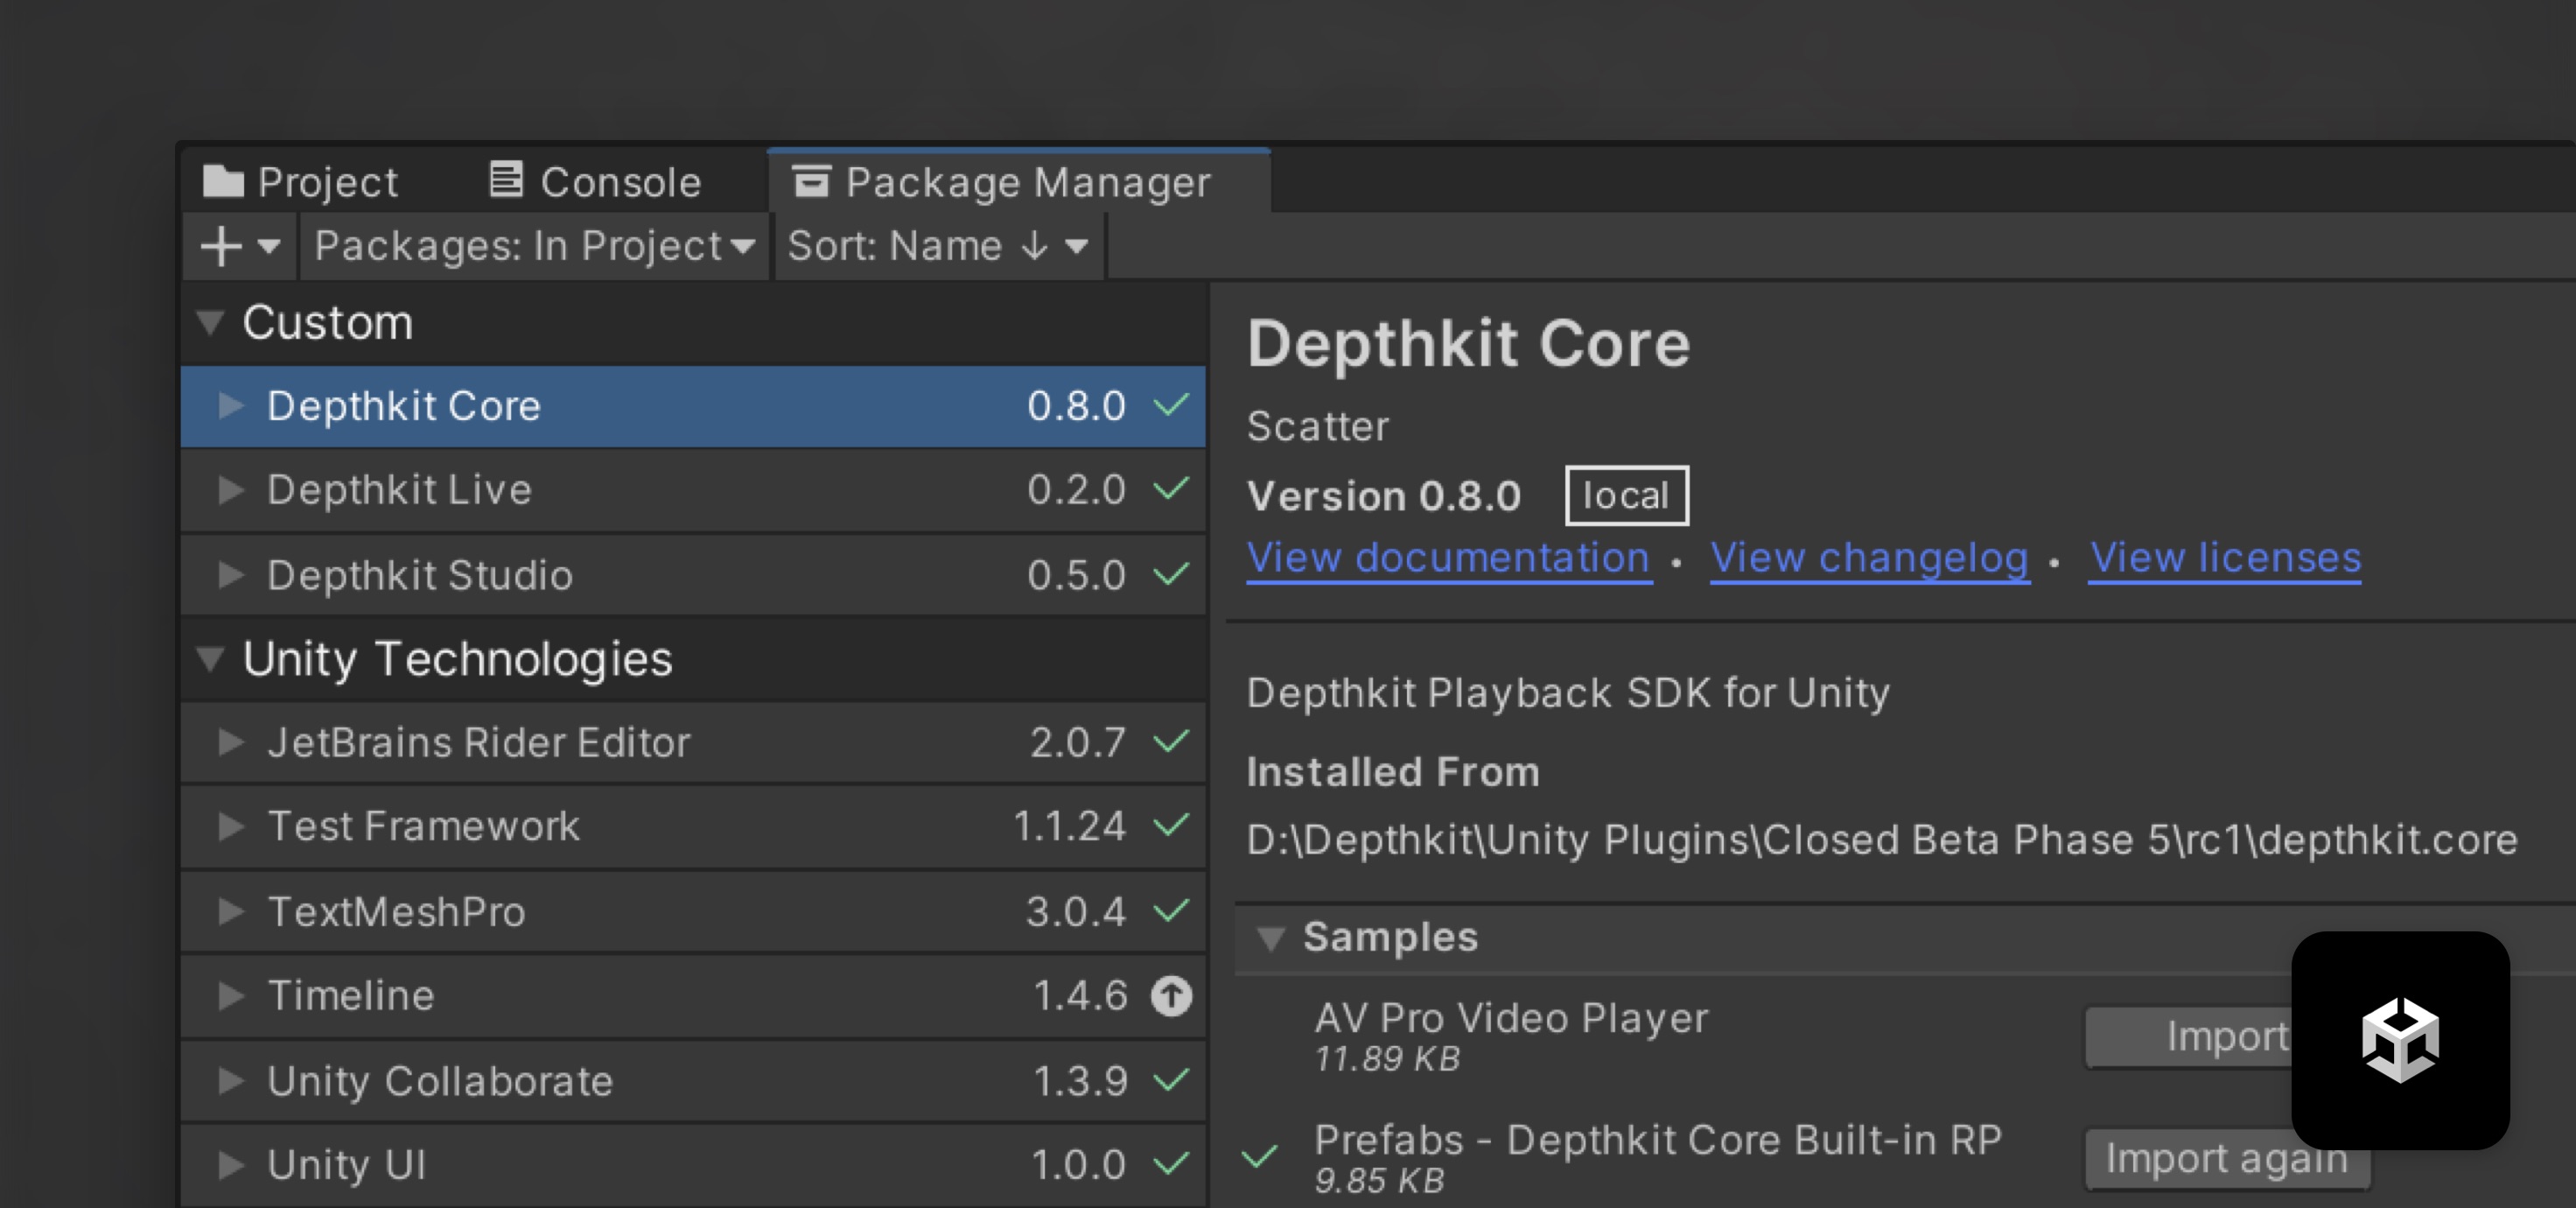
- Create a Depthkit Core or Depthkit Studio object from scratch, or import a Depthkit Core or Depthkit Studio prefab from the Package Manager, and add it to your scene.
Setup the Depthkit Clip component.
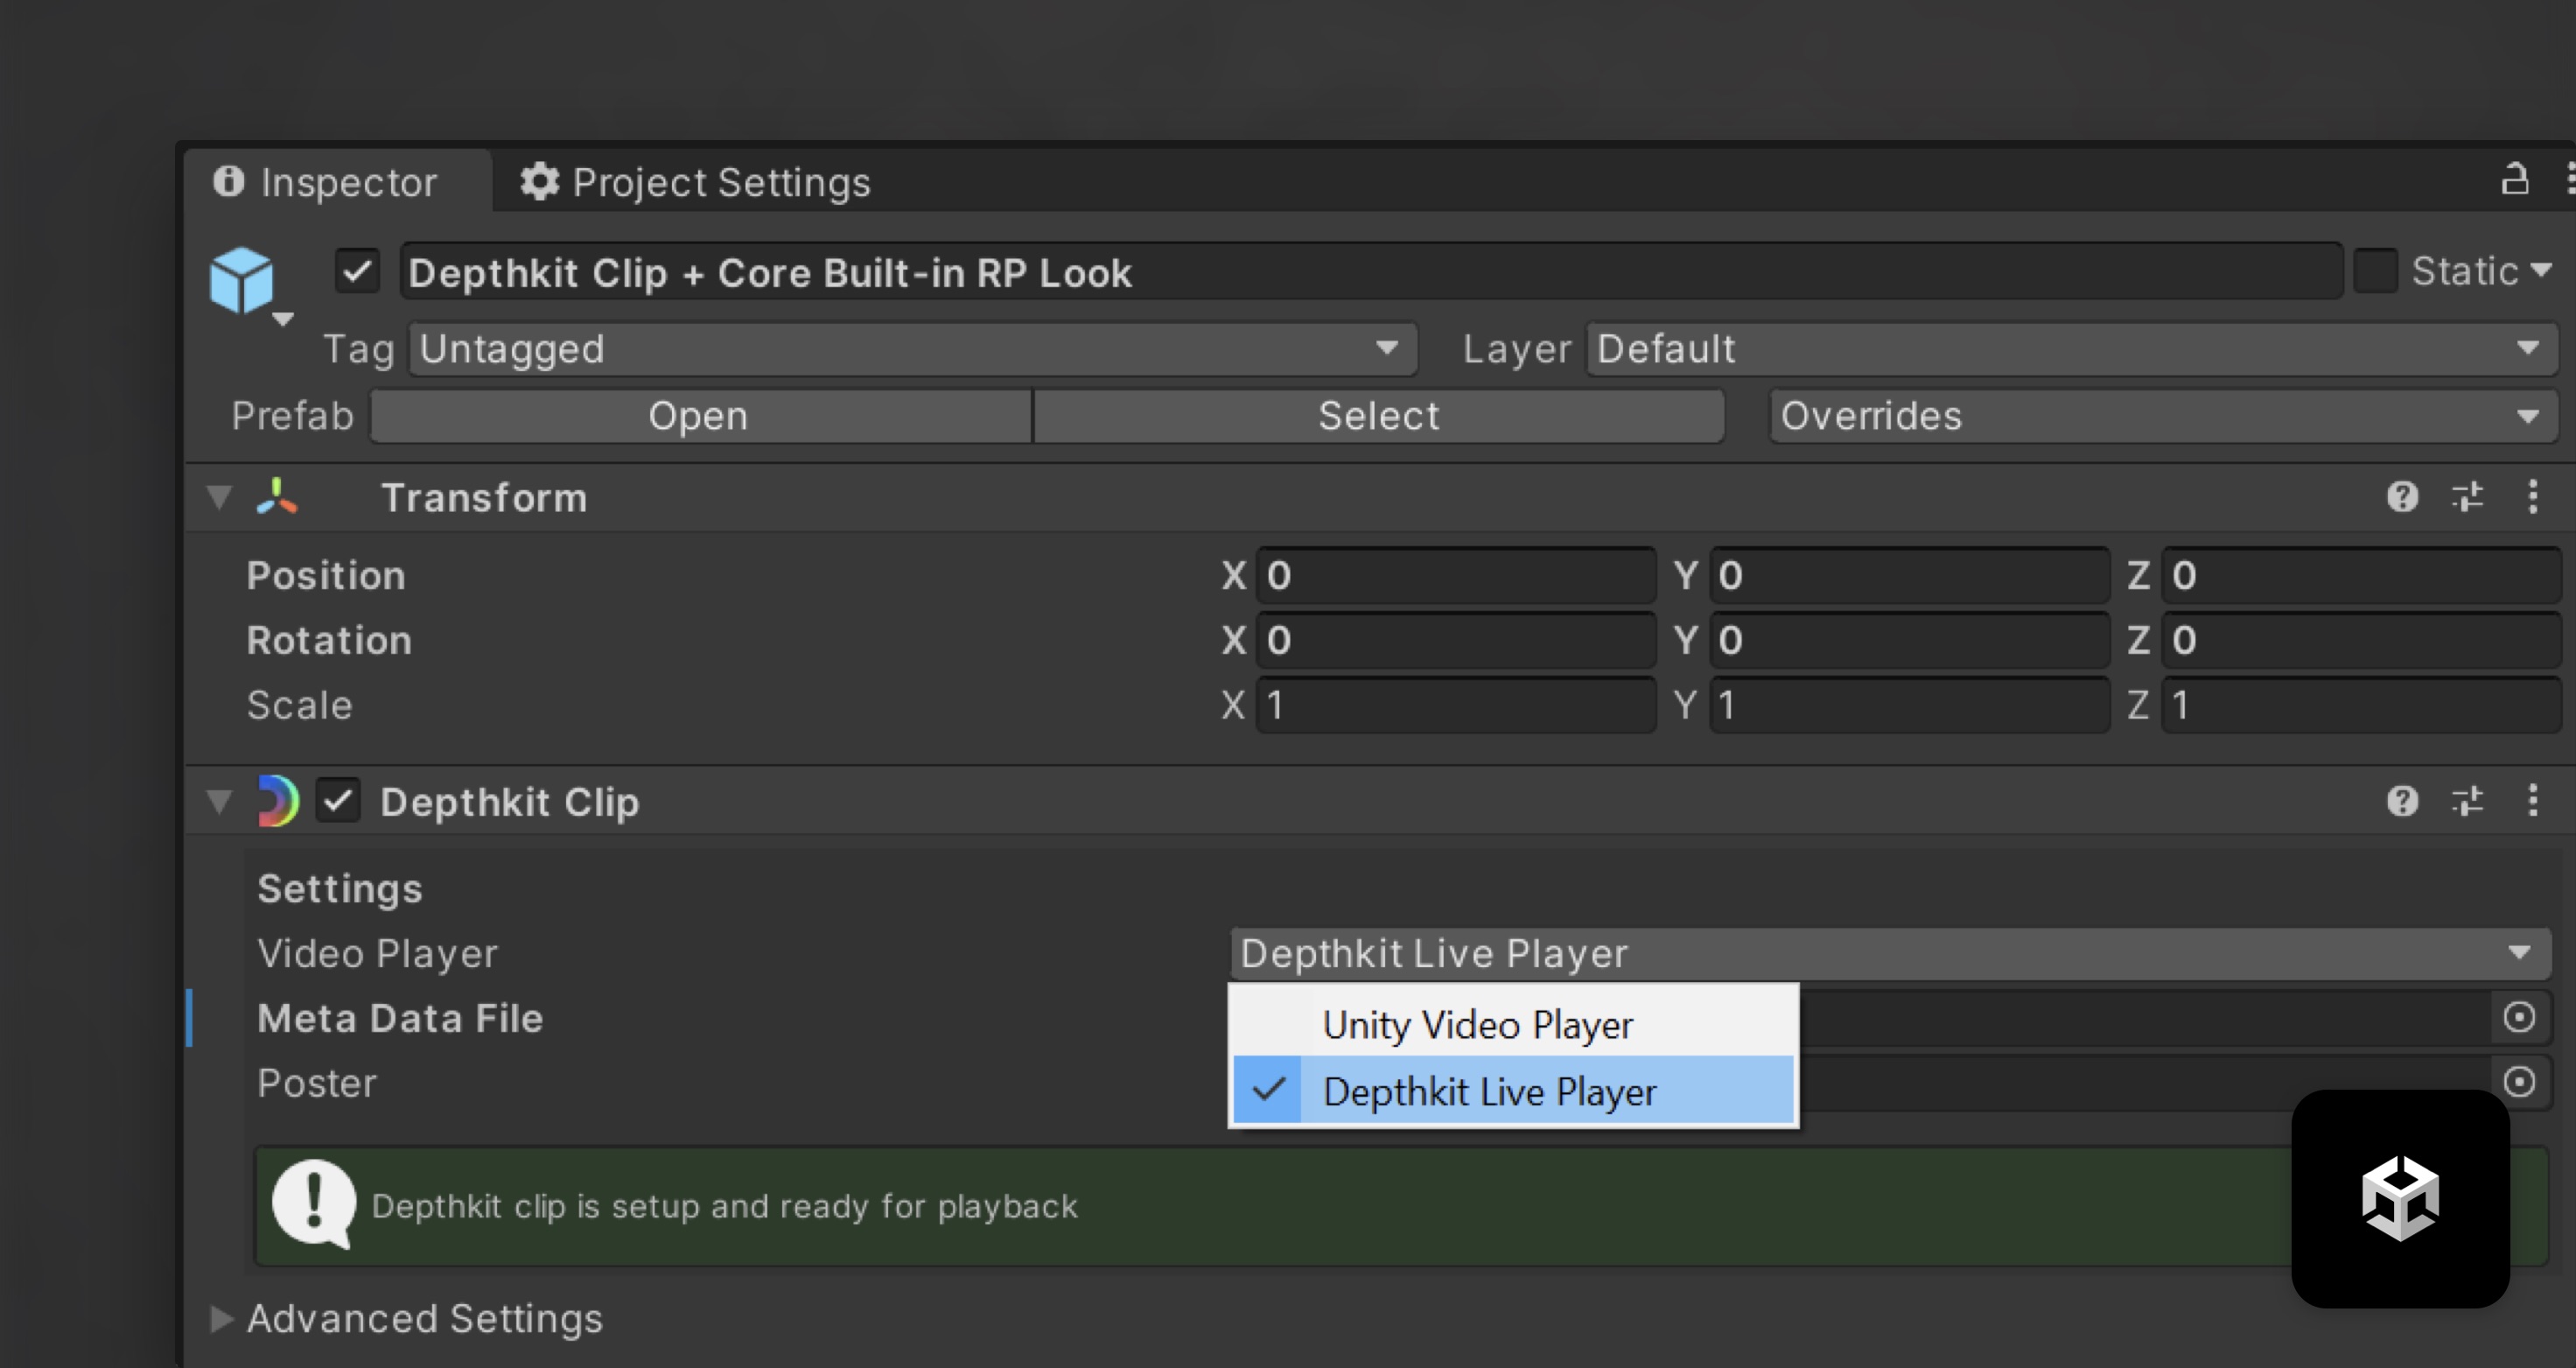
- In the Hierarchy, select your Depthkit clip, then in the Inspector, under the Depthkit Clip component, select the video player dropdown and select Depthkit Live Player.
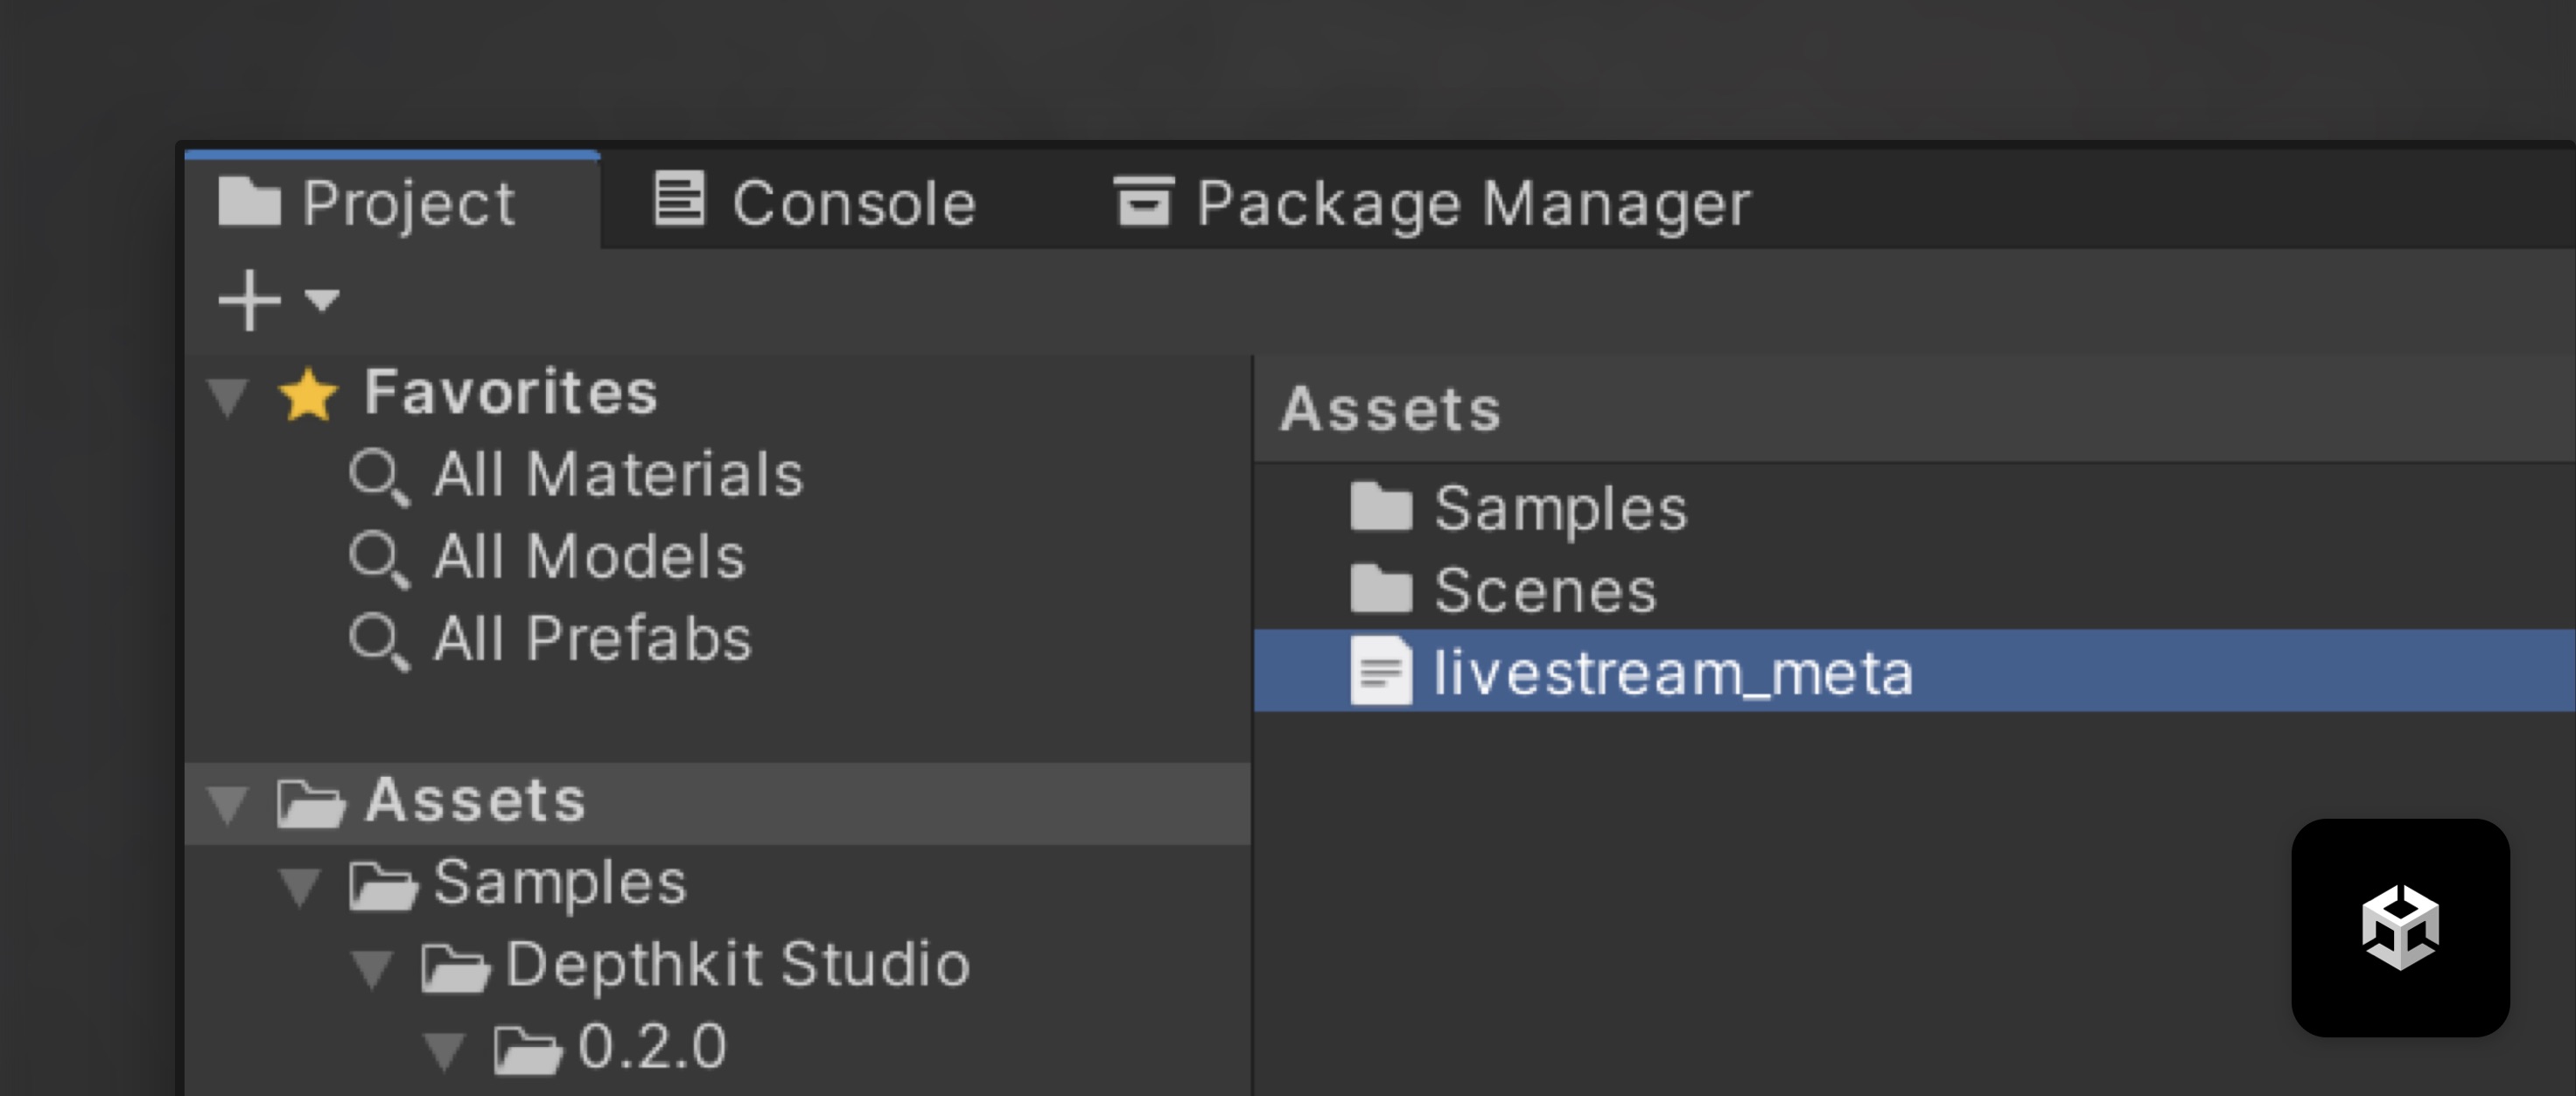
- Add the livestream_metadata.txt file to your Unity project’s Assets folder, and link it to your Depthkit object’s Metadata field.
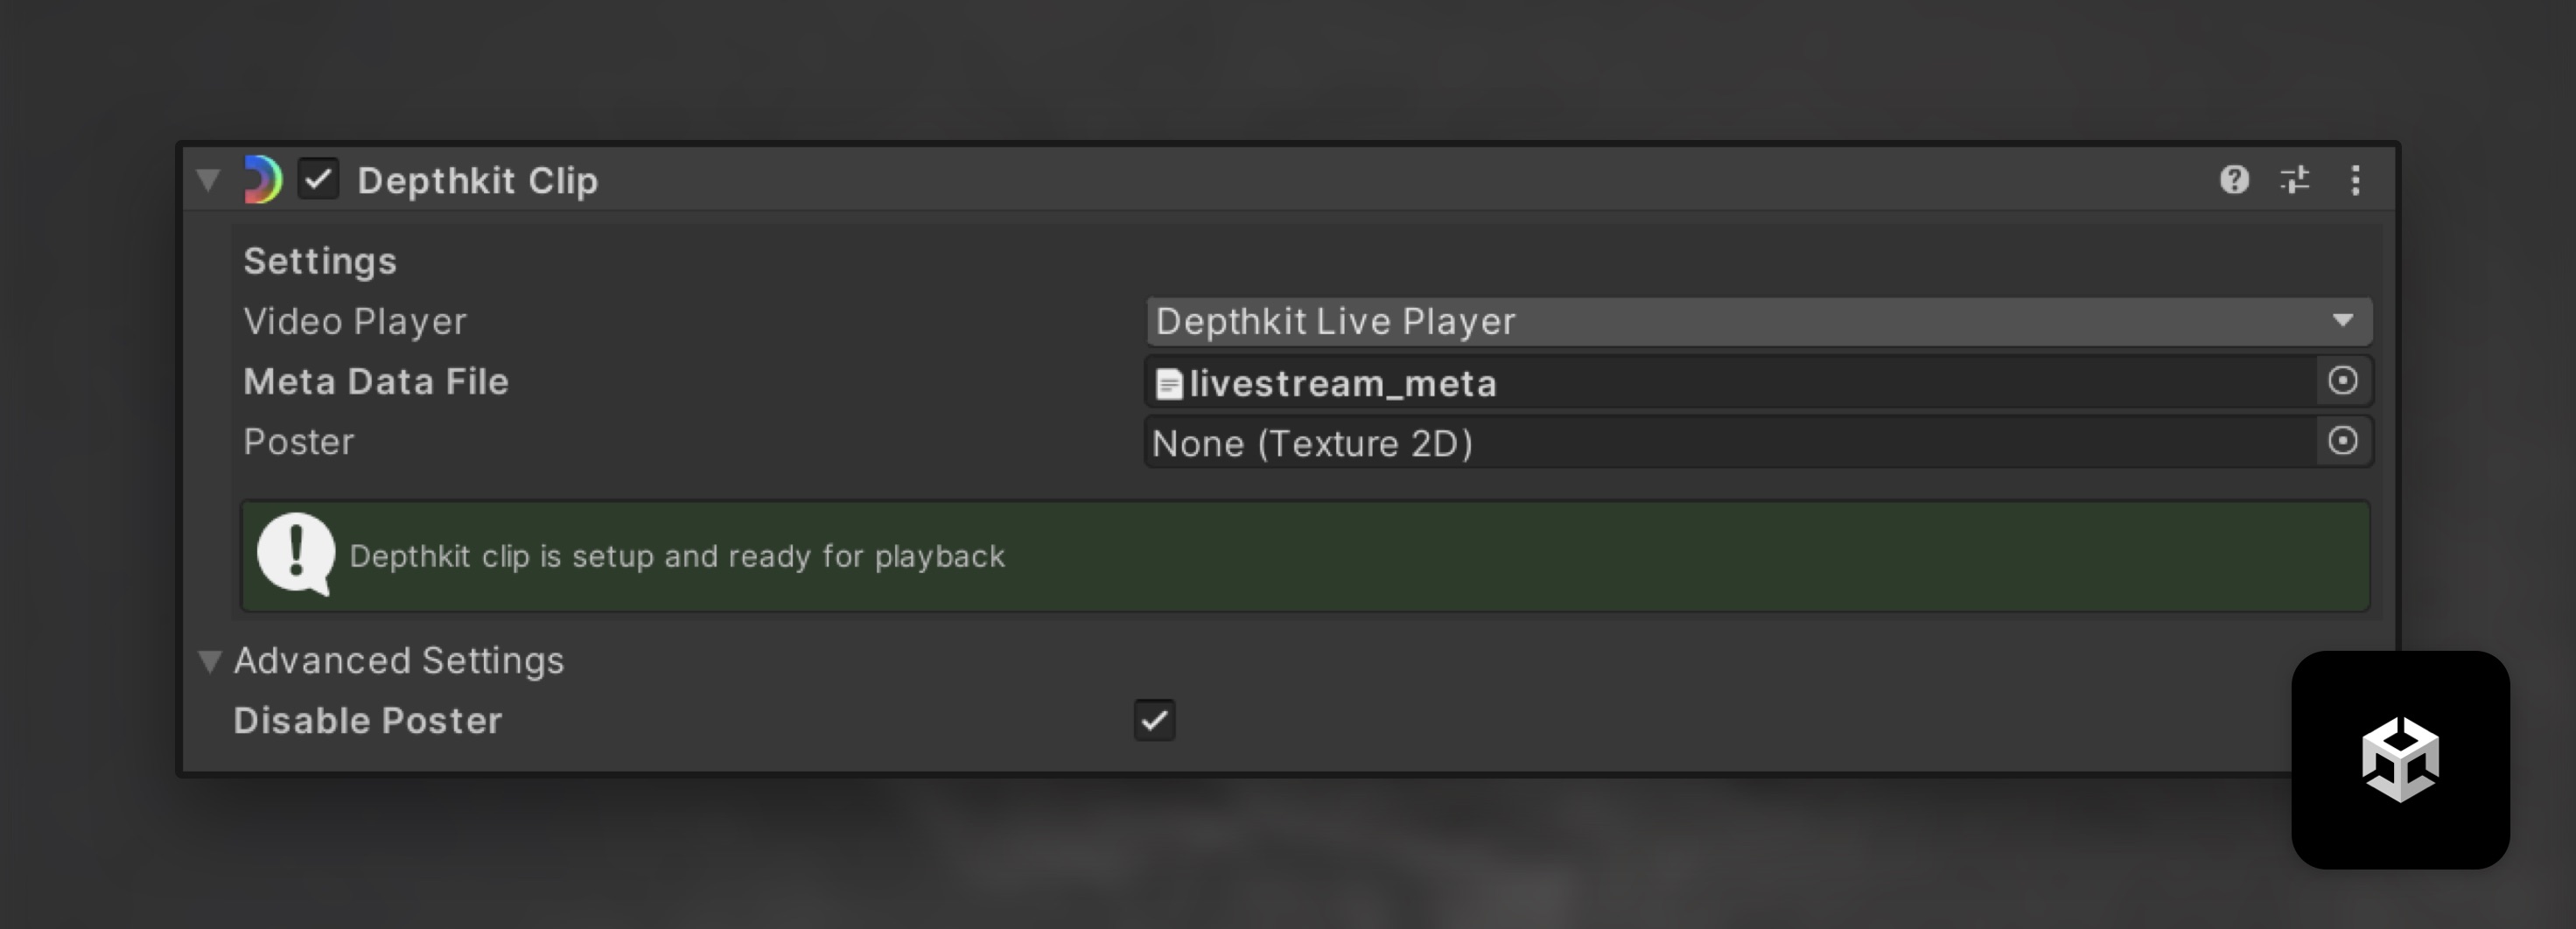
- Under Advanced Settings, check the box to Disable Poster.
Once linked, the Depthkit Clip component will report that your clip is setup.
- In the Spout Receiver Component, select the Source Name Depthkit, or whatever custom stream name is specified in Depthkit's preferences.

Press Play and you will see the live stream from Depthkit into your unity scene.
Tips and troubleshooting
- Livestream not appearing in Unity, or only rendering a few triangles - If the surface buffer displays default values of 0 or 200000, then the surface buffer needs to be reset. With the livestream running and Unity in Edit mode, have someone step into the volume to give the renderer an approximate number of triangles to sample, and click 'Set Surface Buffer Capacity' in the Depthkit Studio Mesh Source component. You may need to momentarily task switch to Depthkit to get a steady stream of data into Unity, and then immediately click the 'Set Surface Buffer Capacity' button.
- Live stream from Depthkit has low FPS - If your PC's resources are saturated, Depthkit will slow down significantly if not in-focus in Windows. After entering Play mode in Unity, task switch to Depthkit to bring it into Windows focus and increase the framerate.
You can also increase performance by limiting Unity's framerate - See Unity issues.
To divide these tasks between multiple computers, consider live streaming over a local network. - Dynamically loading metadata - If you ever change your sensor settings or update your Depthkit Studio calibration, you’ll need to provide updated metadata to Unity. In order to do this, you must exit Play Mode and bring the new metadata into your project, or modify the Depthkit Unity plugin to load the metadata dynamically from an external source rather than from the local file in the project.
Updated 10 months ago
