Recording Core captures
In this page
Recording →
Considerations for Refinement →
Capturing with automatic background segmentation →
Finalizing the take →
Library →
Recording
Once your sensor is plugged in and set up in the proper configuration, you're ready to record.
Press the Record button to begin recording.

When recording, monitor the following:
- Diagnostic panel for dropped frames
- Color and Depth Preview windows to ensure your subject stays in frame
- Color Preview to make sure your subject is properly exposed
- Depth Preview to look for holes in the depth data caused by materials difficult to detect with the sensor
Considerations for Refinement
See Capturing for Refinement Workflow section.
Capturing with Automatic Background Segmentation
When shooting with a Kinect for Windows v2, Depthkit detects one or multiple bodies with body index detection. This provides the flexibility to capture in any space and simply remove the background as an optional export setting.
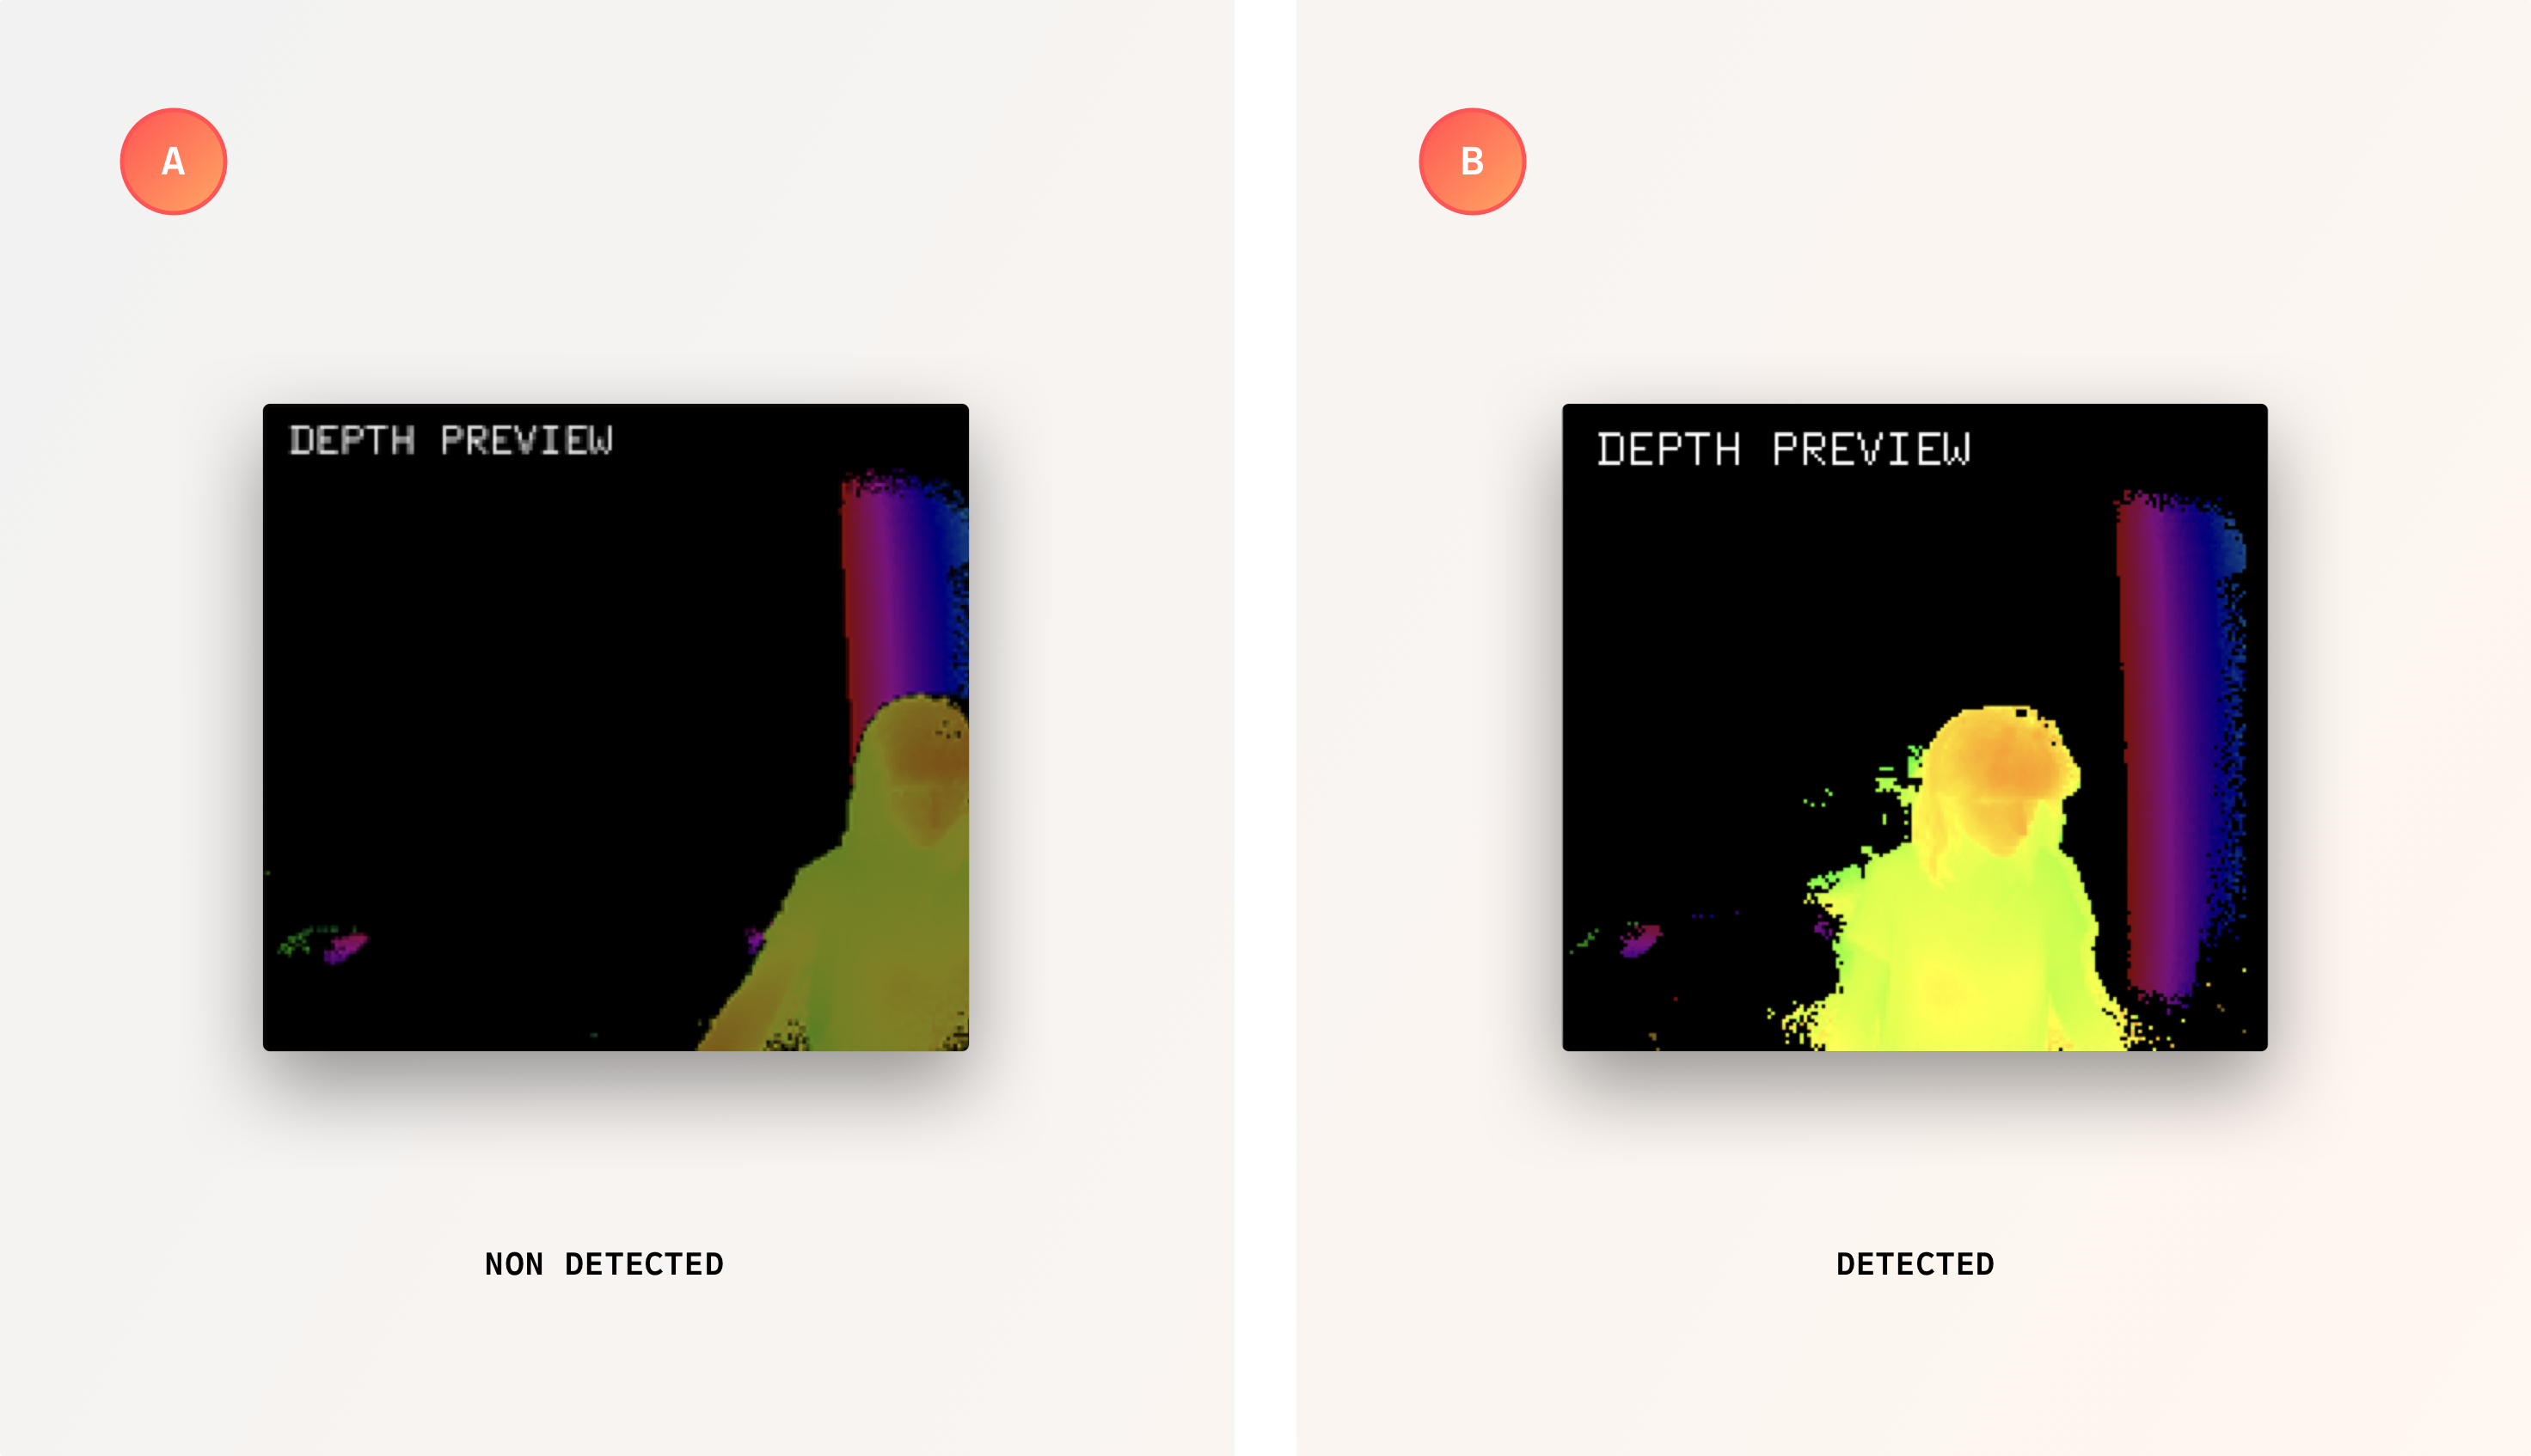
Body DetectionBody index detection will not recognize partial bodies, or subjects that are too close to the sensor. When recording, make sure your subject is detected, indicated by a highlighted portion of the depth preview. If there is nothing illuminated, you may not be capturing the body index data successfully.

Finalizing the take
When you have stopped your recording, the backlog will clear as the frames in memory are written to disk. You will not be able to record again until this is complete and the Record button is activated again.
Library
Once the recording is complete, the take will appear in your Library, which displays all takes along with their duration.

Updated 10 months ago
