Local Area Network livestreaming
In this page
What you'll need →
Setting up Depthkit →
Starting Spout to NDI →
Starting NDI to Spout →
Setting up livestream receiver in Unity →
Tips and troubleshooting →
Sending a Depthkit livestream over a local network has a handful of benefits:
- Having separate computers manage the capture and rendering of a Depthkit asset results in higher performance for both processes.
- The rendering output can reach as far as the network, enabling livestreaming into a different room, or even the far end of a large building.
- Relatively low latency compared to streaming over the internet using a WebRTC or a CDN.
What you’ll need
- A PC to run Depthkit and send the stream over the network See hardware requirements forDepthkit Core and Depthkit Studio.
- A separate PC to receive and render the Depthkit stream
- The Depthkit PC app
- An active Depthkit license which includes Livestreaming, like Depthkit Studio - Seehttps://www.depthkit.tv/get.
- Sensor(s) and necessary accessories like data and power cables. If using multiple sensors with Depthkit Studio, you’ll also need sync cables and a calibration chart.
- Stable local network - Though NDI can transport video streams over Wi-Fi, we recommend using hardwired gigabit ethernet connections.
- Spout to NDI tools - More info is available here. As of SPOUTtoNDIv2012, these tools require NDI Runtime 5.
- Unity - See theRelease Notes of the latest Depthkit Expansion Package for the correct version number to use.
- Depthkit Expansion Package for Unity
Spout to NDI version 2.012 PerformancePerformance has been improved between versions 2.012 and 2.015, so ensure you're using the latest version to avoid stuttering/freezing.
Setting up Depthkit
- Create a Depthkit project.
- If using multiple sensors with Depthkit Studio, create a Studio Calibration.
- Configure the sensors’ options, including resolution, exposure, and white balance.
- Start Streaming
- For Depthkit Core livestreams using a single sensor, enter the Record context, and the sensor stream will begin automatically.
- For Depthkit Studio livestreams using multiple sensors, enter the Studio Calibration & Recording context, and click Start Streaming.
- Set Near and Far clipping planes to remove unwanted geometry and increase the fidelity of the depth data.
- In Edit > Preferences, check the Enable Record Context Live Stream box.
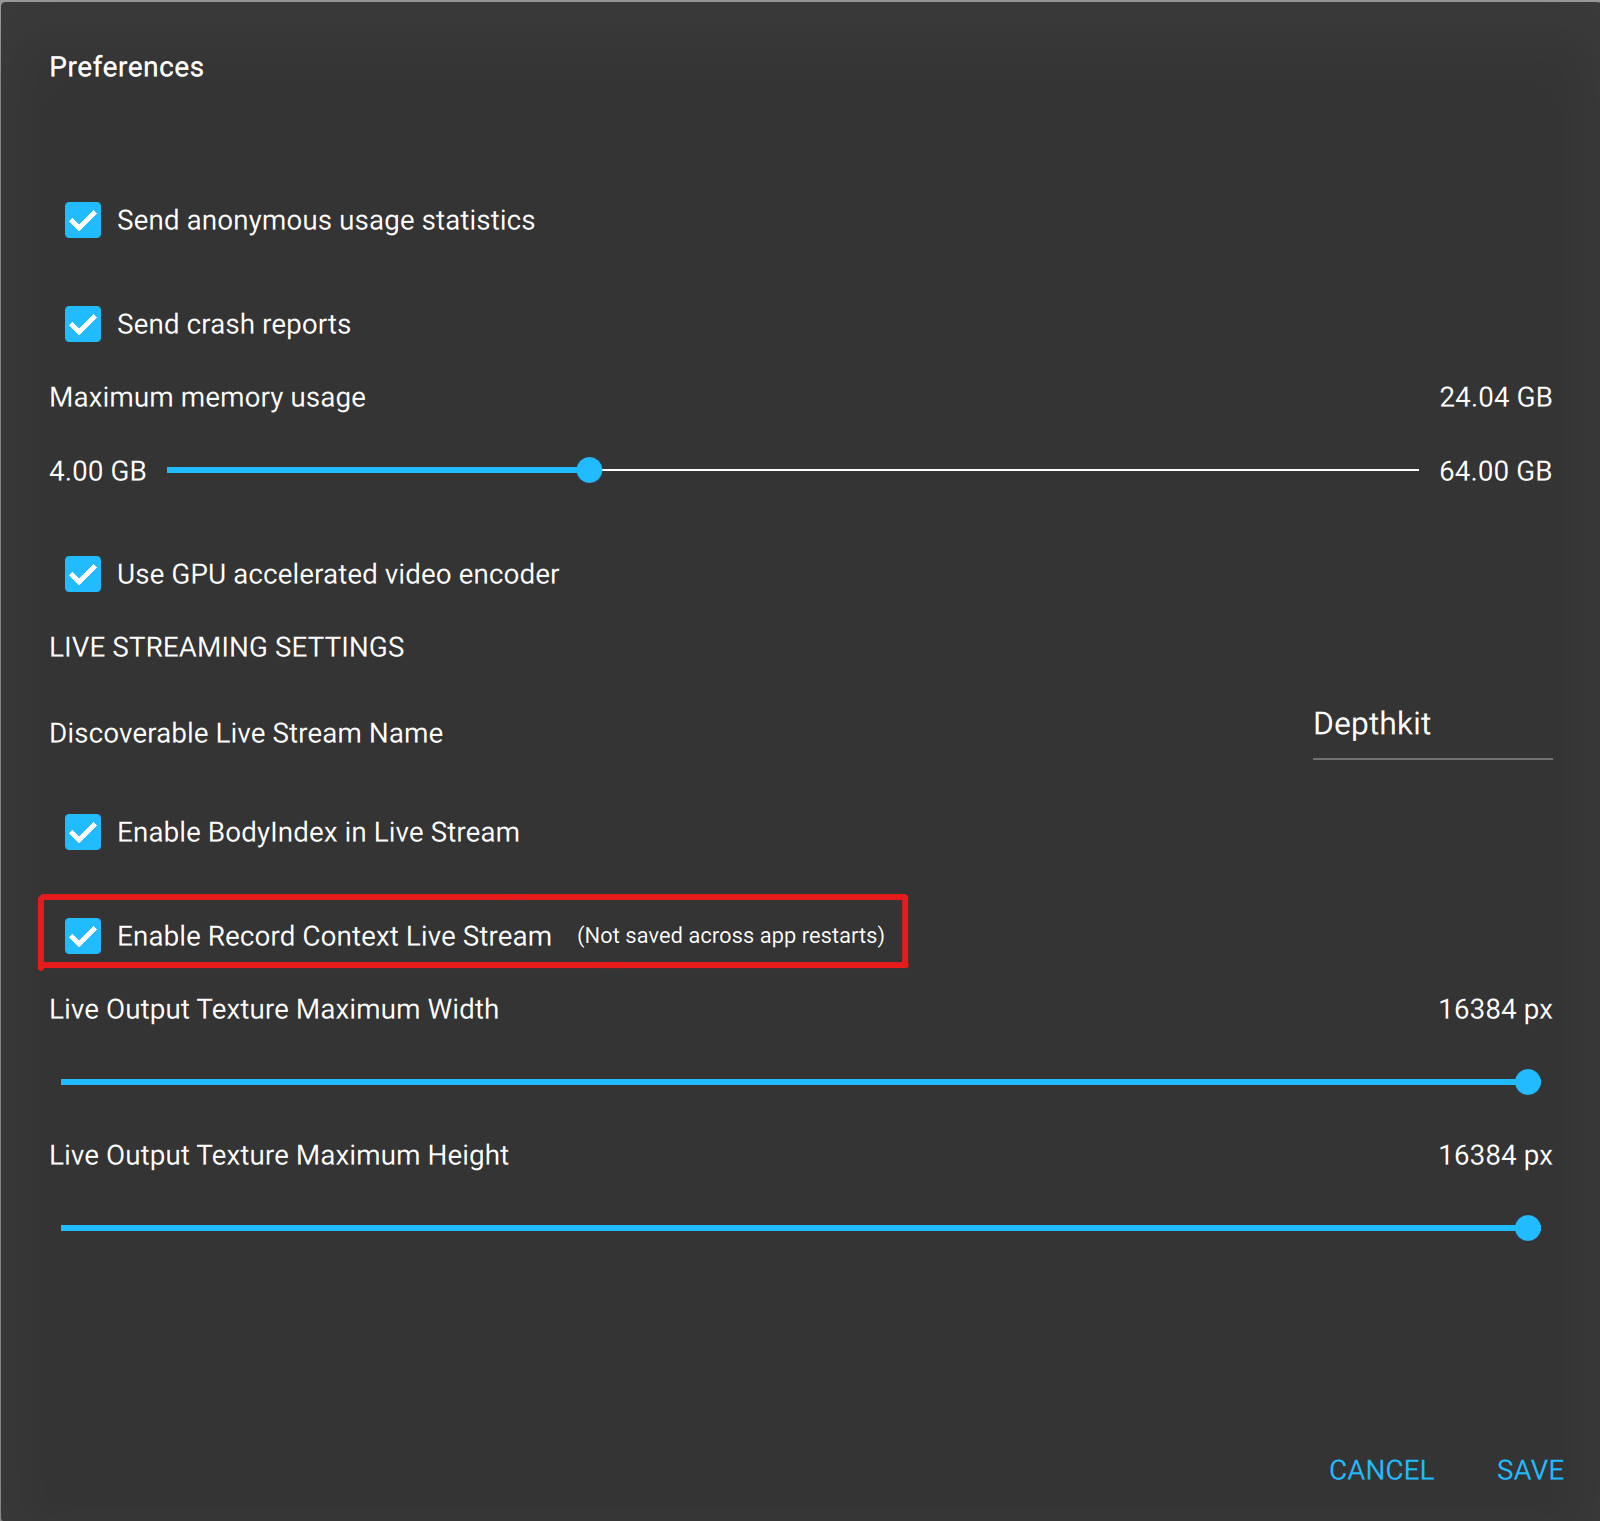
While Live Streaming is enabled, sensor settings and Near and Far clipping planes are locked. To make changes to these settings, disable Live Streaming, make your changes, then re-enable Live Streaming.
- Set the Live Output Texture Maximum Width and Height. In this example, am using the resolution limits of UHD video - 3840x2160.
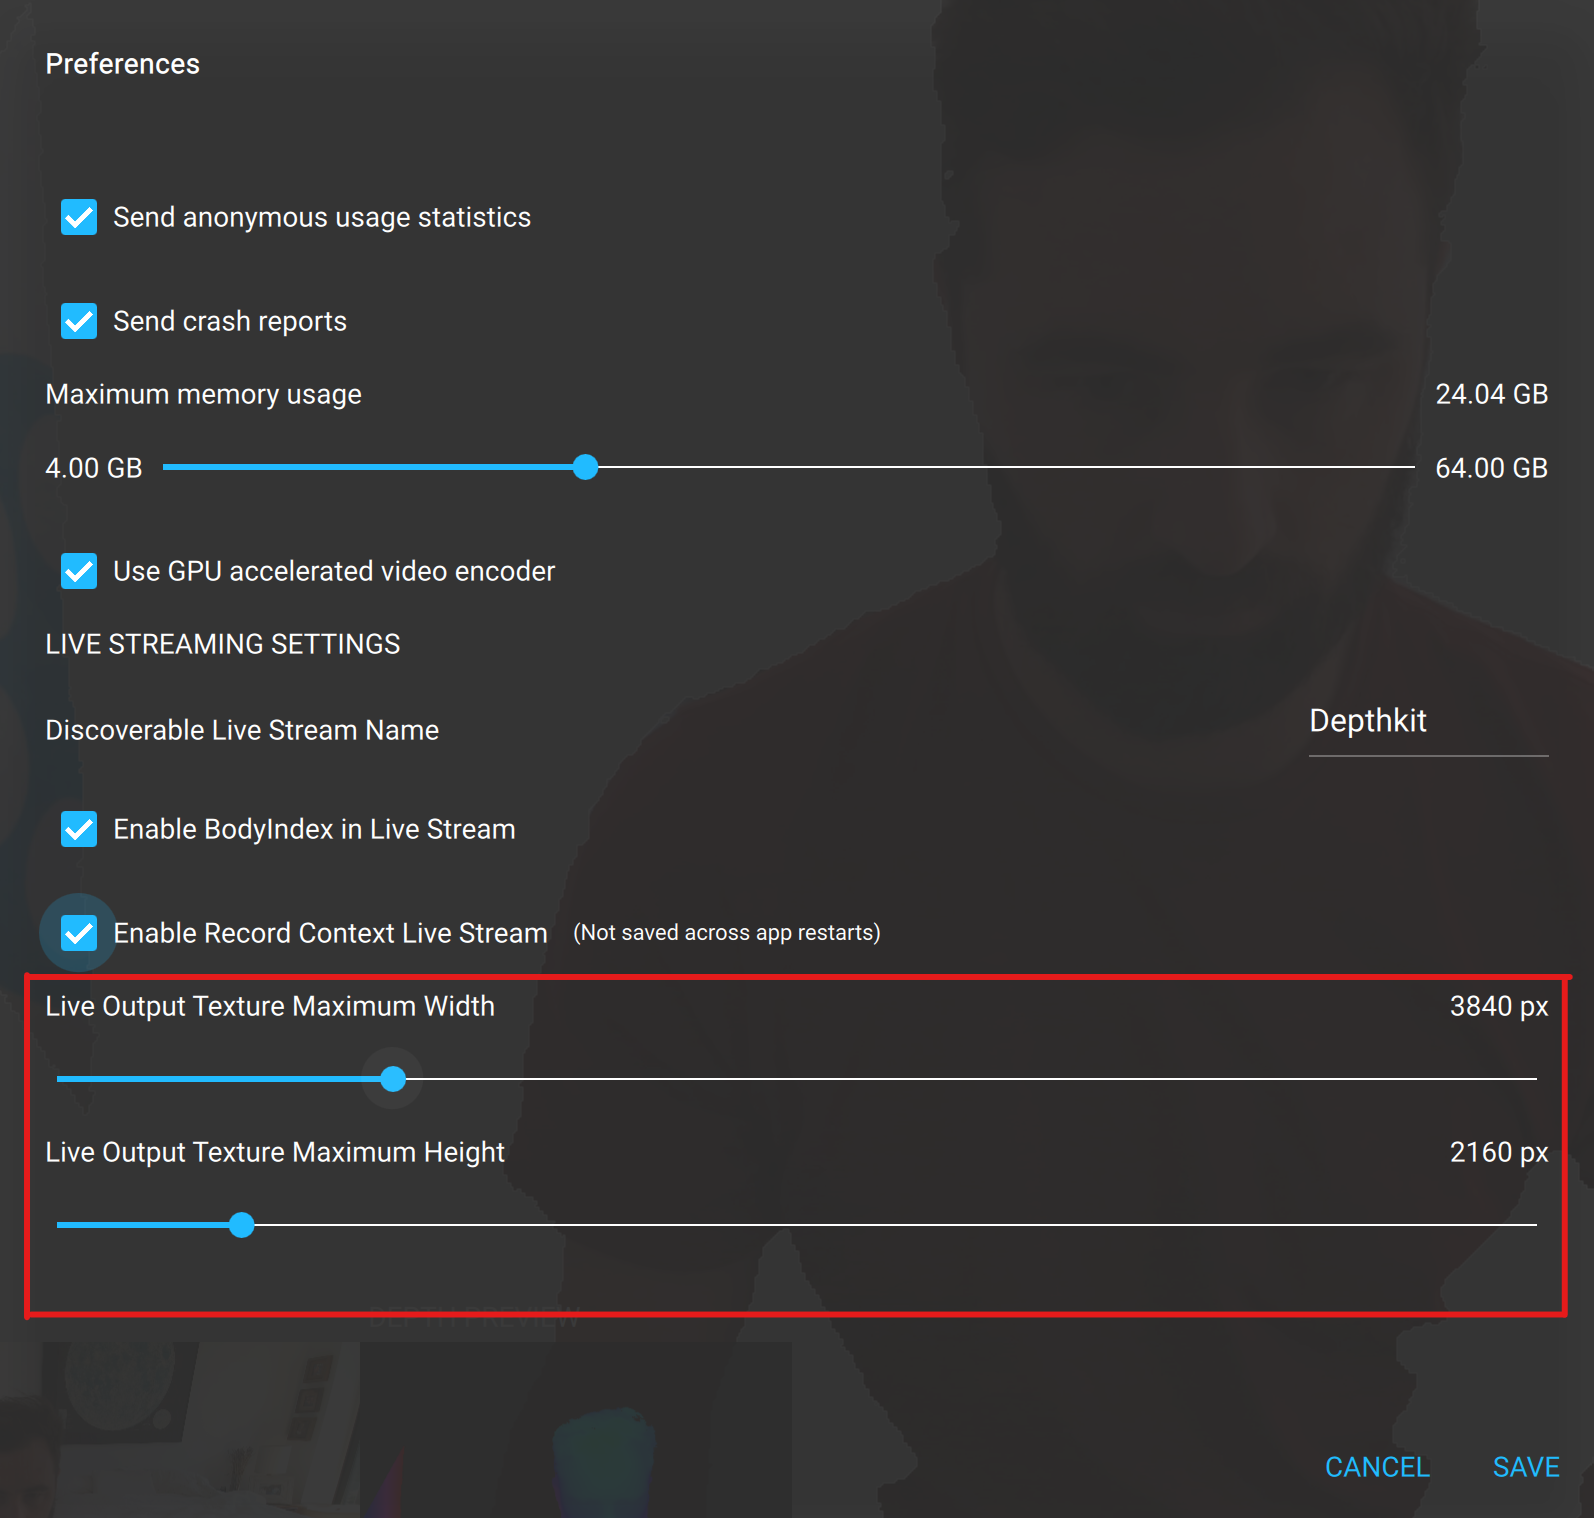
High-resolution streams may affect performance, so scaling down to a lower resolution will help maintain a high framerate.
- Start streaming again.
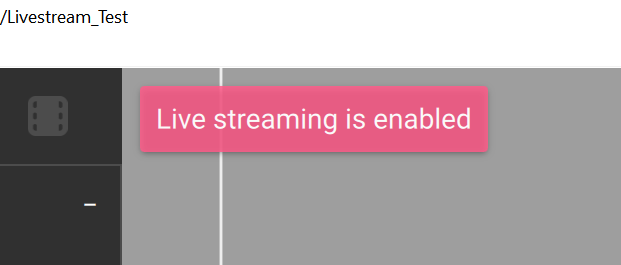
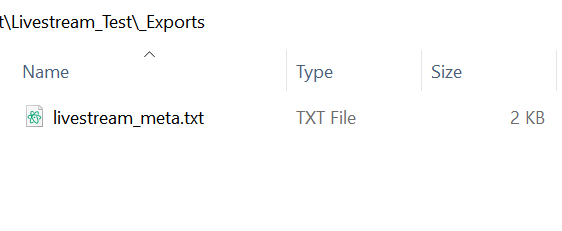
- A Live Streaming indicator will now appear in Depthkit’s 3D Viewport, and you will find a livestream metadata file in your Depthkit project bin’s “_Export” folder.
Starting Spout to NDI
- On your Depthkit computer, run the Spout to NDI executable found in the ‘bin’ folder of the SpoutNDI tools.
- If you have multiple Spout streams running on that computer, you may need to specify the Depthkit stream from the list of available senders in File > Select sender.
- Under File > Settings, change the FPS to 30.
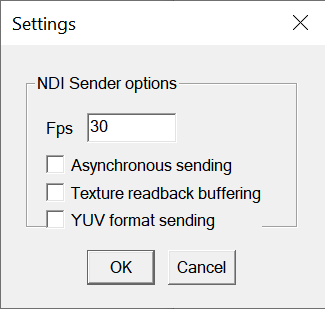
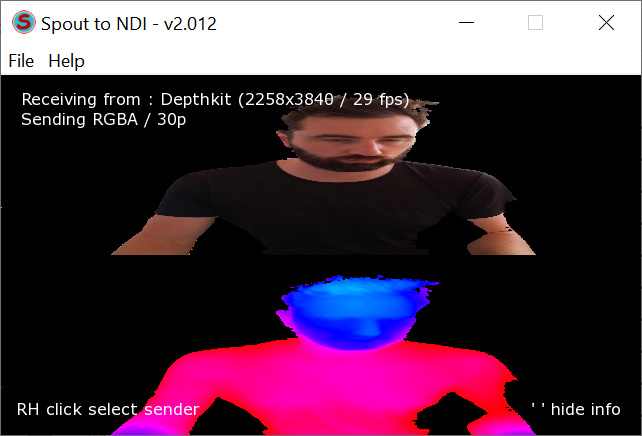
The resolution is automatically set based on the Spout stream that Depthkit is sending.
Starting NDI to Spout
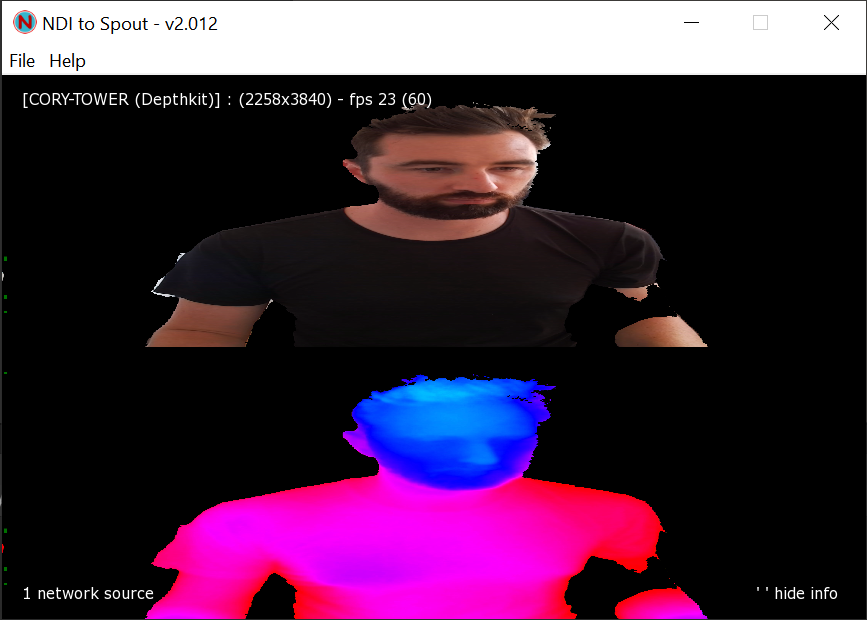
- On your rendering/receiving PC, run the NDI to Spout executable found in the ‘bin’ folder of the SpoutNDI tools.
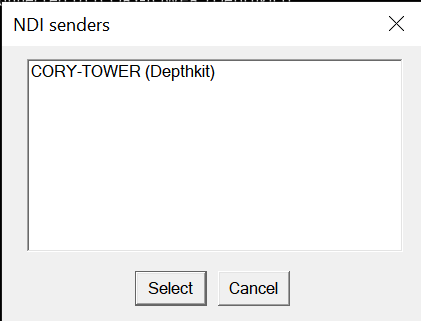
- If there are multiple NDI streams on your network, specify the Depthkit stream under File > Open
- Take note of the stream name in brackets at the top left of the monitor window, which will follow a SOURCE_PC_NAME (SPOUT NAME) naming convention.
Setting up livestream receiver in Unity
- On rendering/receiving PC which will be receiving the stream, open a Unity project.
- Add Keijiro’s Registry to your project in Project Settings > Package Manager.
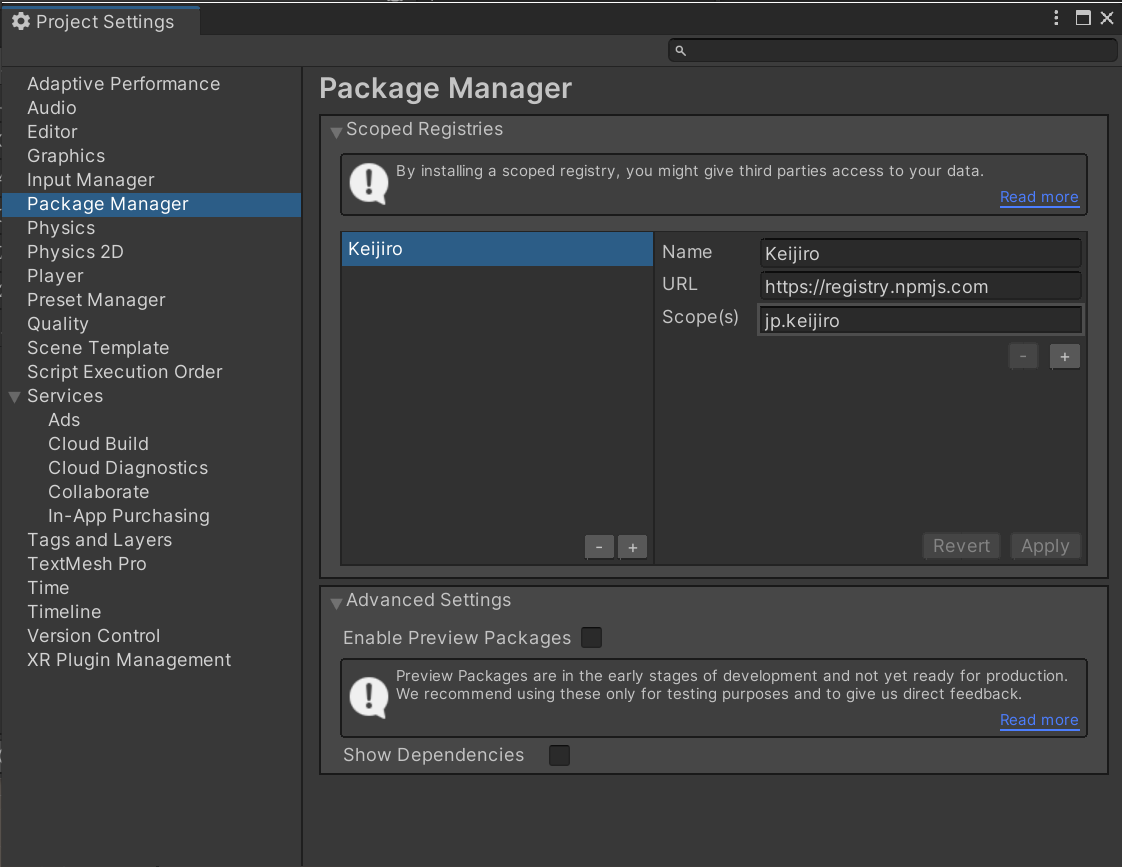
- Add the Depthkit Expansion Packages to the Package Manager in the following order:
- depthkit.core
- depthkit.live
- If using Depthkit Studio assets, add depthkit.studio or depthkit.studio.lite.
- If using URP/HDRP, add Depthkit Core (and Studio) Shader Graph and/or VFX Graph plugins.
KlakSpout <> Unity 2022 WorkaroundAn issue with KlakSpout in Unity version 2022 may require a modification to the KlakSpout package to get it to work. See this post for more details.
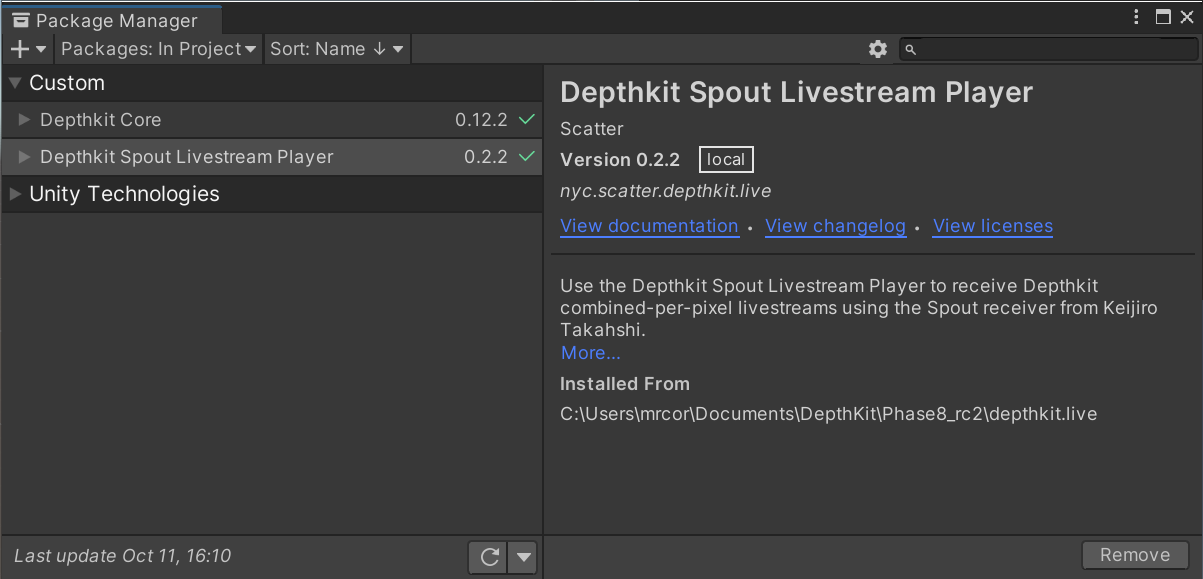
- Create a Depthkit Core or Depthkit Studio object from scratch, or import a Depthkit Core or Depthkit Studio prefab from the Package Manager, and add it to your scene.
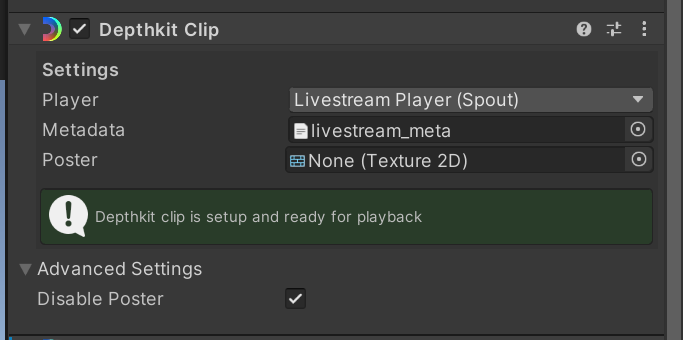
- Setup the Depthkit Clip component.
- Change Player to Livestream Player (Spout).
- Add the livestream_metadata.txt file to your Unity project’s Assets folder, and link it to your Depthkit object’s Metadata field.
- Under Advanced Settings, check the box to Disable Poster.
- In the Spout Receiver component, select the Spout stream produced by the NDI to Spout tool.

- Depthkit asset should now be visible!
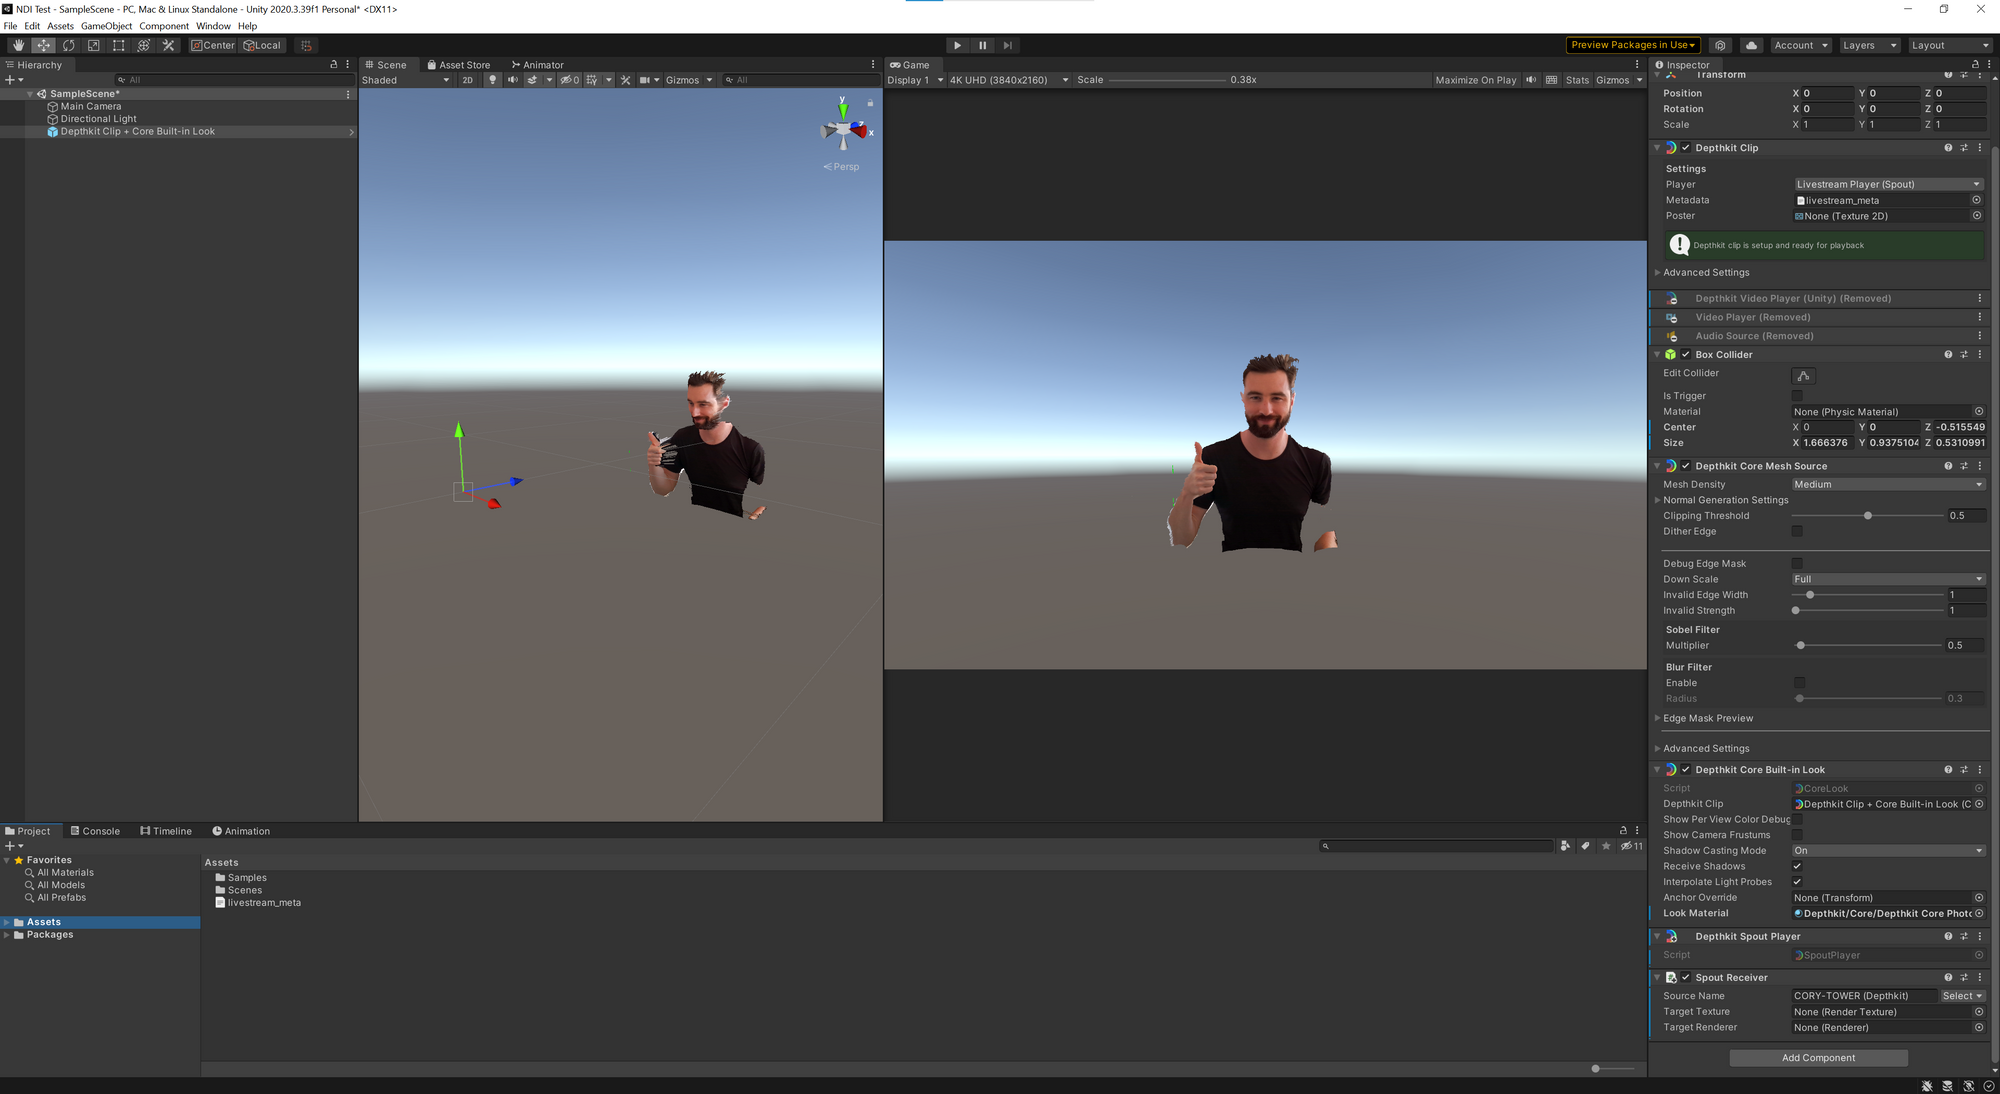
- For Depthkit Studio assets, adjust bounding box and set surface buffer capacity.
- Configure other mesh reconstruction and texture settings for your Depthkit Core or Depthkit Studio asset.
Tips and Troubleshooting
- Dynamically loading metadata - If you ever change your sensor settings or update your Depthkit Studio calibration, you’ll need to provide updated metadata to Unity. In order to do this, you must modify the Depthkit Unity plugin to load the metadata dynamically from an external source rather than from the local file in the project.
For additional troubleshooting, see the Livestream issues section.
Updated 10 months ago
