Positioning sensors
Depthkit Studio supports up to 10 Femto Bolt or Azure Kinect DK sensors. Sensor configurations are customizable based on your creative needs, capture space, and subject matter. Below, explore specifications for a 3, 5, and 10-sensor setups as well as best practices for assembling and positioning your sensors on stage, checking the sensors frames, etc.
📘 In any sensor configuration, the closer the sensor is to the subject the higher the quality.
In this page
Primary ("Hero") Sensor →\
Sensor orientation →\
Next steps →\
Primary ("Hero") Sensor
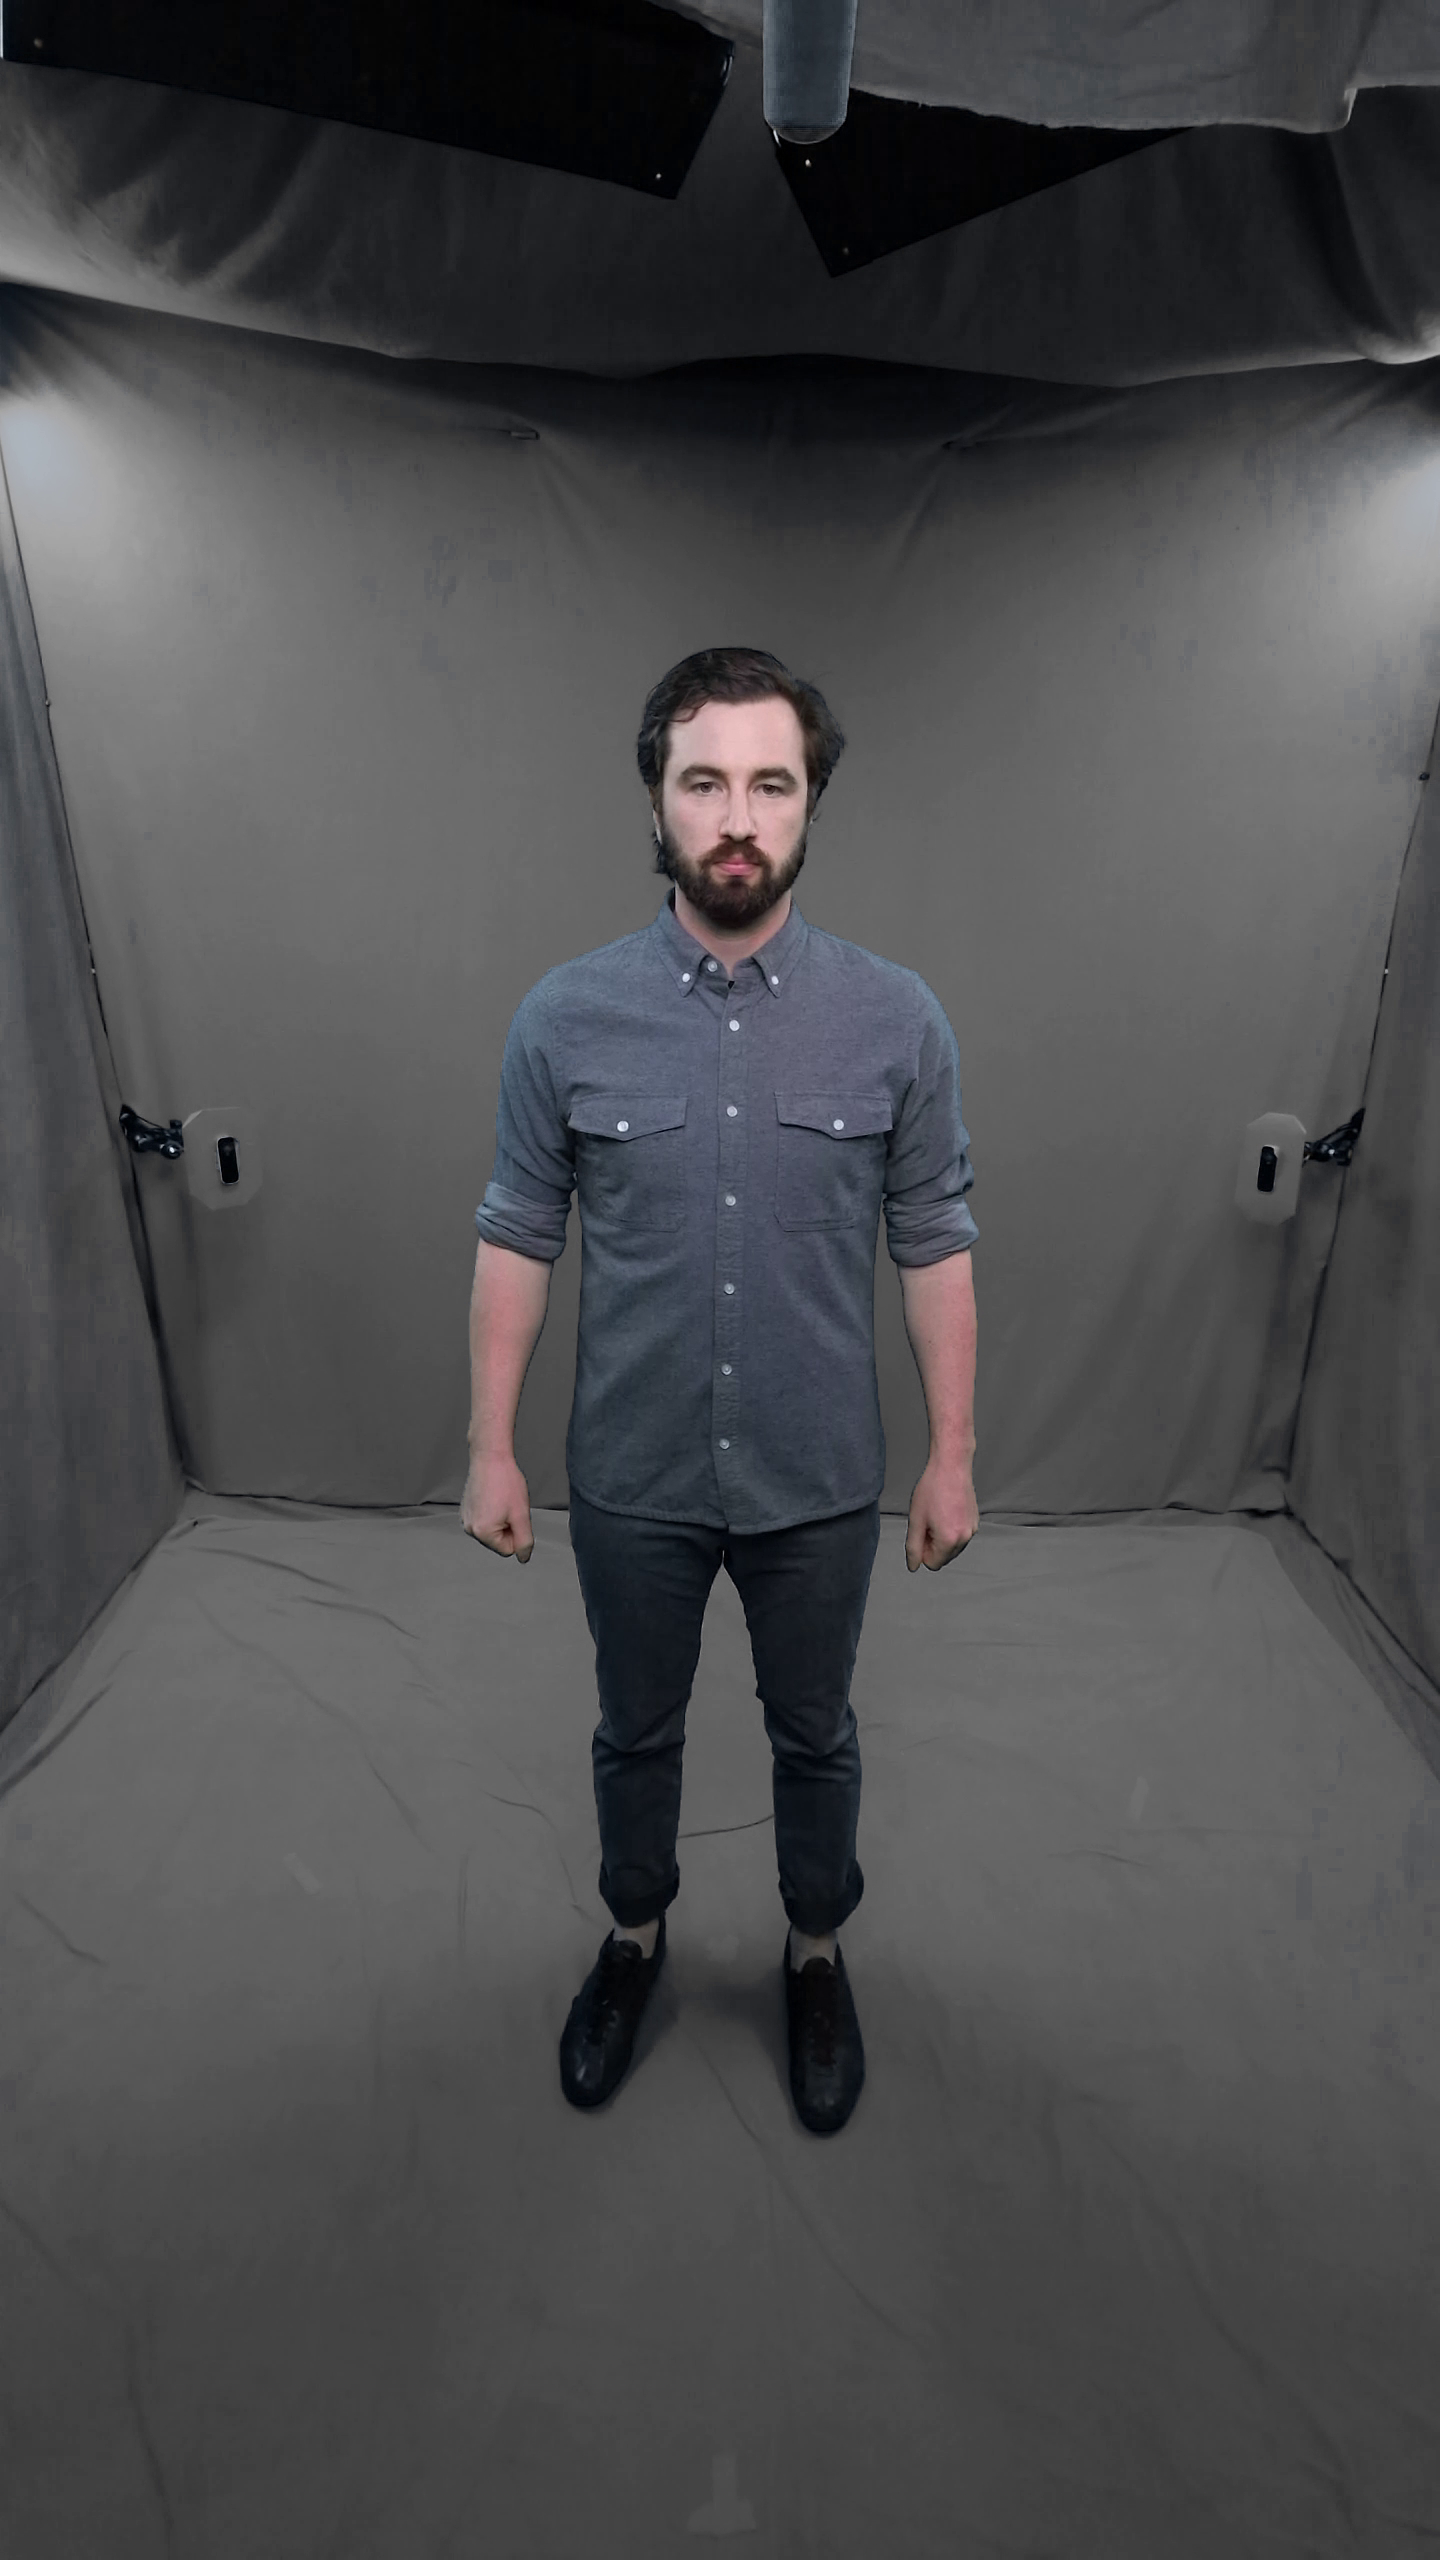
When determining the positions of your sensors, a good place to start is with a "hero" sensor. This sensor emulates the ideal perspective of the viewer, and should be approximately "eye" height and fit your subject's performance within it's frame while keeping the sensor as close as possible to the subject.
Having your subject perform directly toward the hero sensor and placing the viewer's perspective in a similar location will increase quality by reducing texture projection artifacts from skewed angles.
3 Sensors
Sensor coverage: approximately 270º of your subject.\ Calibration time: approximately 5 minutes - see Speeding Up Calibration

The three-sensor setup is a configuration that's quick and easy to set up, and is ideal for publishing to mobile.
The configuration consists of three sensors in a front-focused orientation. As seen below, one central sensor is placed at the height of the intended final viewer that is oriented directly at the front of the talent. Two sensors are positioned on either side of that central sensor. These two side sensors can be positioned slightly lower to see under sides of chin. This will allow for focus on the face as the prime area of focus. For best results, all three sensor perspectives should have the full body (or intended subject) within the frame.

3 Sensor capture results
6 Sensors
🚧 We now recommend 6 sensors
Most systems capable of capturing 5 sensors can accommodate a 6th sensor at the same capture settings. This makes better use of the combined-per-pixel format, and can be useful in filling in occluded areas.
Sensor coverage: 360º of your subject\ Calibration time: approximately 10-15 minutes - see Speeding Up Calibration

A full body capture configuration designed for a lightweight setup that captures the detail of your subject.
This design consists of six sensors. Four are arranged in a square formation. The fifth sensor is located at the front, positioned closer to your subject's face in order to capture higher quality facial detail, and the 6th is positioned further overhead
5 Sensor capture results.
10 Sensors
Sensor coverage: 360º of your subject\ Calibration time: approximately 30-45 minutes - see Speeding Up Calibration
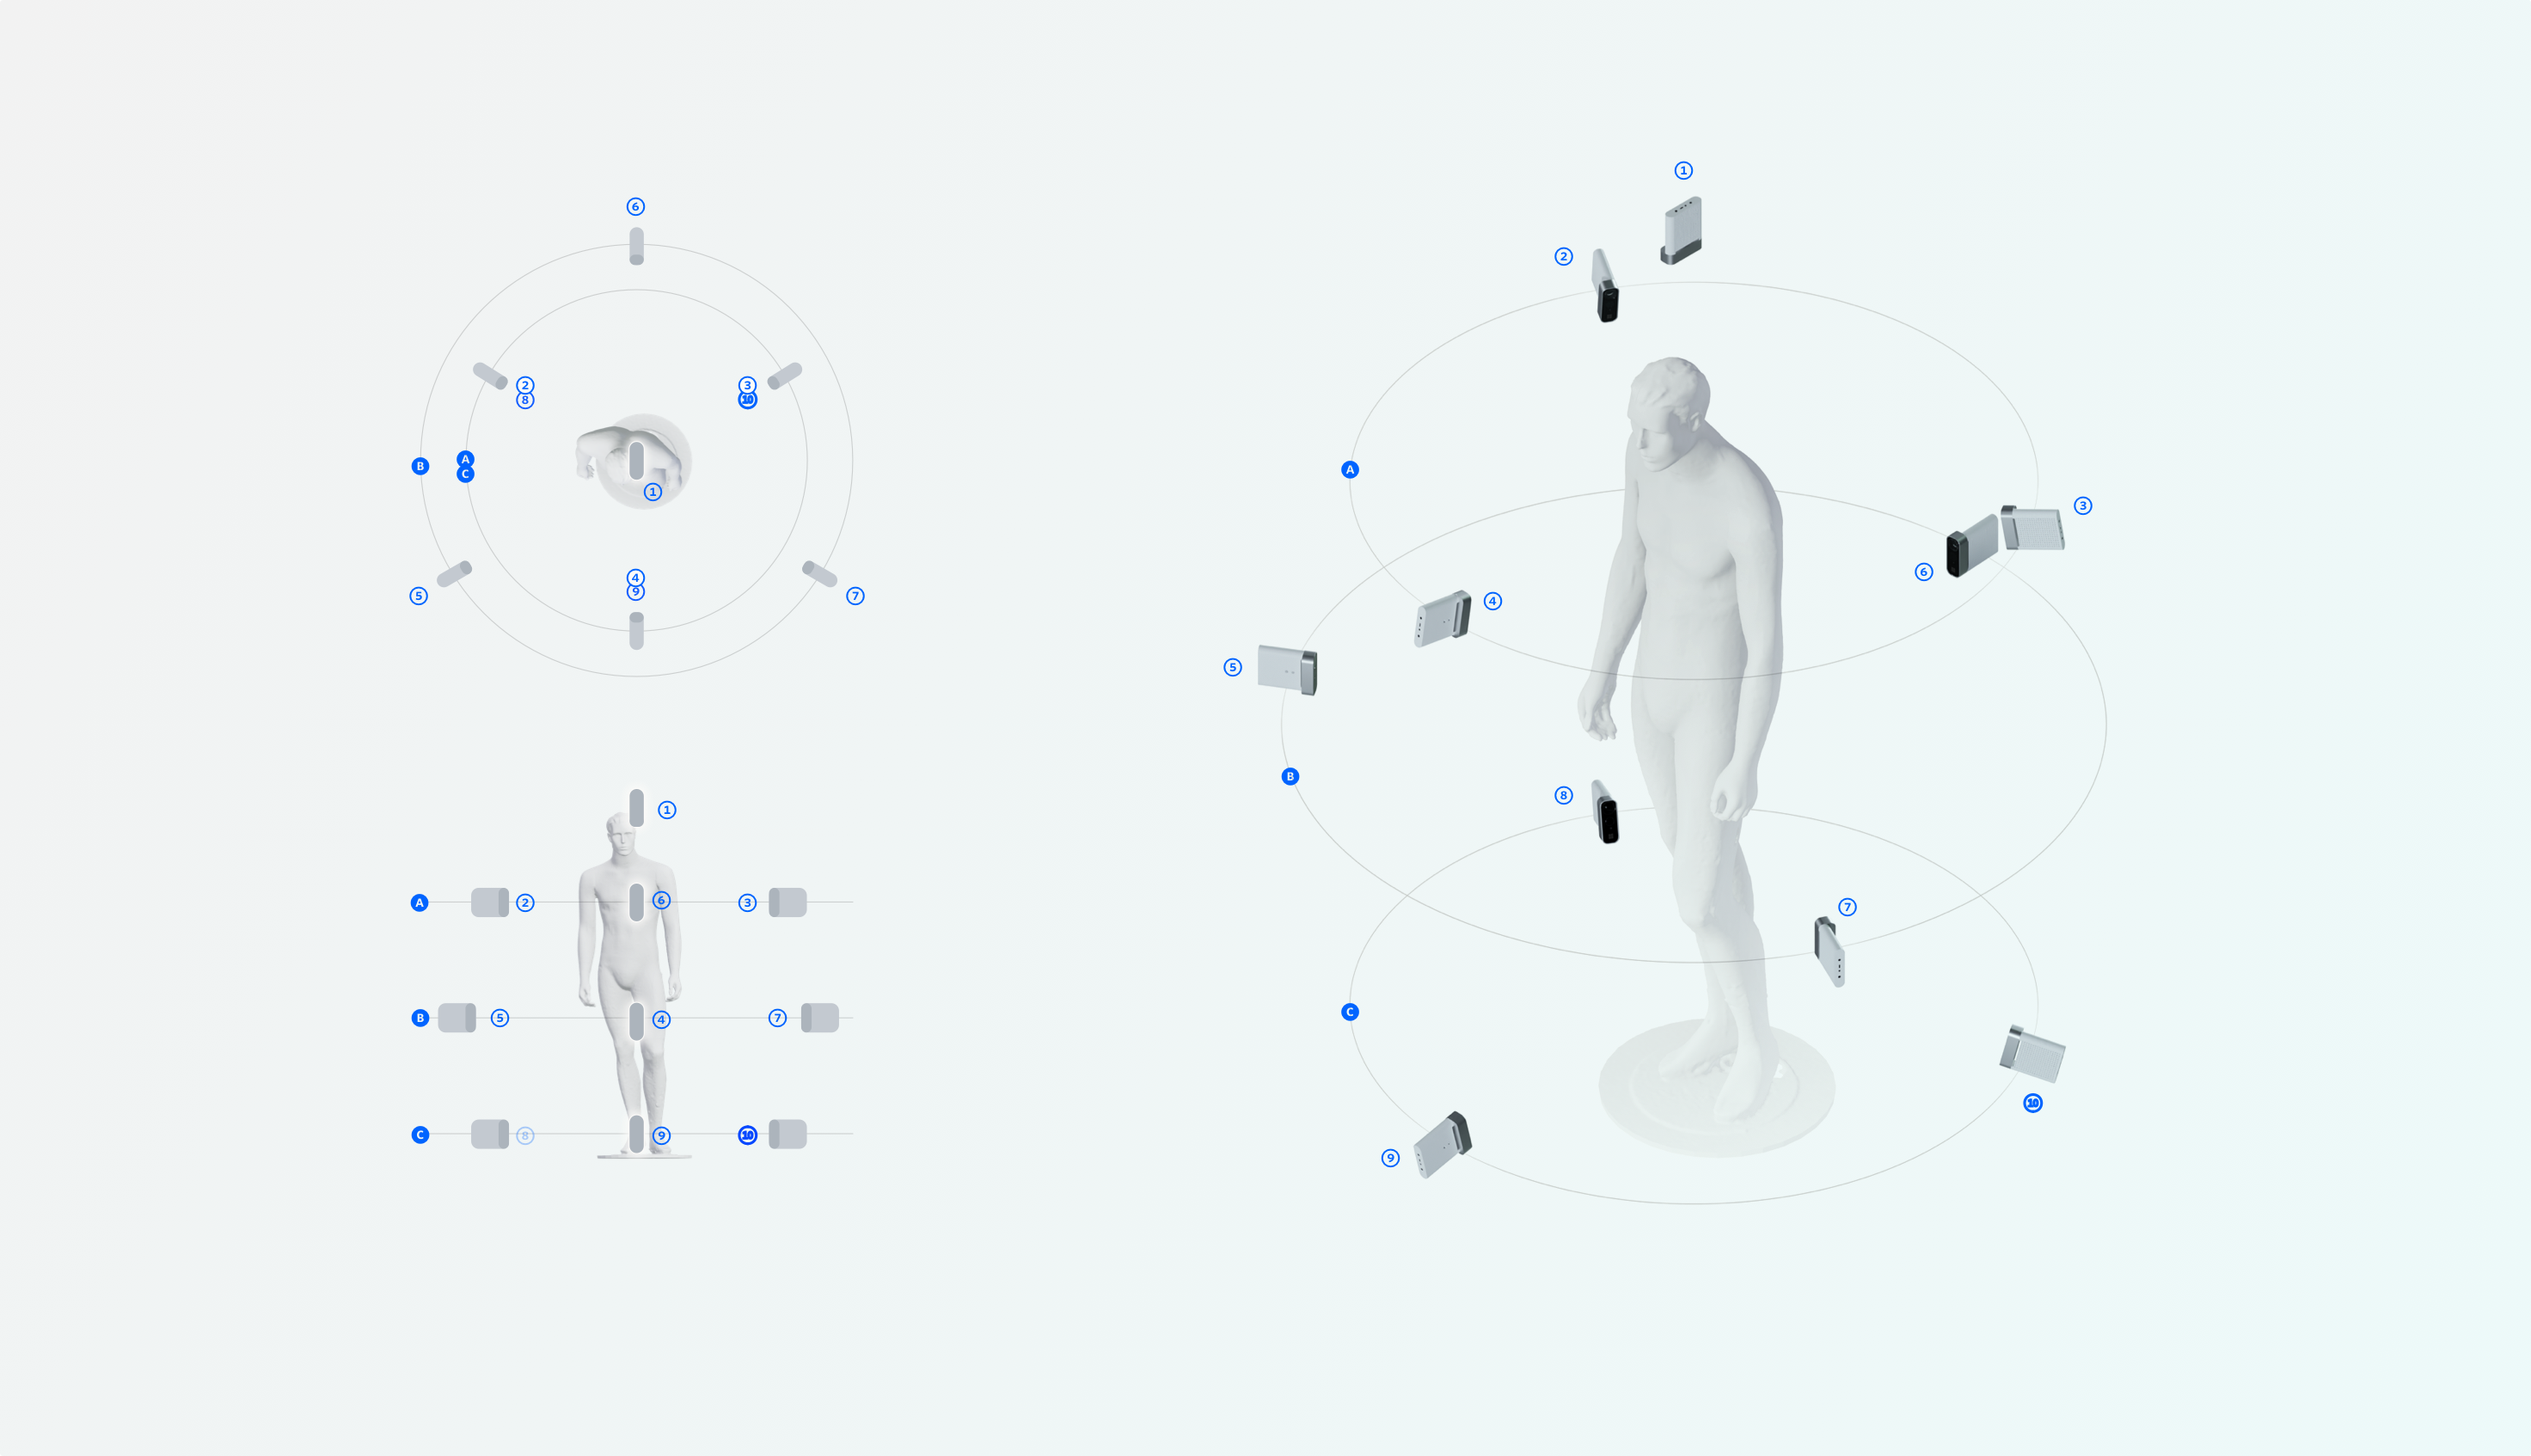
This sensor configuration represents the highest possible number of sensors that our system can currently support and creates high-quality results with a very low incidence of occlusions.
It is also configurable, enabling a studio to create capture volumes ranging from 3ft-6ft or more while still maintaining quality comparable to the results below. However, as a general rule the closer the sensor is to the subject the higher the quality.
The primary strength of this configuration is the excellent coverage and minimal occlusions which can support complex performances, gestures or productions that require multiple subjects. That coverage is most helpful in areas where the sides of the body are hidden by the arms, or the interior surfaces of the legs may be hidden by the opposing leg. The resulting reconstruction will also be more detailed and accurate overall.
Our recommended sensor configuration puts the sensors quite close to the subject to maximize the quality produced from the sensors – closer is always better with depth sensors – but you can increase the diameter of your rings and distance to subject as you need in order to create a larger central capture volume.
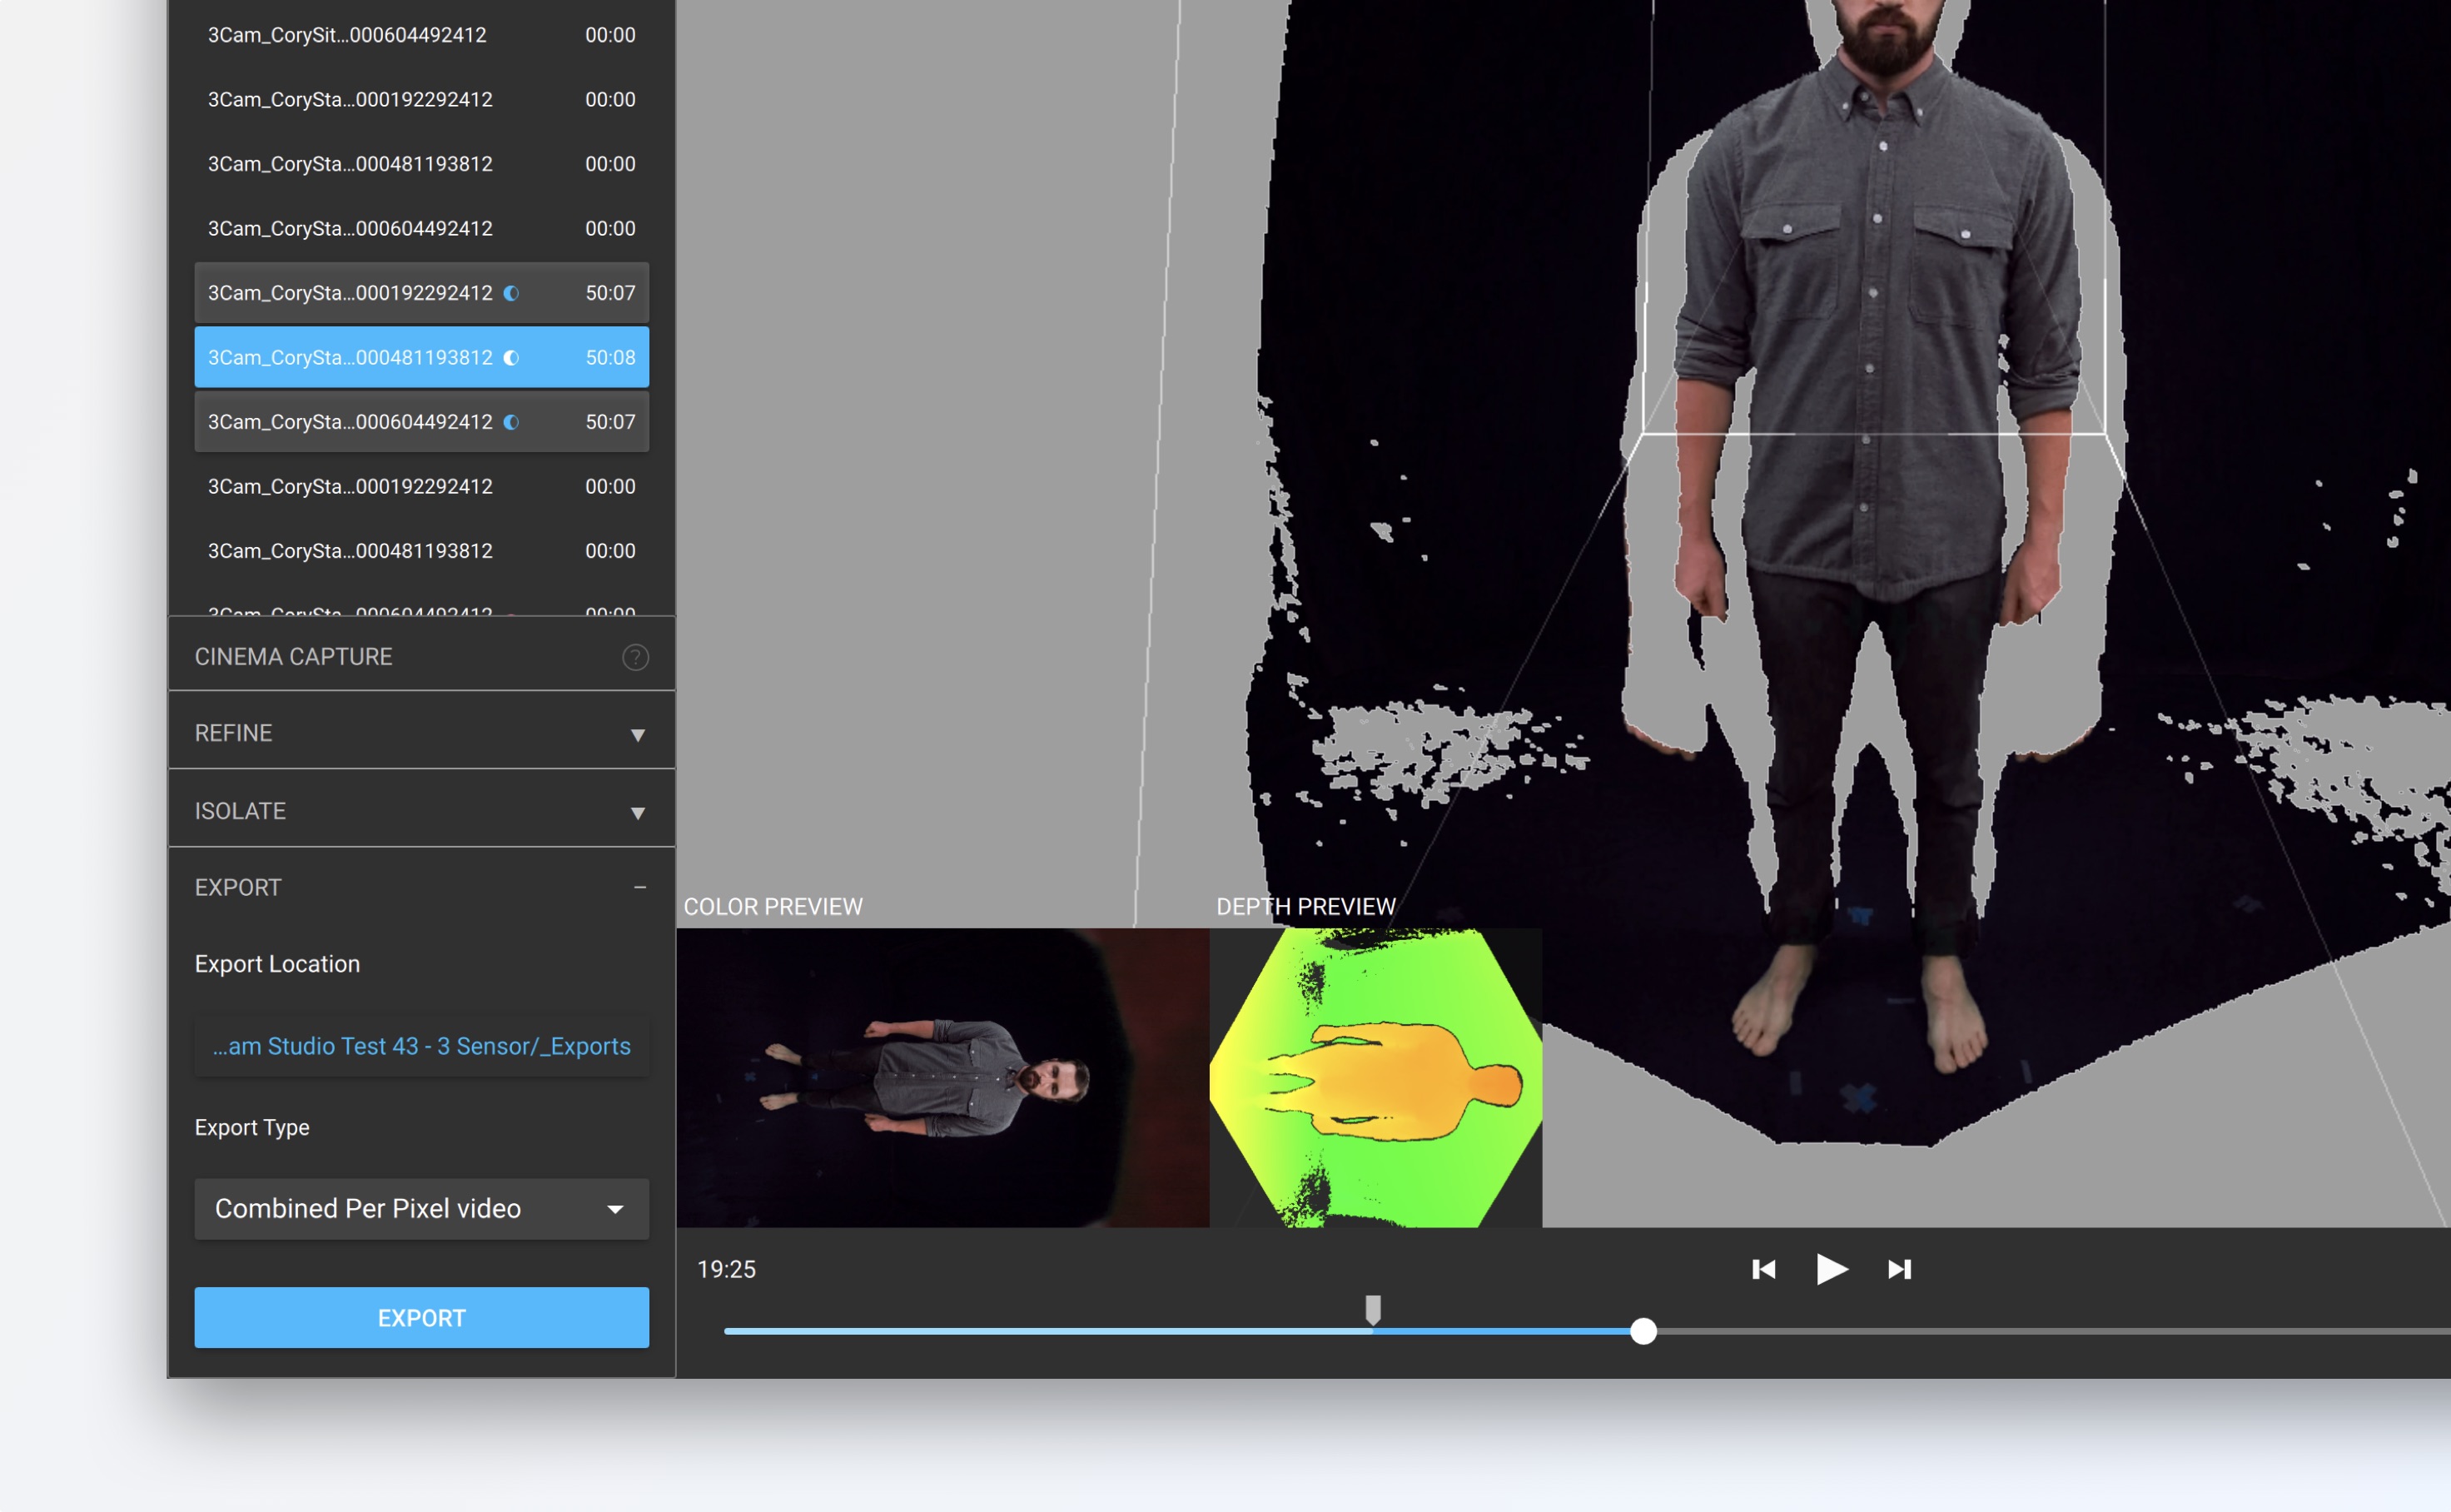
Alternatively, you can also set your sensors to a wide or narrow field of view in the Depthkit software interface after you have calibrated which will allow you to dilate your capture region. These capture volumes can be very clearly understood when installing your sensors – simply ensure that your subject remains inside the frames of all of your surrounding depth and color streams as seen in the interface.
Sensor orientation
You can shoot with your sensor positioned horizontally (A) or vertically (B). Shooting vertically can be best suited to a standing, full body posture due to the shape of the Azure Kinect's depth camera vignette. Depending on the motion, it may be beneficial rotate the sensor, as seen in the Depthkit Edit workspace on the right. In either case, rehearse your blocking to make sure that your subject stays within both the color and depth frames.

Next steps
Once the sensors are positioned, connect each one to the Depthkit computer and a power source.
Then, to set up sensor synchronization, follow the guide for the sensor you are using:\ Femto Bolt Sensor sync →\ Azure Kinect DK Sensor sync →