Oculus Quest
The following is a quick guide on building to the Quest. This guide will get you started with Depthkit Core in the Universal Render Pipeline and the VFX Graph.
Depthkit Core & Cinema OnlyThis guide is for single-sensor Depthkit Core & Depthkit Cinema assets only. For Depthkit Studio, refer to the Depthkit Studio platform support documentation.
This guide was created using Unity 2020.1.5f1.
In this page
Helpful resources →
Setting up your project for Android →
Setting up your Depthkit clip →
Helpful resources
- Configuring your Project for the Oculus Quest →
- Connecting your Quest via USB →
- Importing the Oculus Integration Package →
Setting up your project for Android
-
Create a new 3D project via the Unity Hub. Import Depthkit Core and Depthkit Core VFX Graph via the Package Manager. See this our guide on importing Depthkit packages into your project.
-
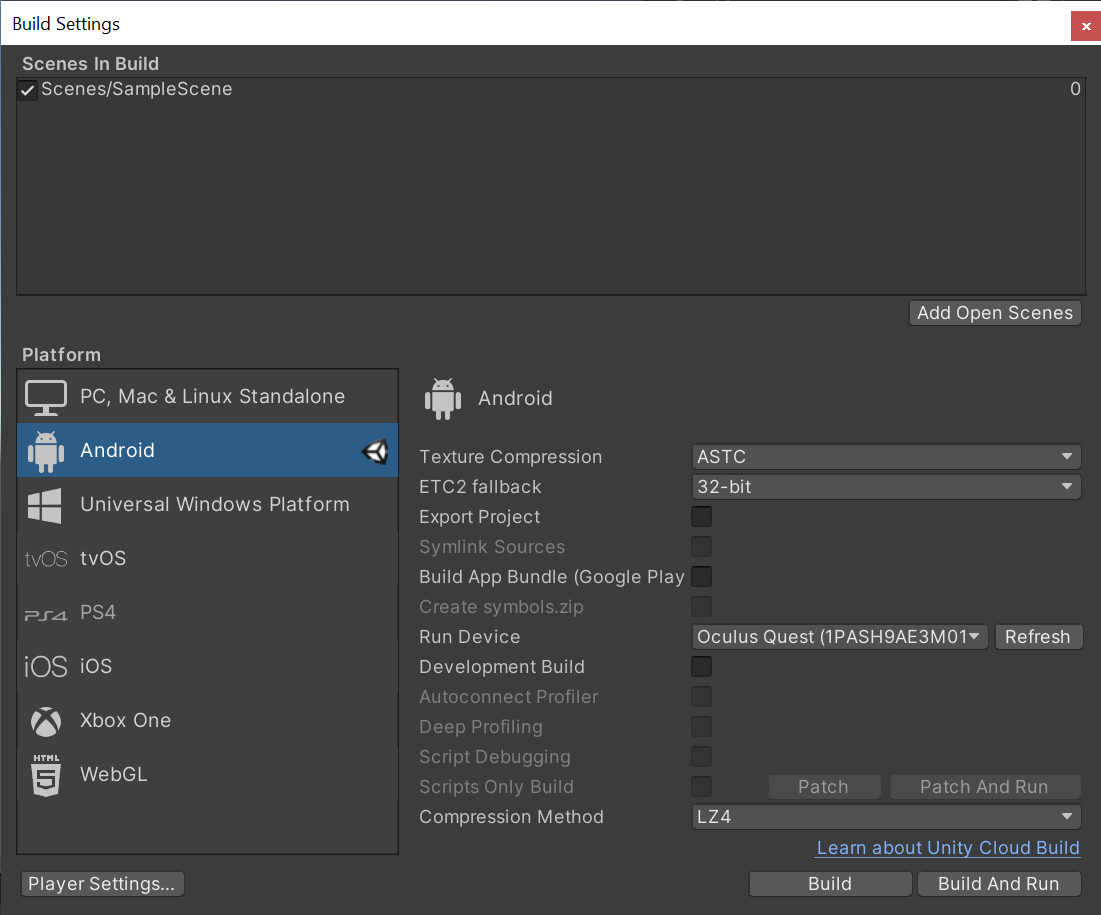
In your Build Settings, under Platform, switch your platform to Android and click Switch Platform. Under Texture Compression, select ASTC.
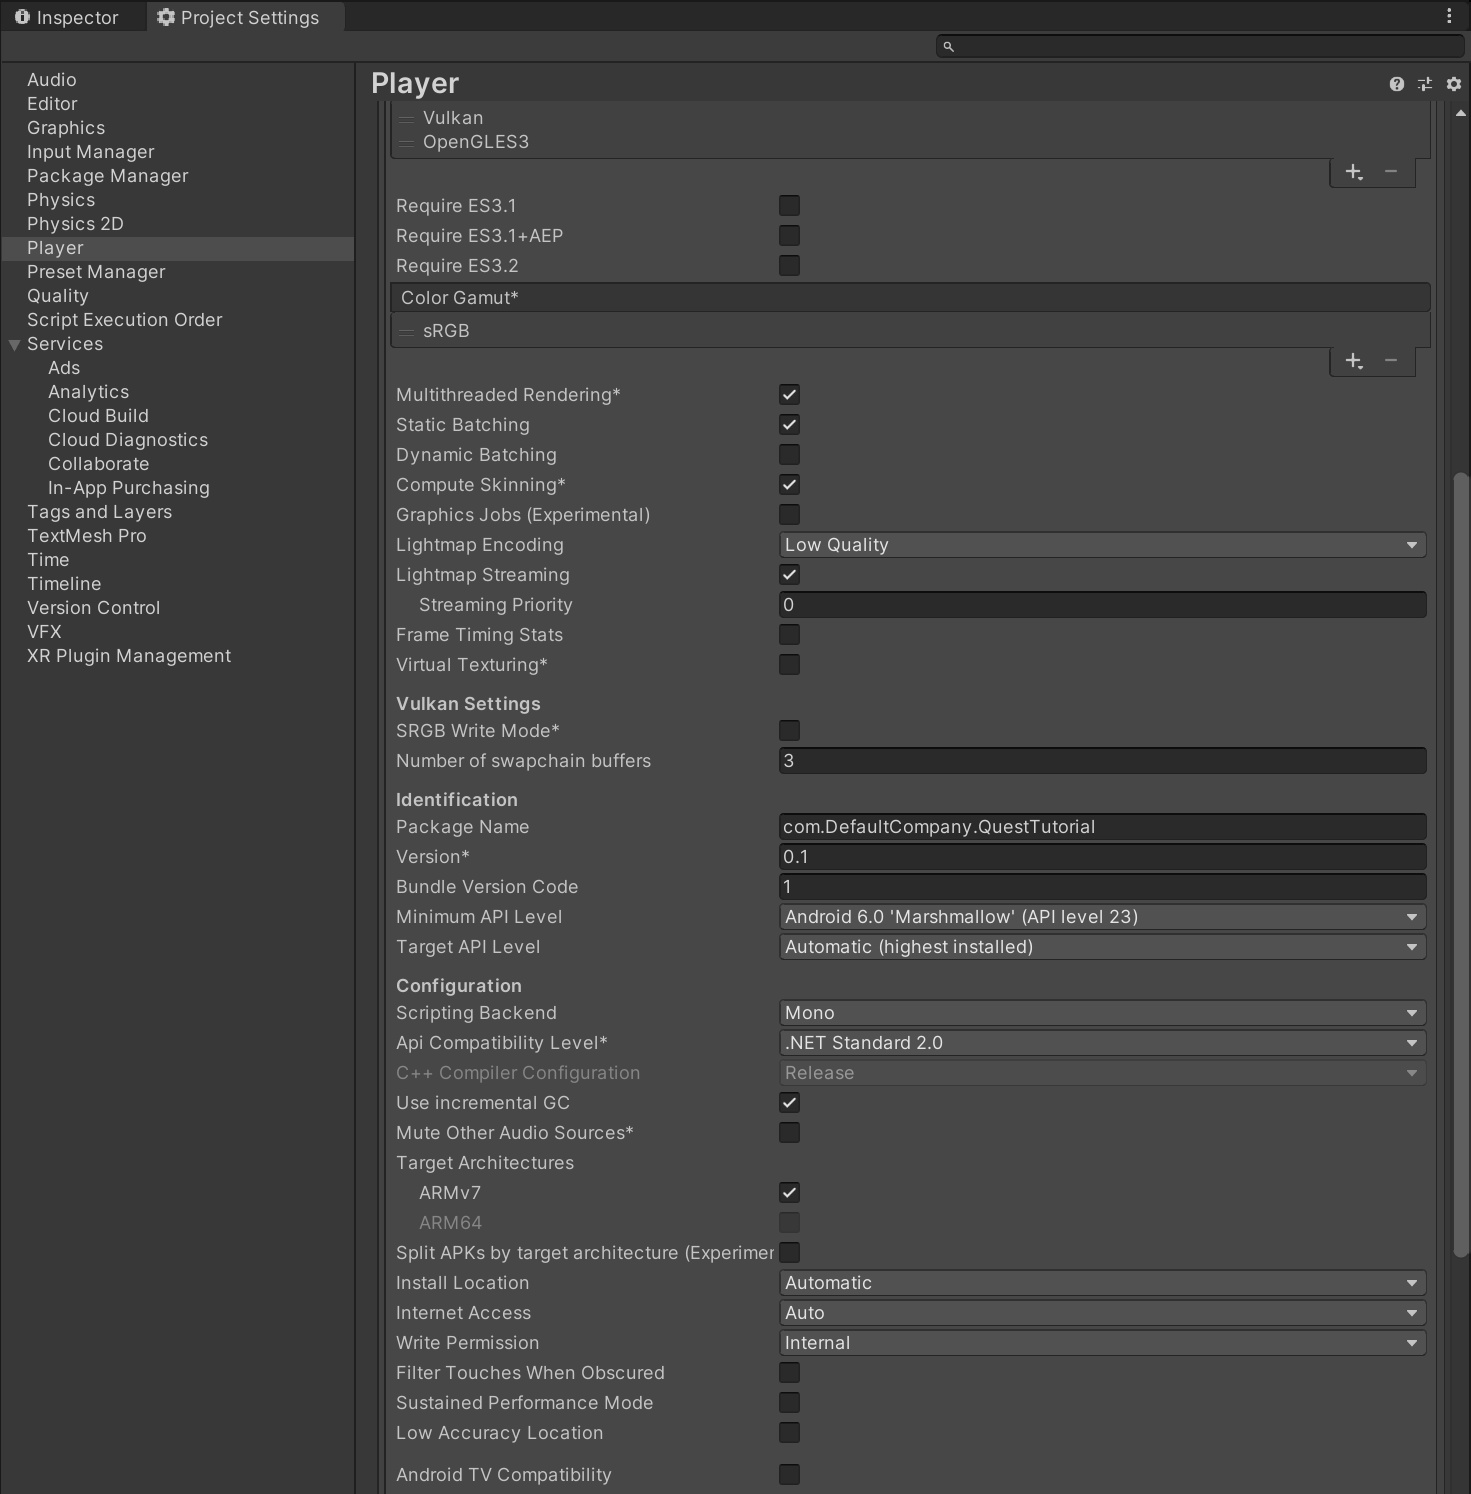
- Go to your Player settings via Edit → Project Settings. In the Other Settings section, set the Minimum API Level to Android 6.0 Marshmallow (API level 23). Set the Target API Level to Automatic (highest installed). Under Install Location, ensure that Automatic is selected.
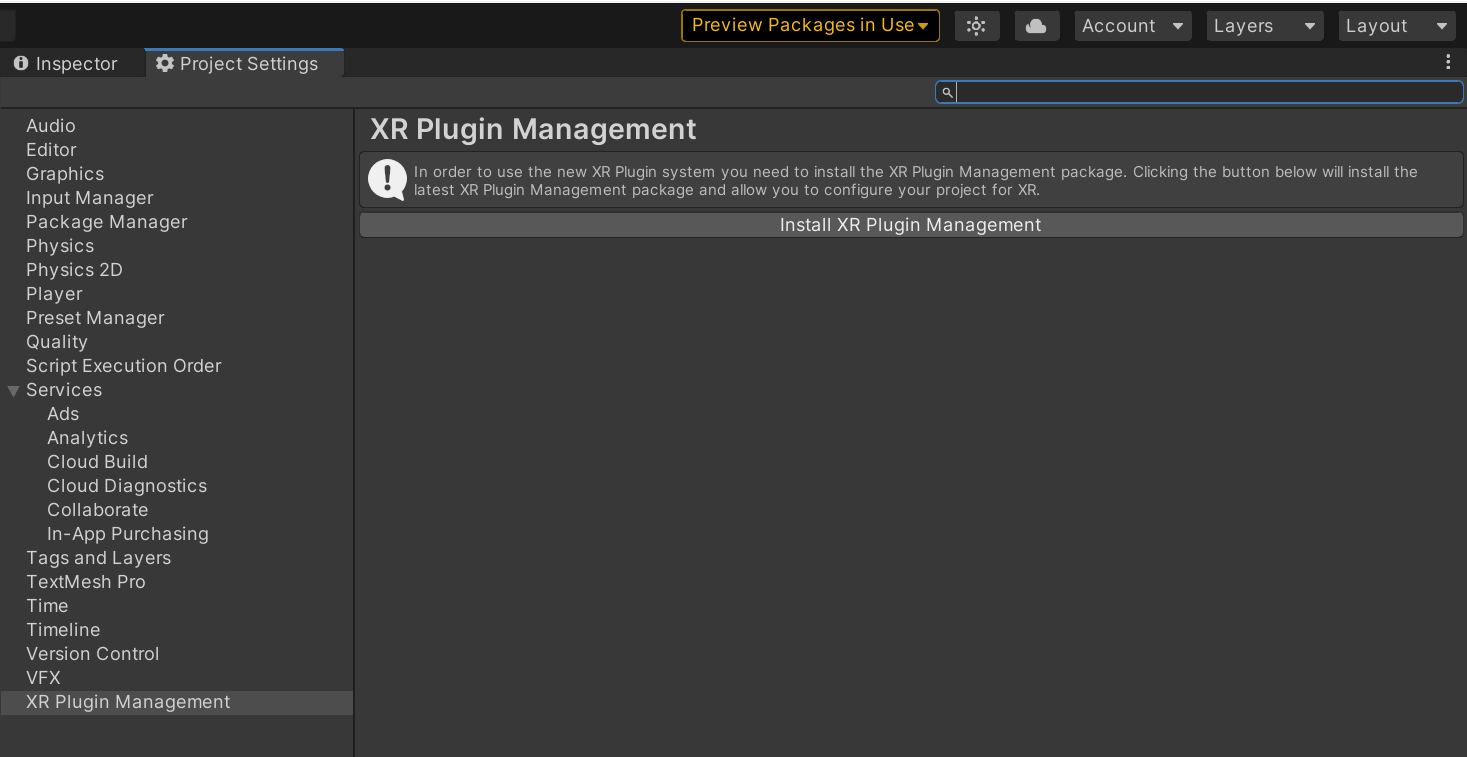
- Still in your Project Settings, select XR Plugin Management and install the XR Plugin Management Package.
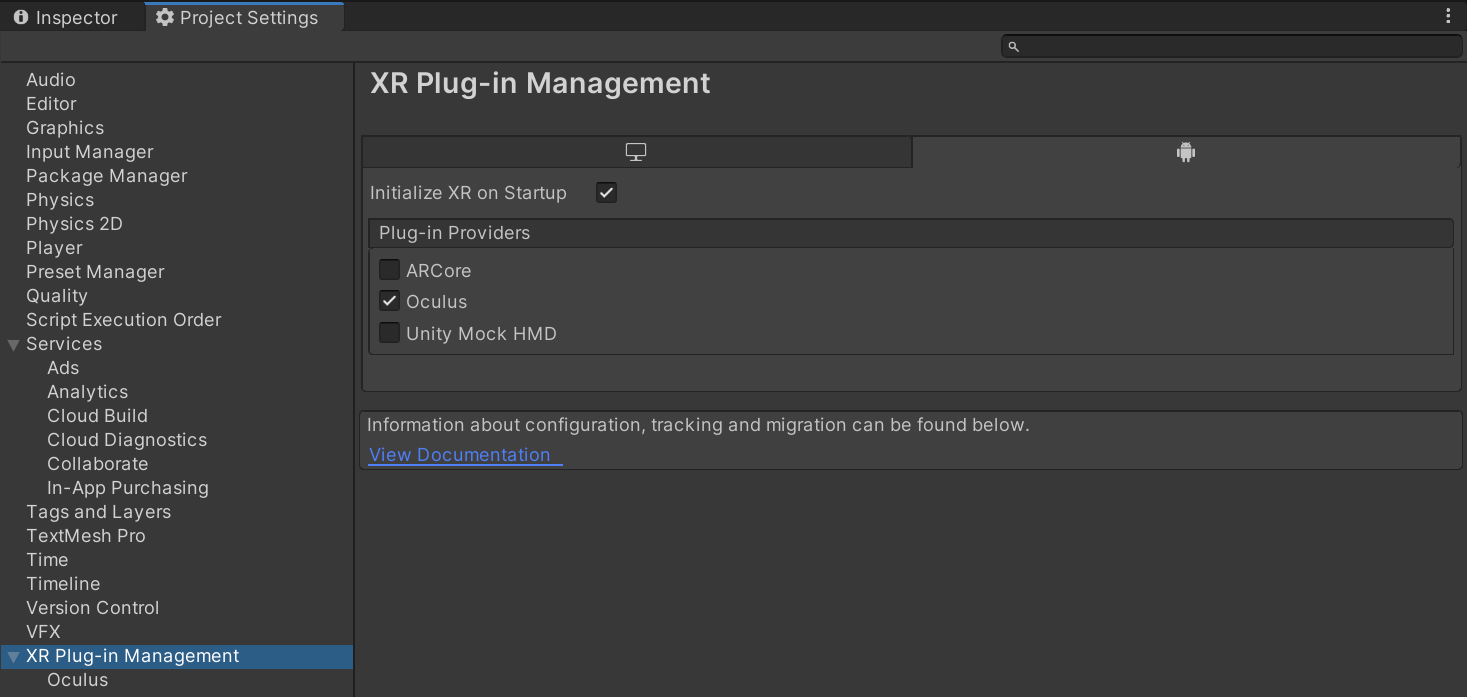
- Under XR Plug-in Management, select Oculus.
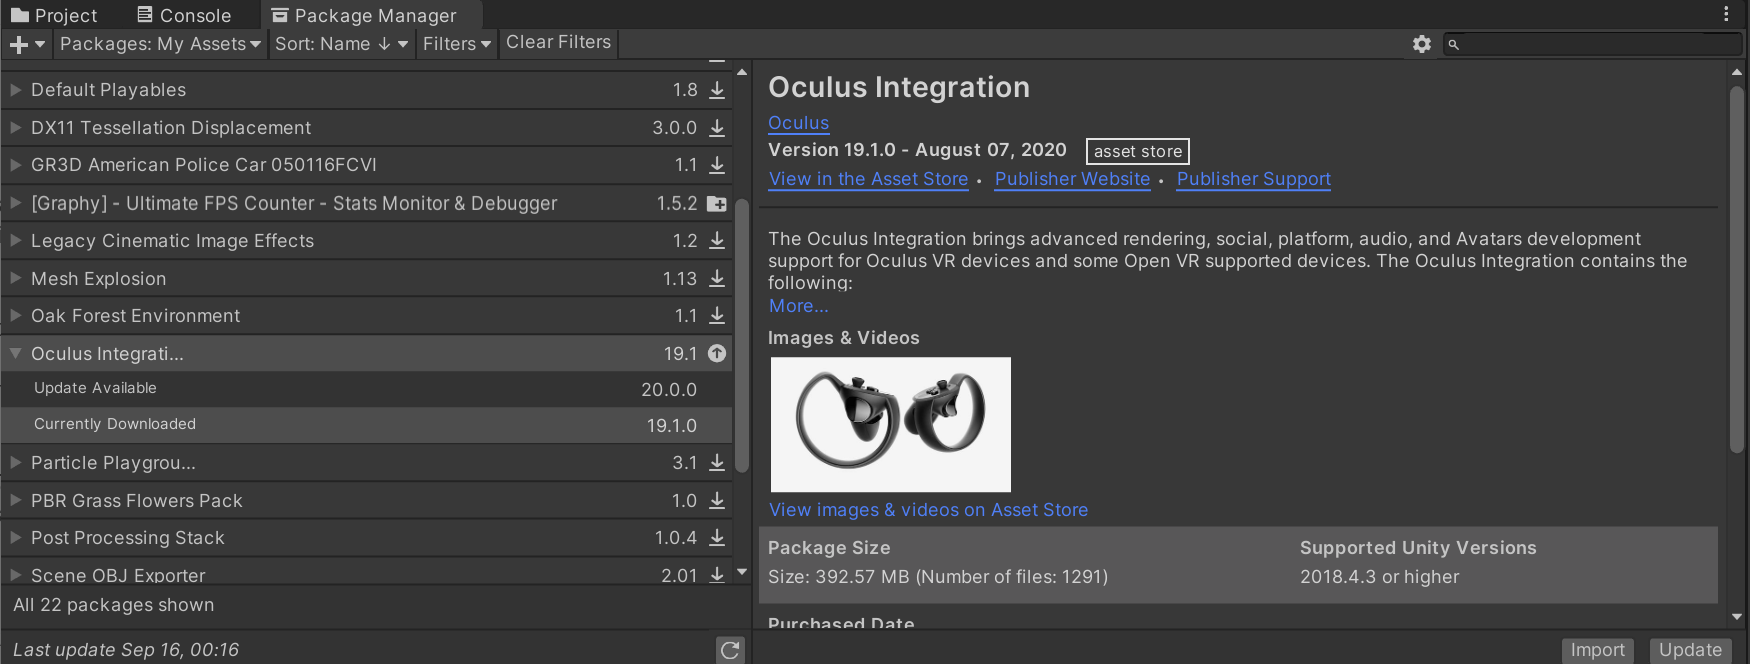
- Via the Package Manager, ensure Oculus Integration is imported.
Setting up your Depthkit clip
In this tutorial, we are going to create a Depthkit clip with a Depthkit VFX Look.
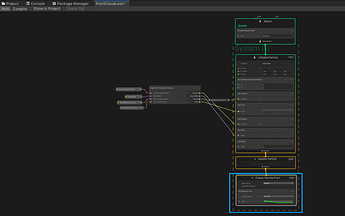
When designing your VFX Look, ensure that you are using a point output.There is a Unity known issue in which VFX Graph geometry outputs are not supported for the Quest.
-
Under Assets, in your Samples folder, locate the Depthkit Clip + Core VFX Look prefab and drag it to your scene.
-
Import your Depthkit clip, including the combined per pixel video file, metadata text file, and poster image. Select the Depthkit clip in the Hierarchy, see the Inspector, and link these files to your Depthkit clip.
-
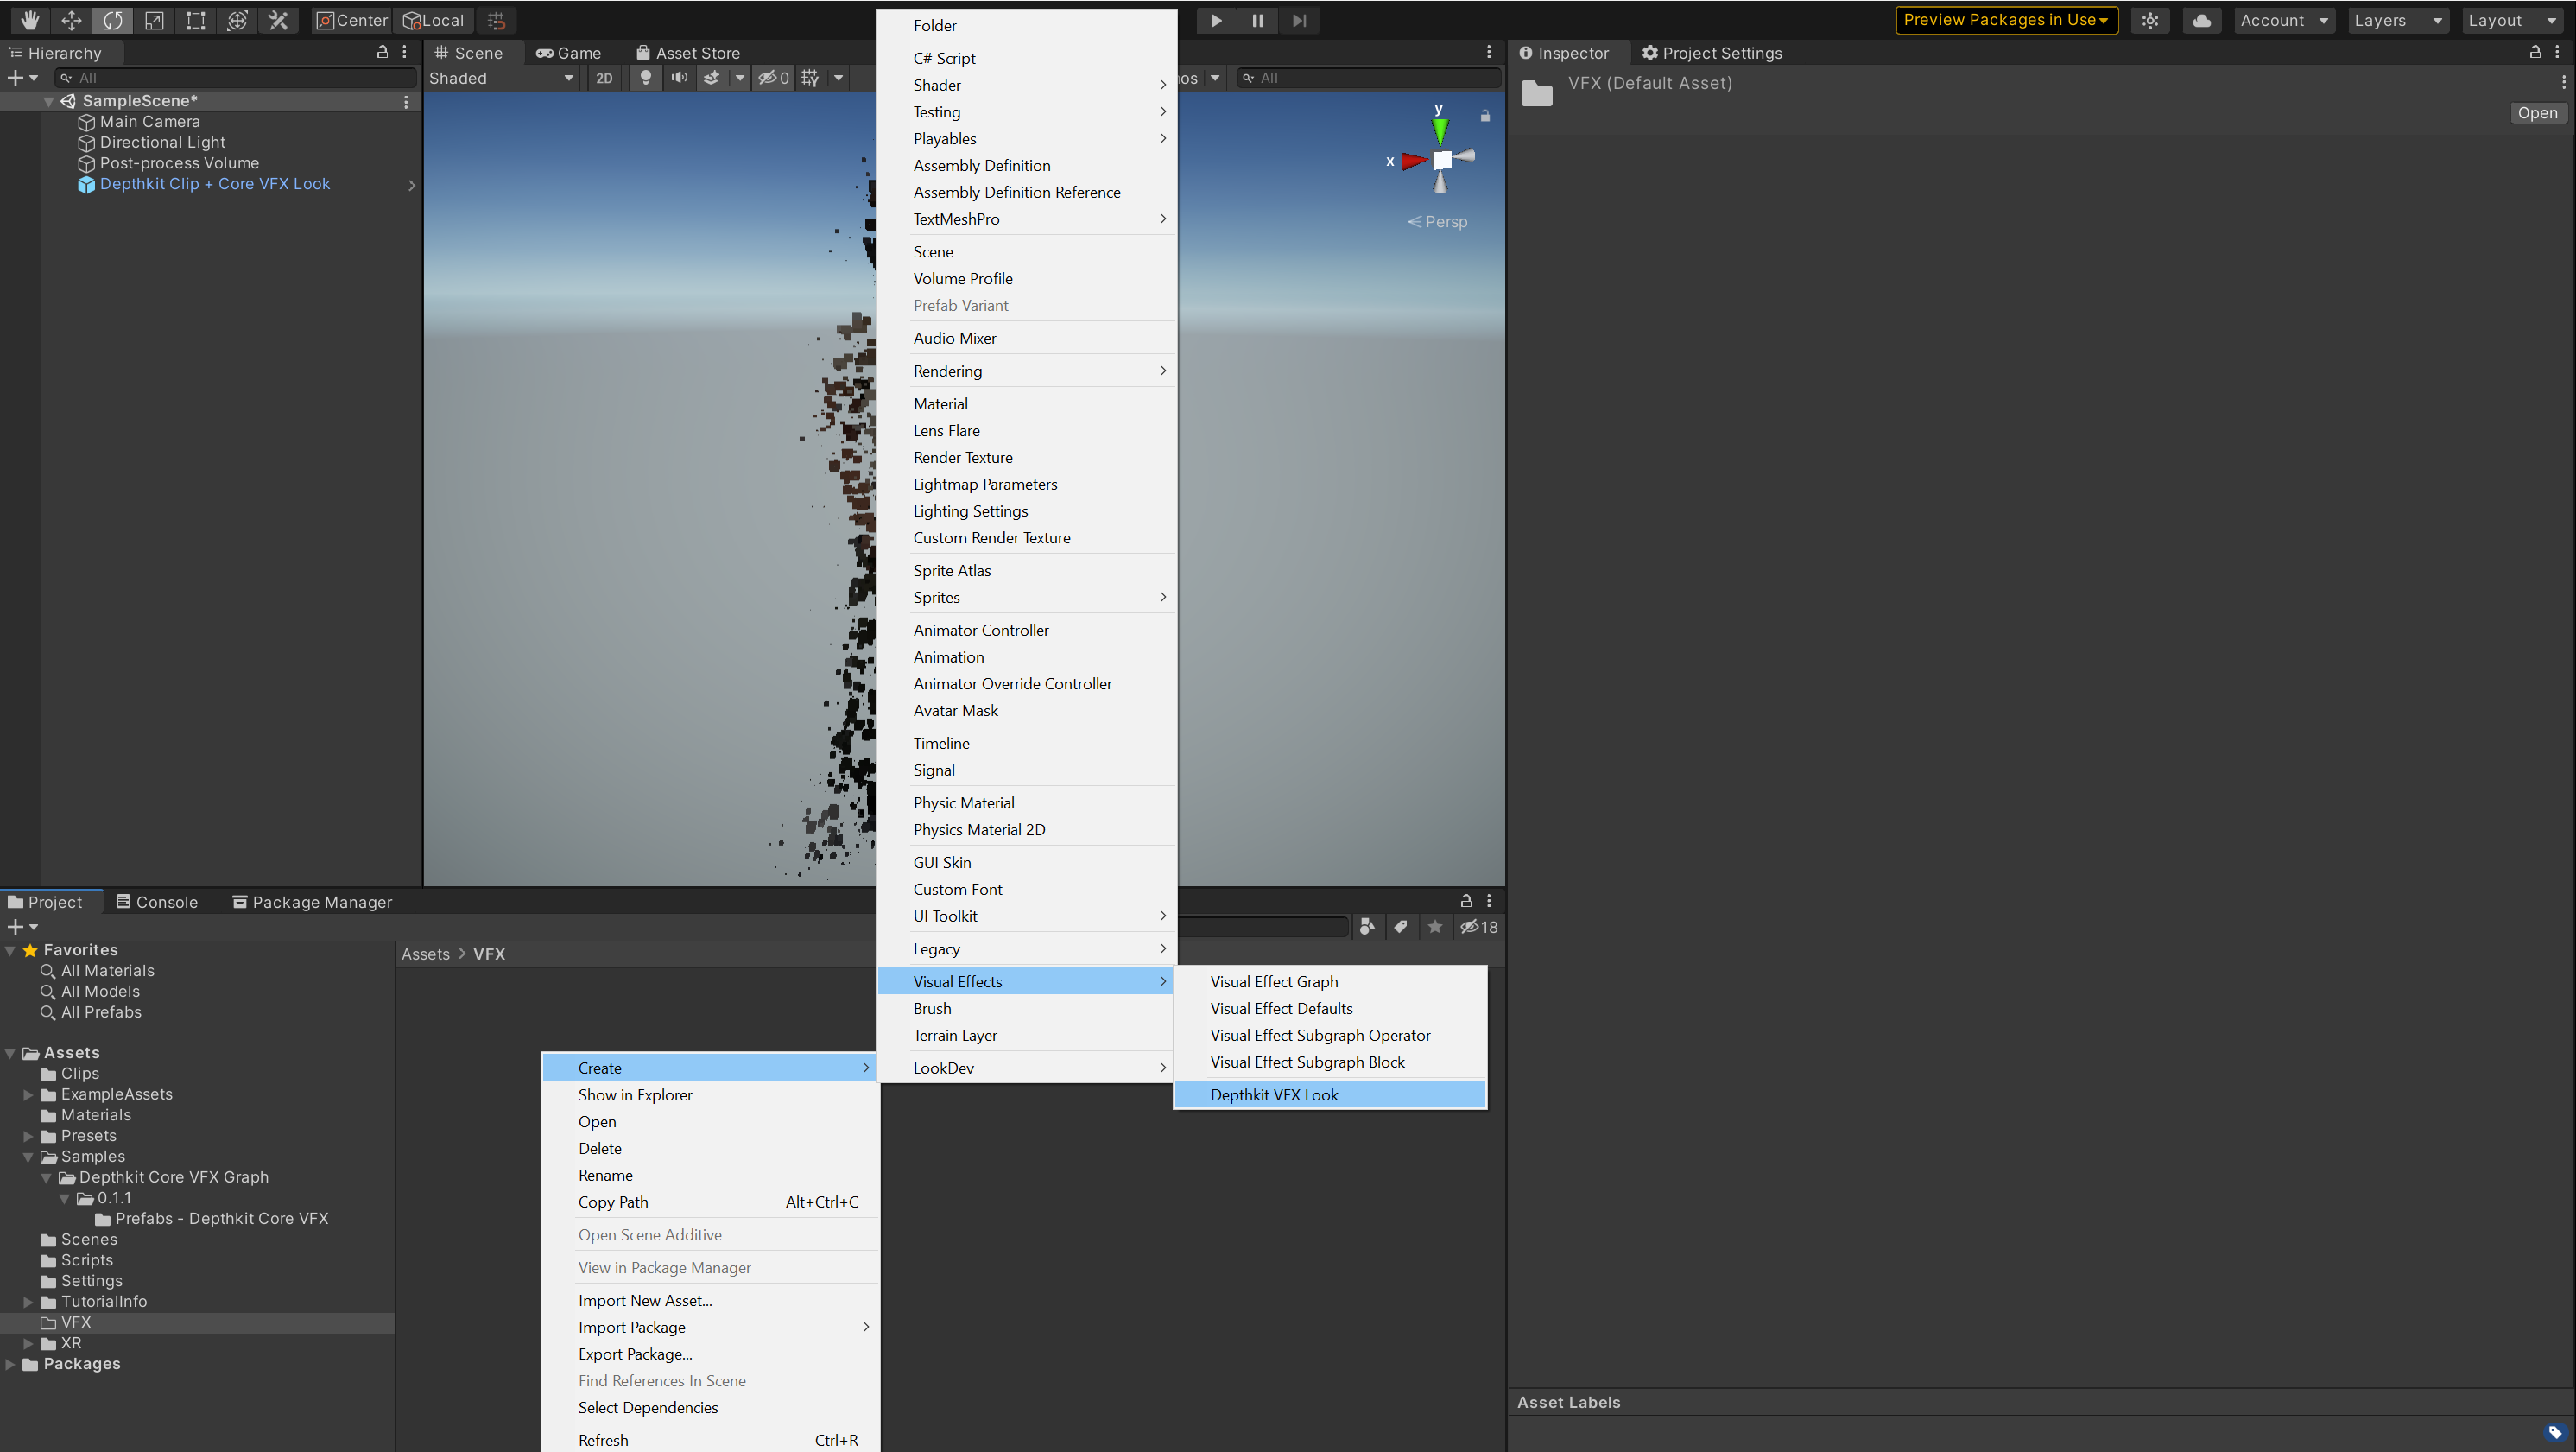
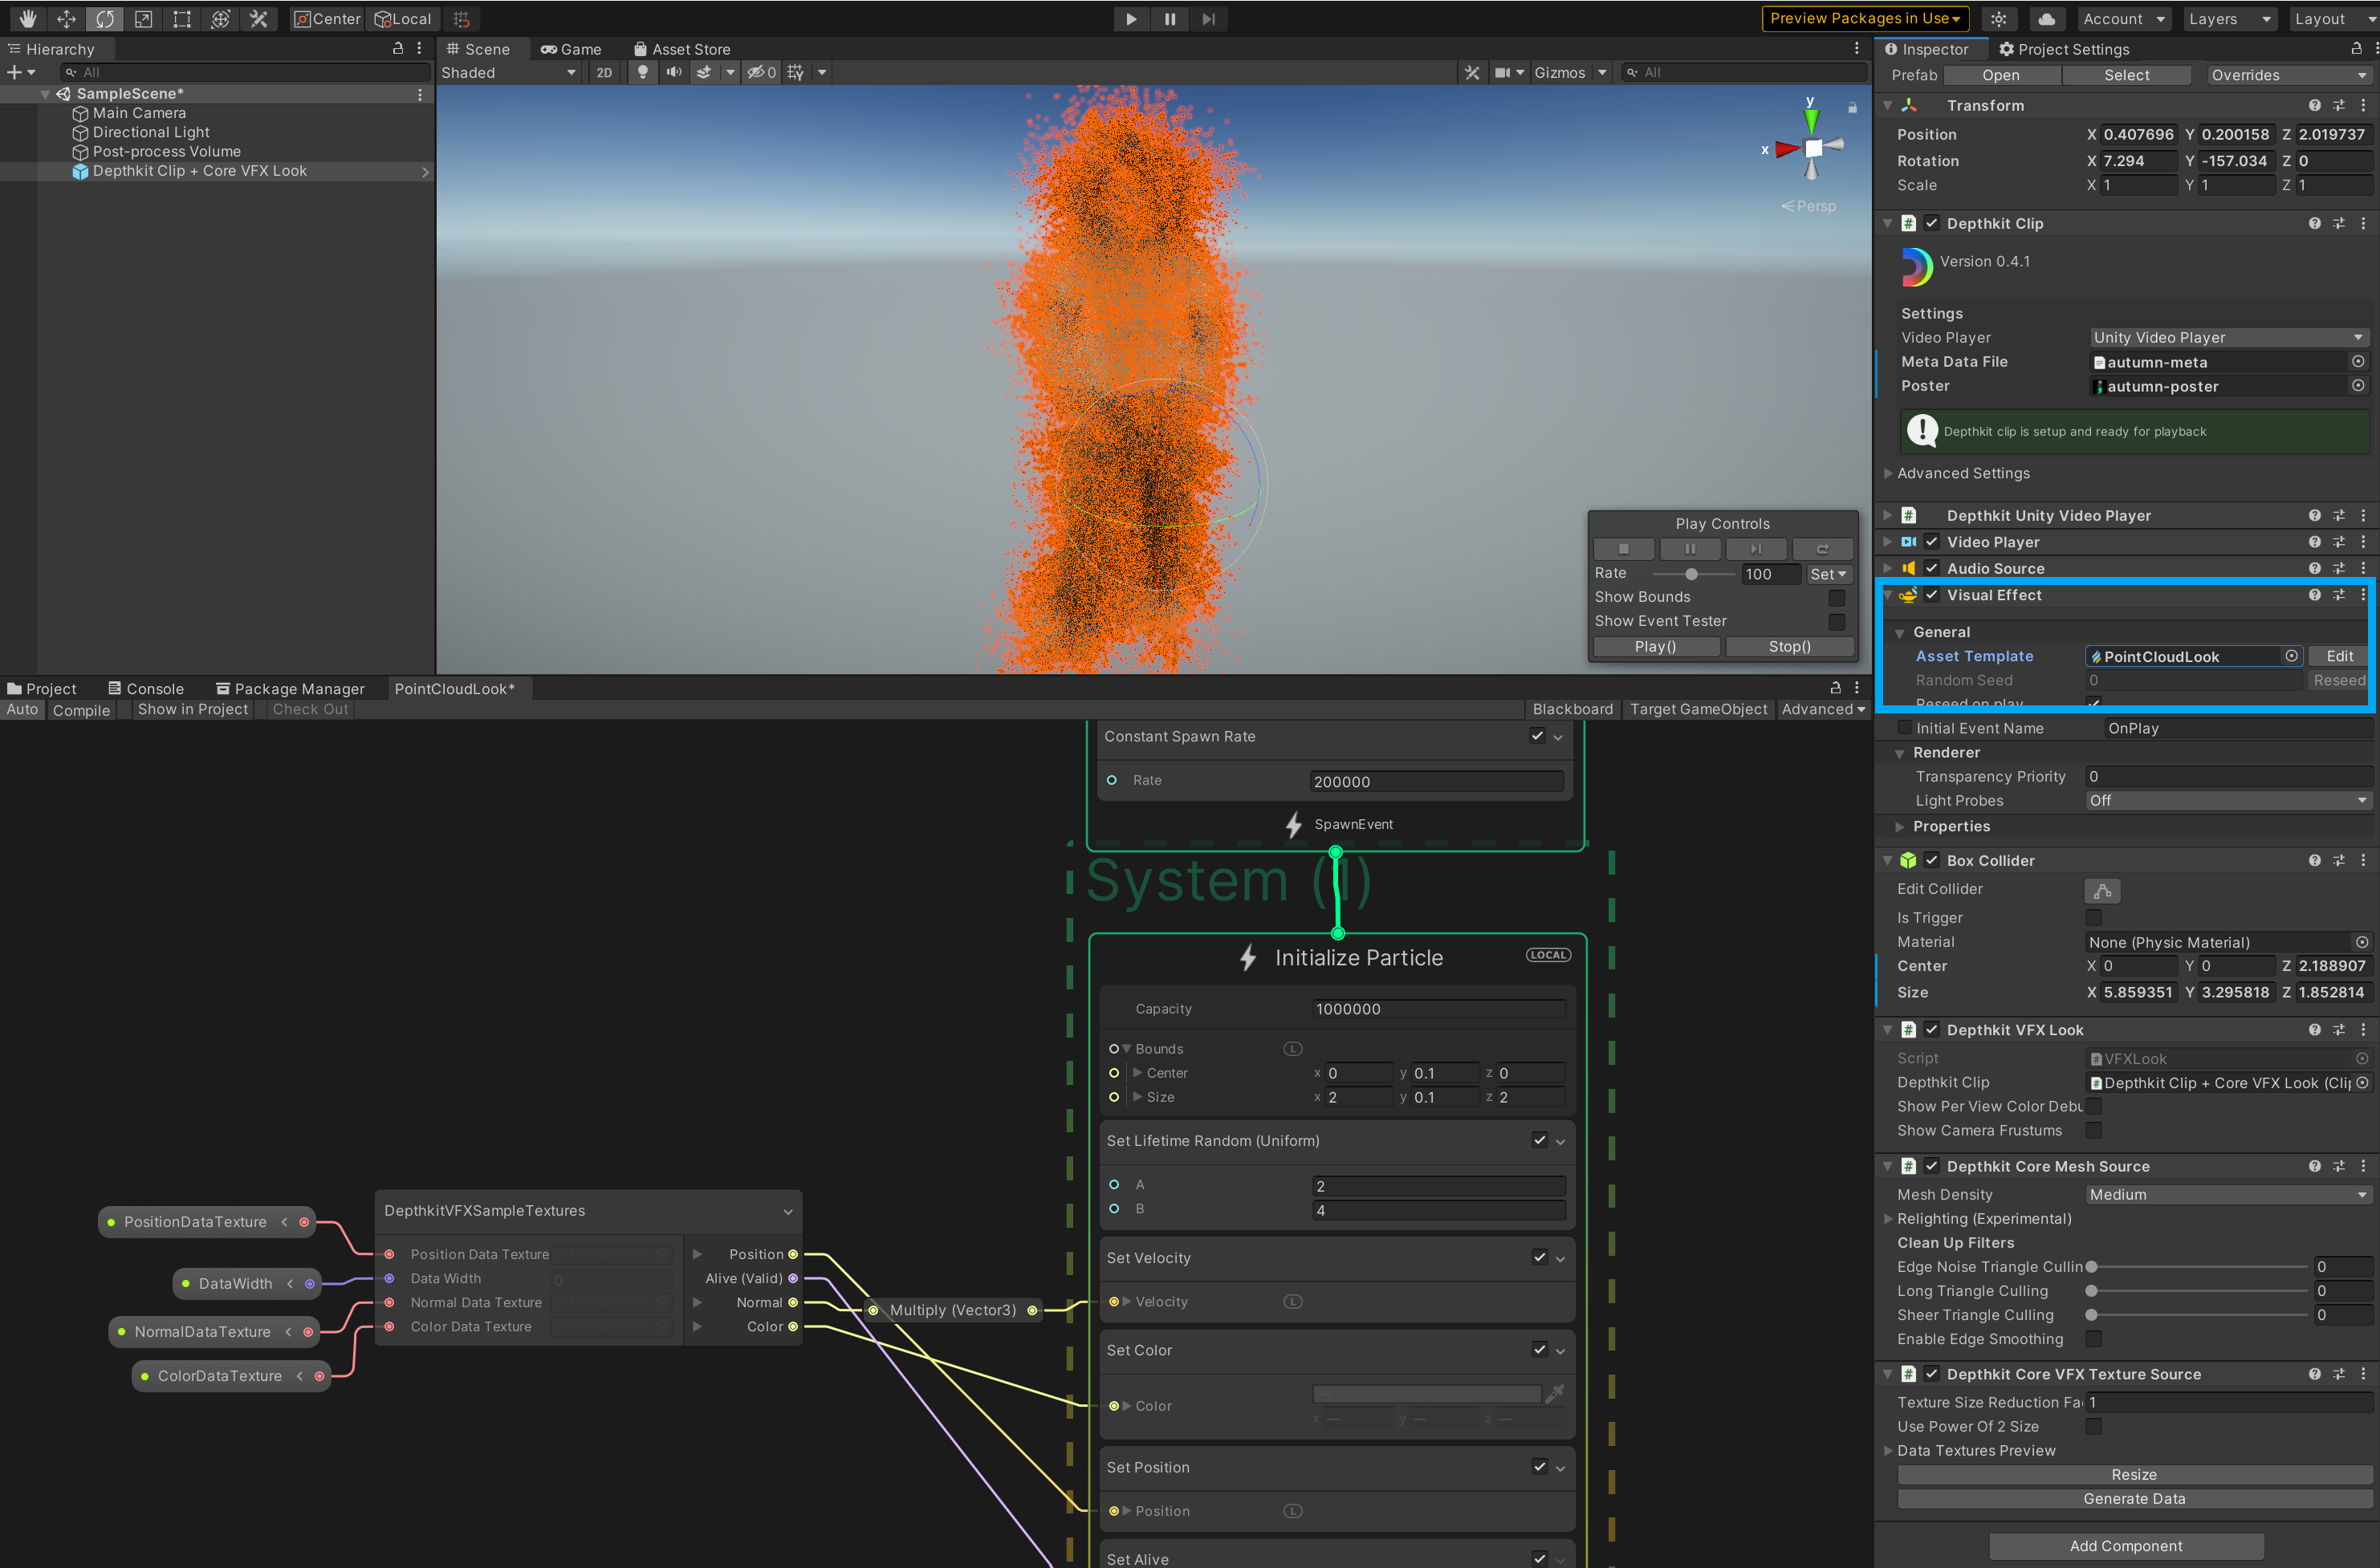
Create a new Depthkit VFX Look for your Depthkit clip by right clicking in the Project tab, select Create → Visual Effects → Depthkit VFX Look. For this guide, I’m going to create a basic point cloud Look.
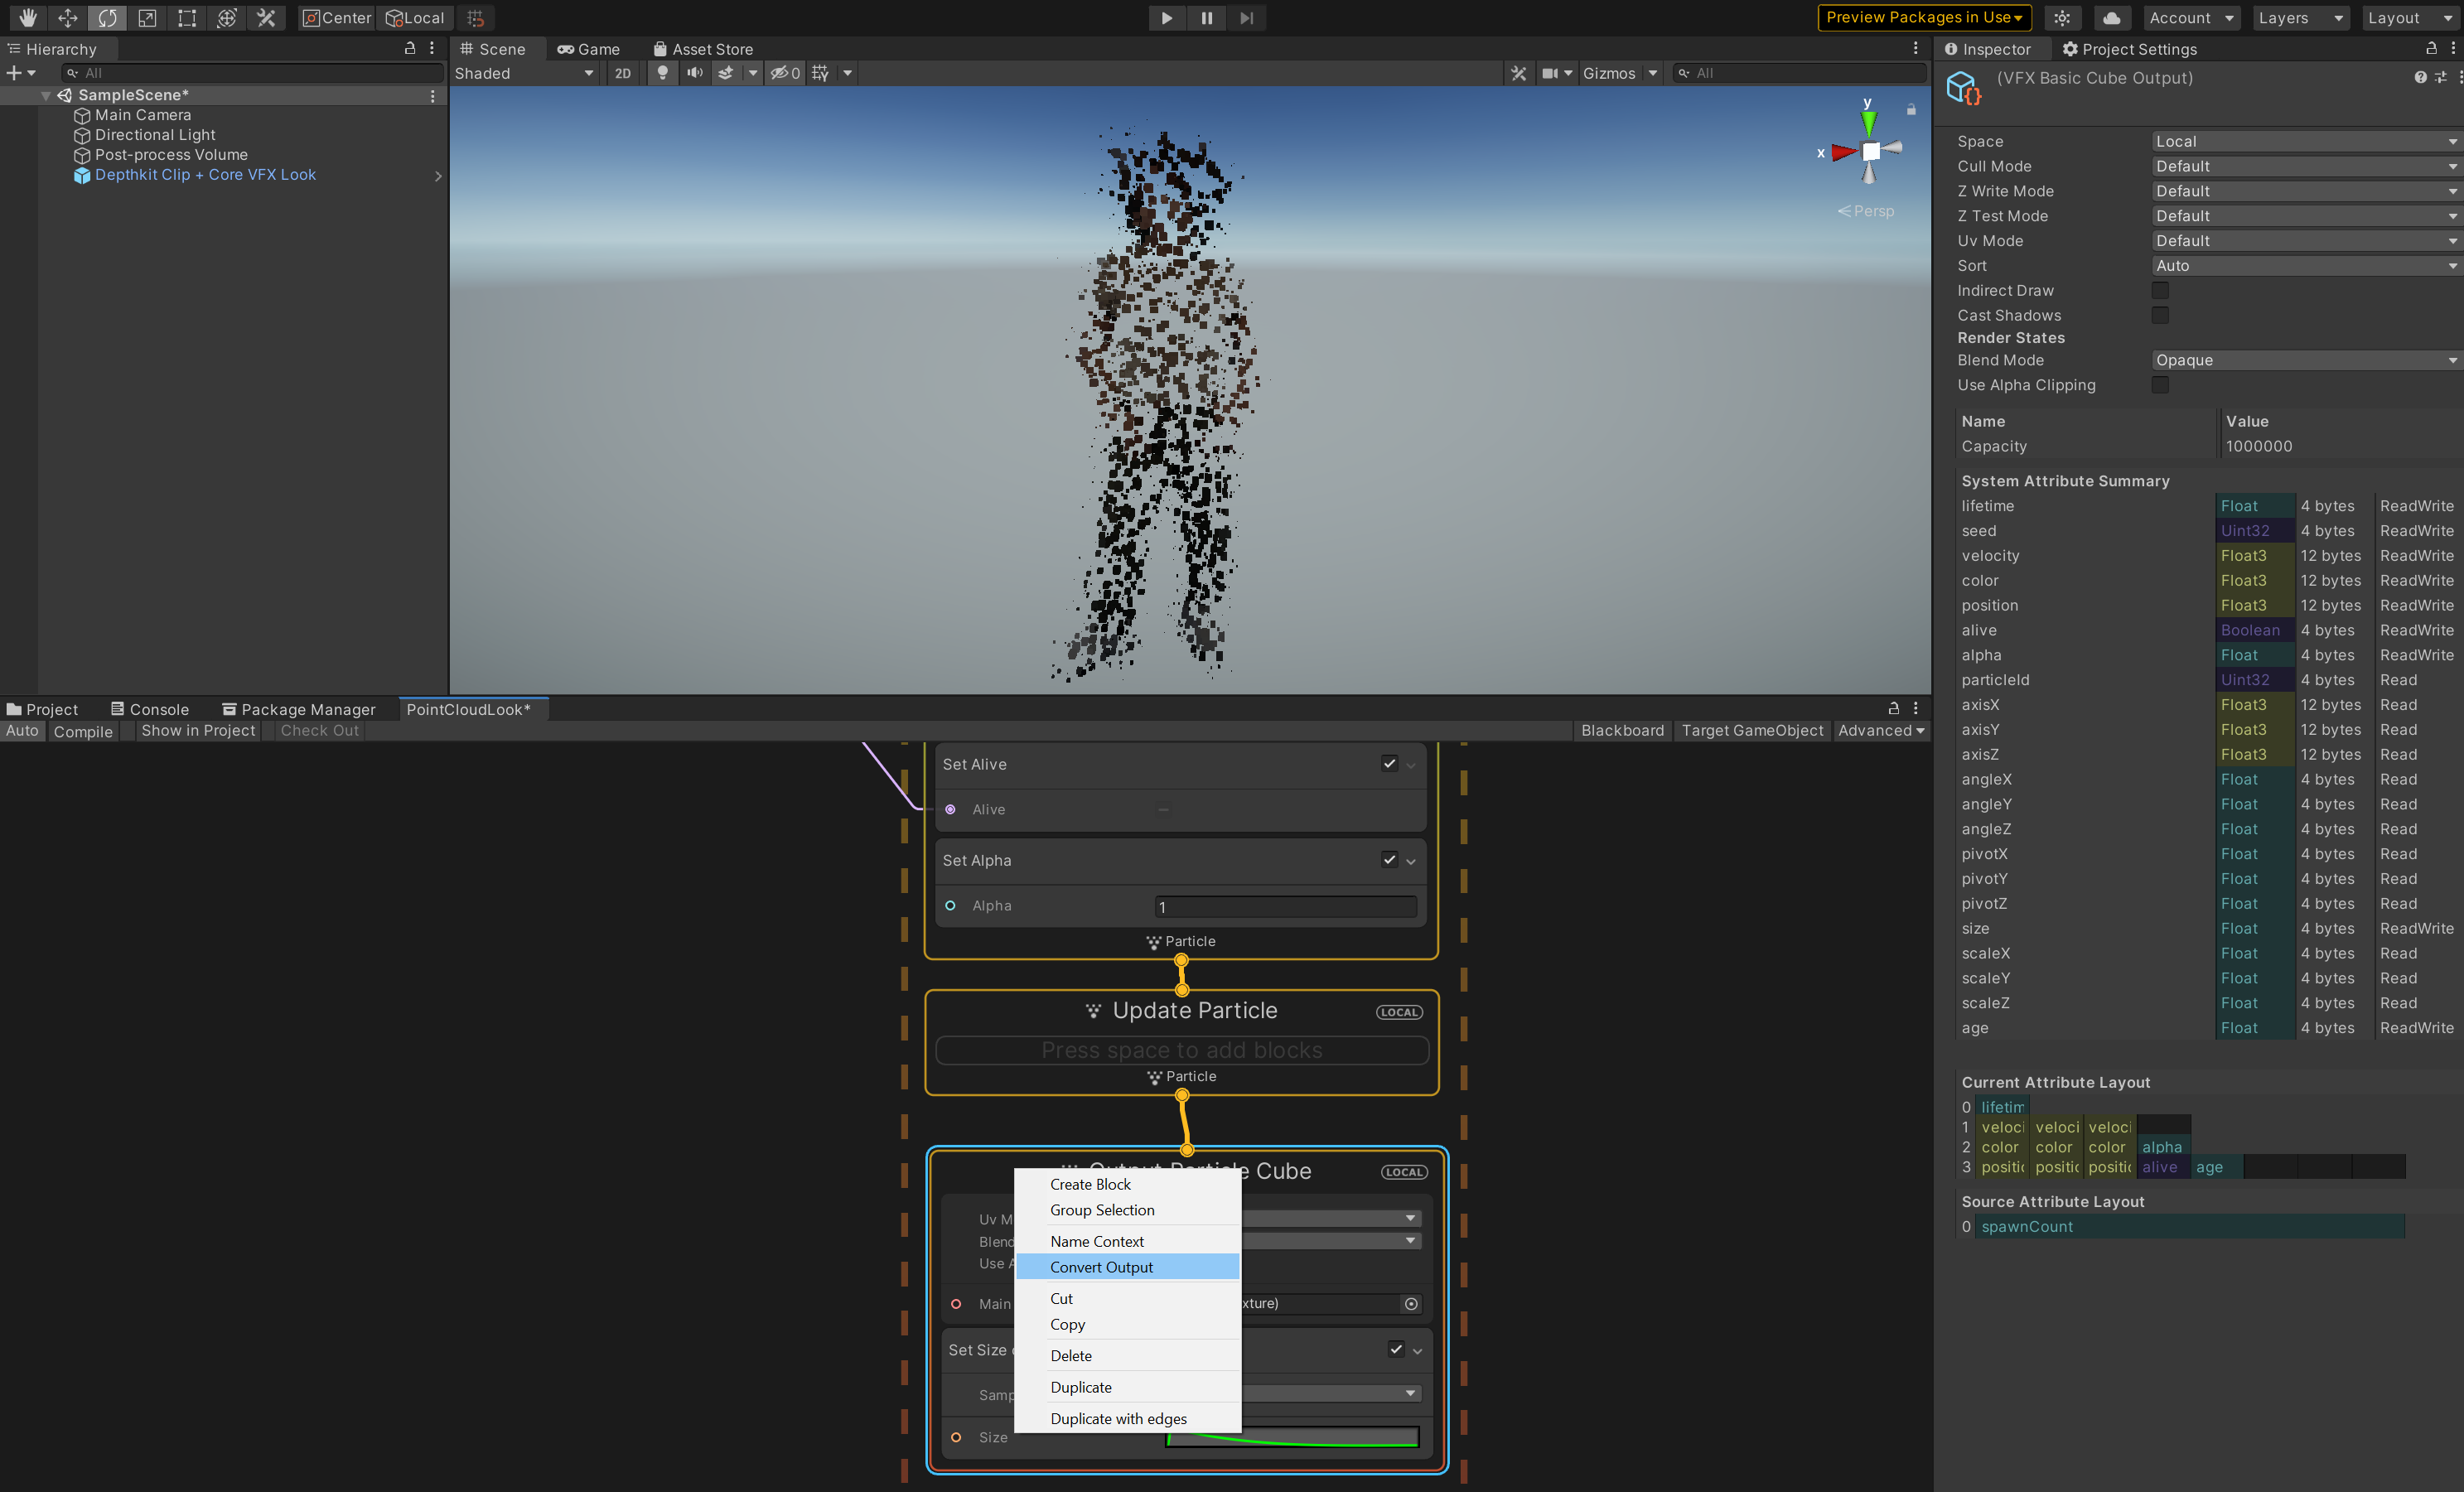
- Double click the new Look to launch the VFX Graph editor. Right click the output block and select Convert. Select Output Particle Point to generate a point cloud output. Tweak the Look to achieve your desired aesthetic.
- In your Depthkit clip in the Visual Effect component, replace the Depthkit VFX Example Look with your new Look.
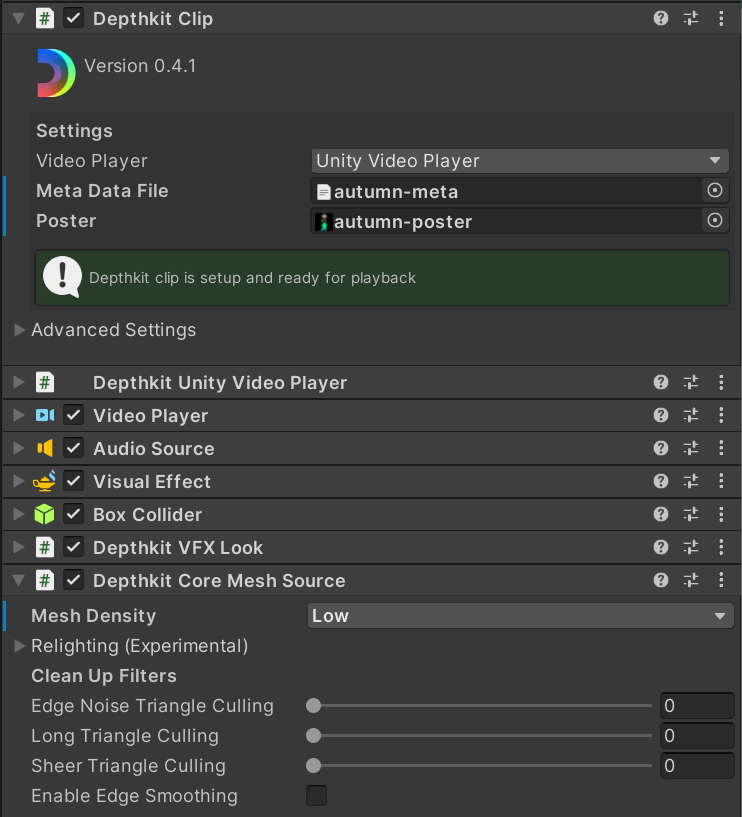
- In your Depthkit clip under the Depthkit Core Mesh Source, set the Mesh Density to low. This will improve performance for the Quest.
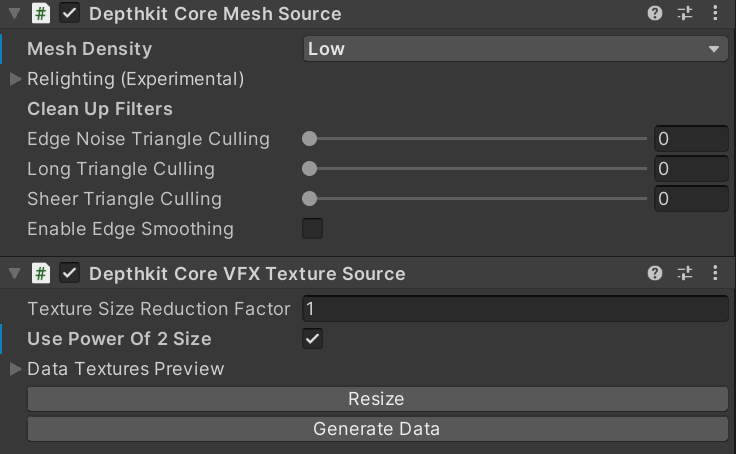
- In the Depthkit Core VFX Texture Source component, enable Use Power of 2 Size. This is optional, but acts as an additional optimization for your texture.
Now you are ready to build to the Quest. You can build and run directly to the Quest or side load the apk file to your device.
Updated 10 months ago
