Recording Studio captures
Watch this tutorial for an in-depth demonstration of multi-sensor capture in Depthkit Studio. Or read our step by step guide below.
In this page
Depthkit Studio capture workflow video →
Configuring sensors for recording →
Capturing with Depthkit Studio →
Performance diagnostics →
Ending recording and finalizing the capture →
Next steps →\
Depthkit Studio capture workflow video
Configuring sensors for recording
Calibration and capture often use different sensor settings. Be sure to change the sensors to the appropriate settings for capture in the Sensor Configuration pane - See the Configuring sensor settings for more details.
- Color Resolution: The performance of your PC and the number of sensors you are using will dictate which resolution you can successfully capture on each sensor without dropping frames.
- Depth Mode: 640x576 Narrow Raw is recommended for most captures, but 512x512 Wide can be used for specific capture scenarios.
- Exposure & White Balance: Uncheck the 'Auto' settings for each of these, then choose a setting which best suits your lighting. Make sure the settings match between sensors to make the textures from each sensor seamlessly blend together. To preview these settings, enter the 'Record' context to see the color feed from each sensor.
Set exposure and color settings to manual, matching valuesIn most cases, you'll get the best results by setting the sensors to have matching manual exposure and color settings.
Powerline FrequencySet the powerline frequency to the appropriate value based on your location and the type of AC/mains power available. In general, 60 Hz is appropriate for most of the Americas, and 50 Hz is appropriate for the rest of the world.
Capturing with Depthkit Studio
- Under Controls, click Start Streaming. This will reveal the Record context of the Multicam workspace. If using an Azure Kinects with an external sync generator:
- Disconnect and/or power off the sync generator from the sensors before you click "Start Streaming".
- Click "Start Streaming"
- Wait for the sensors to all report that they are waiting for a sync signal, as indicated by spinning indicators next to each sensor. - This may take a few seconds.
- Reconnect and/or turn on the sync generator to the sensors.
- Confirm that the sensors then start streaming once they receive the sync signal.
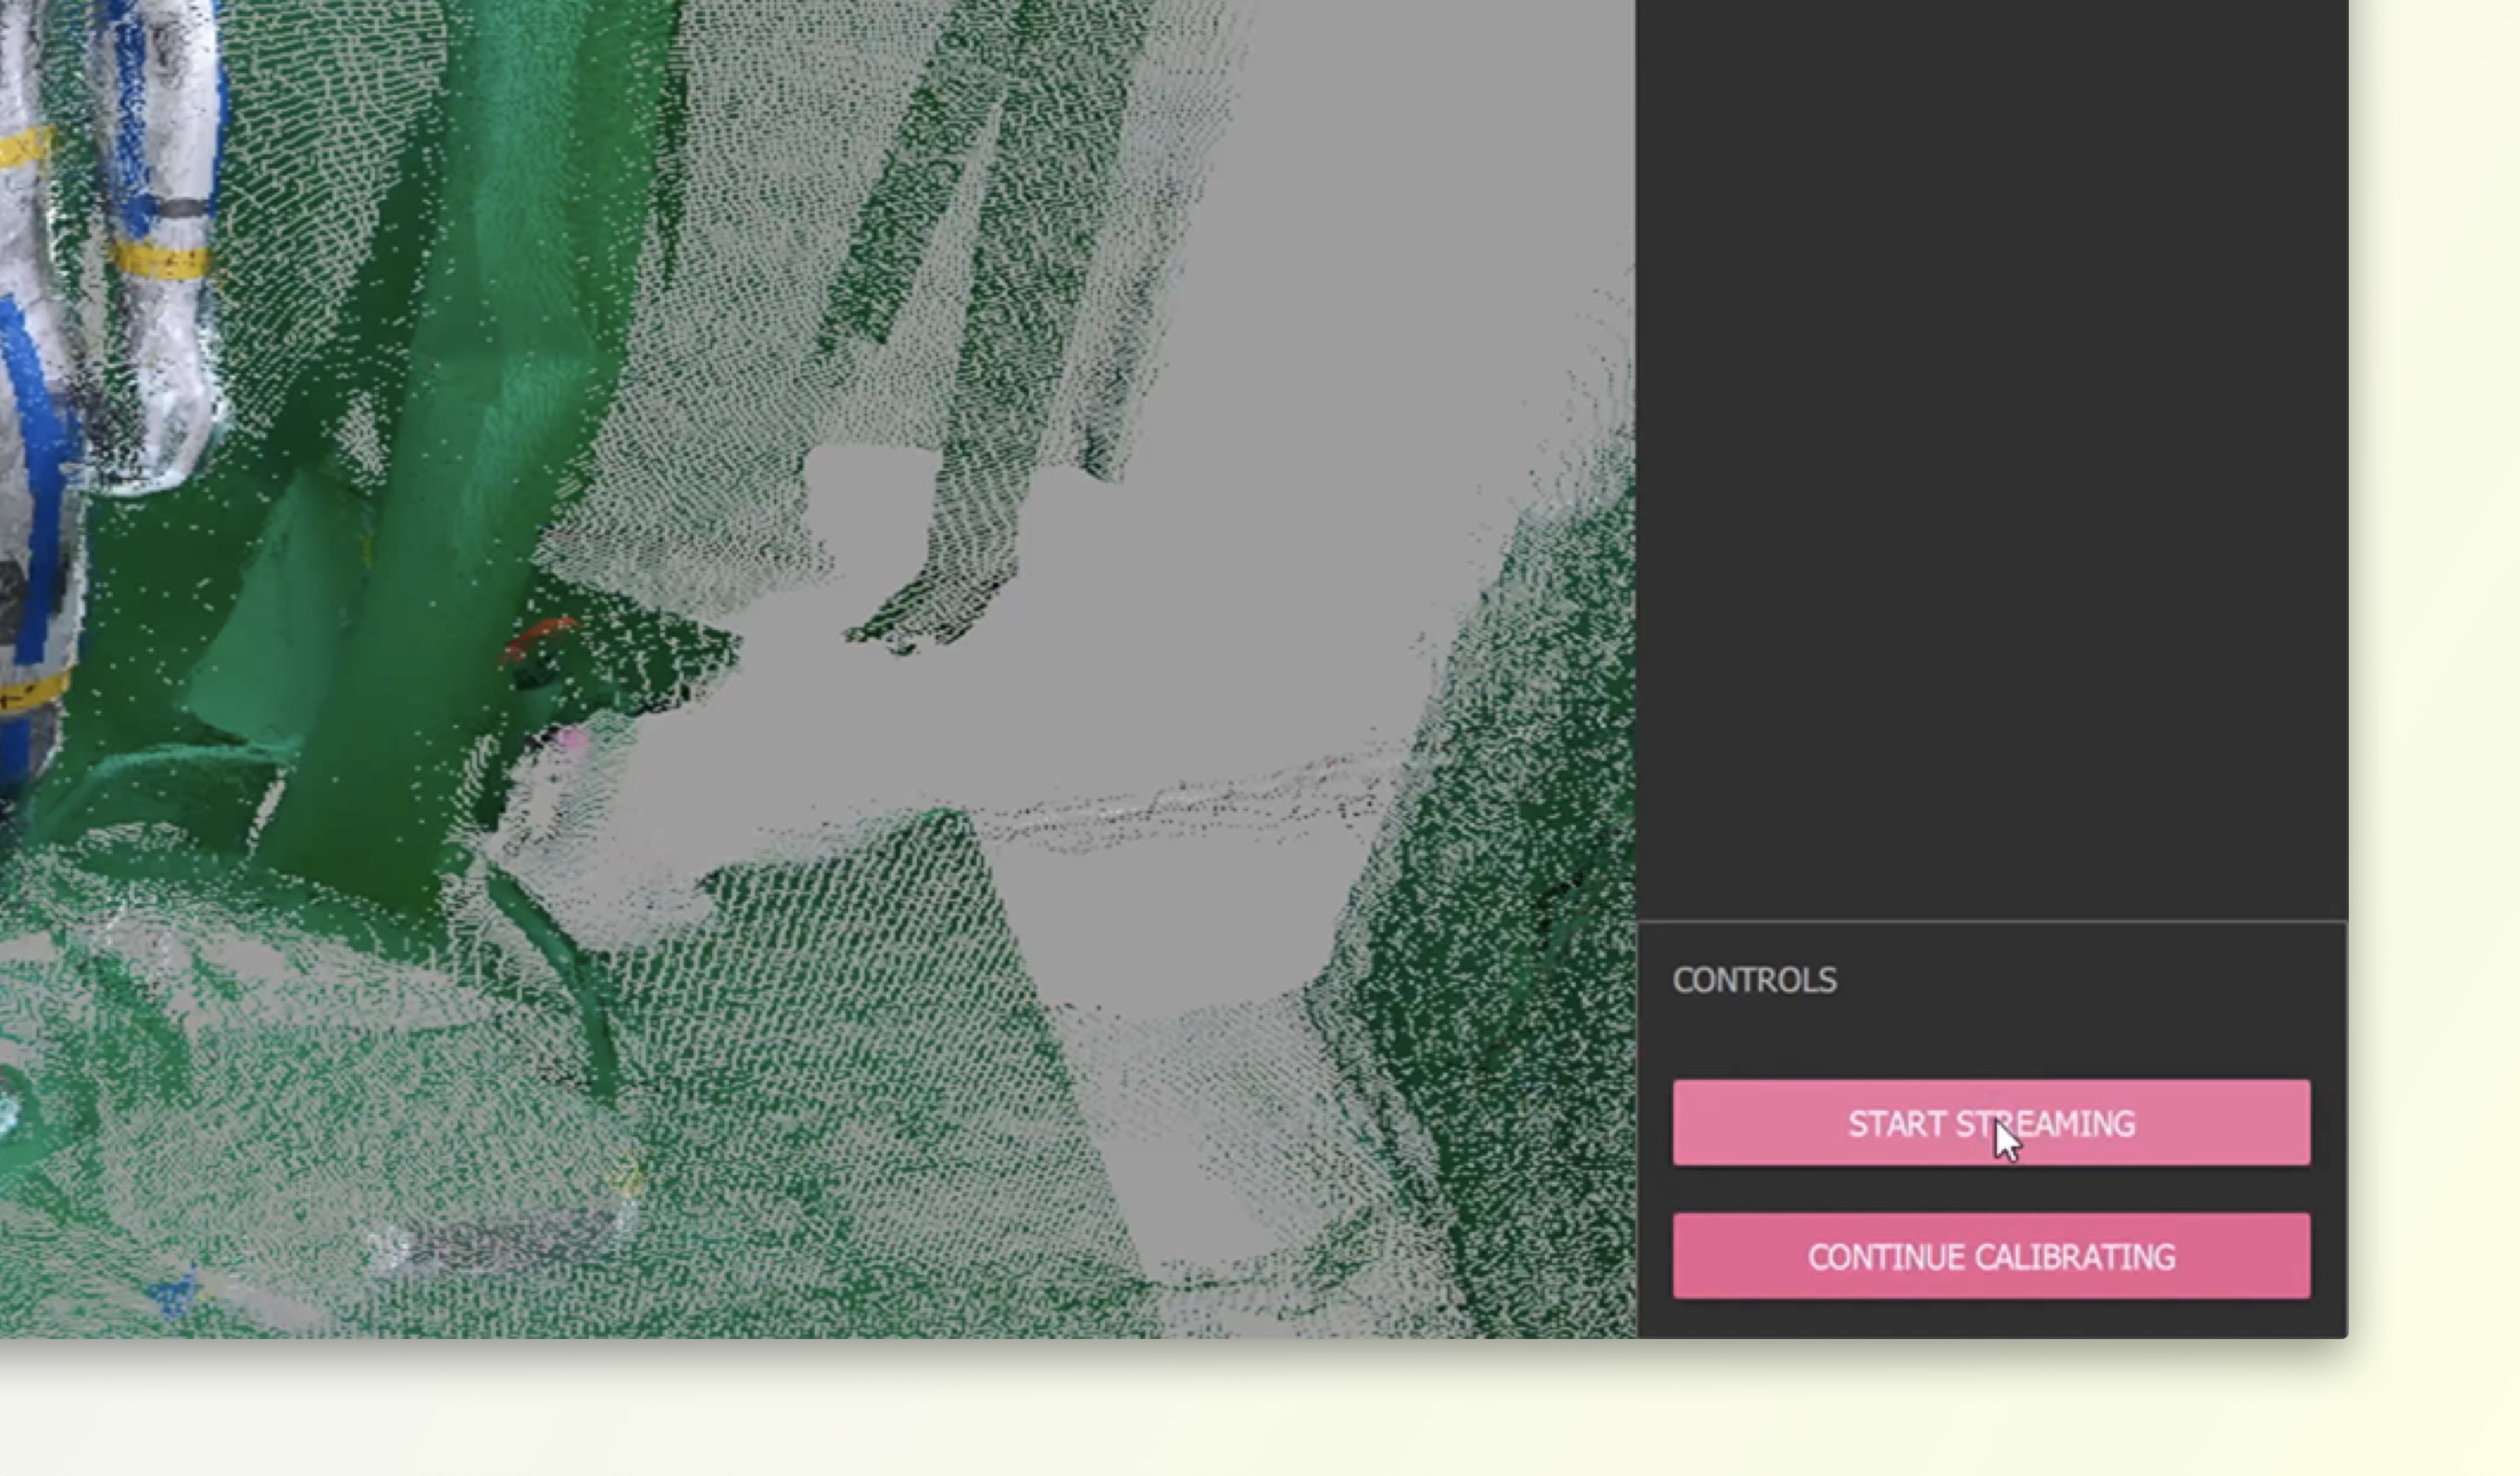
- Ensure that your cameras are synchronized before capturing by checking that the sync link is flashing red and not reporting an error. Capturing without proper synchronization will lead to drift or temporal offset, which may render your footage unusable! You can test to see if there is a sync offset between sensors by having someone enter your capture volume and moving quickly (e.g. swinging their arm around). If the pointcloud from one sensor seems to lag behind, check the sync cables are configured properly.
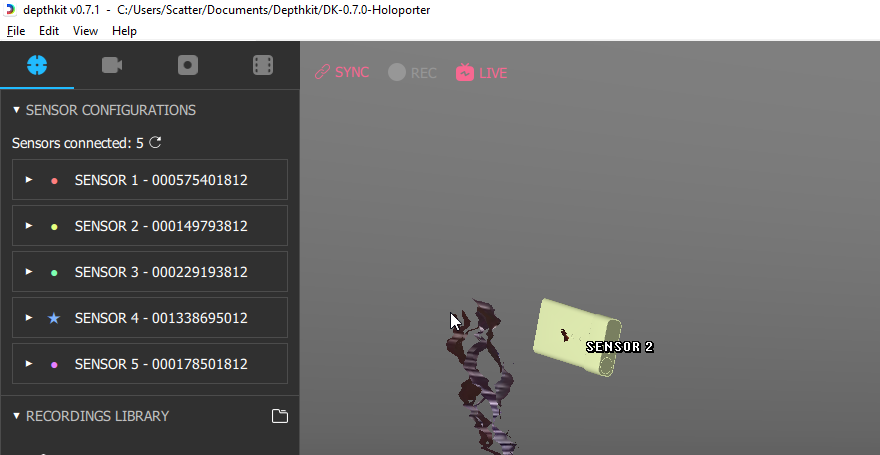
- Under Recording Prefix, you can add a custom prefix to the next recording to help stay organized.
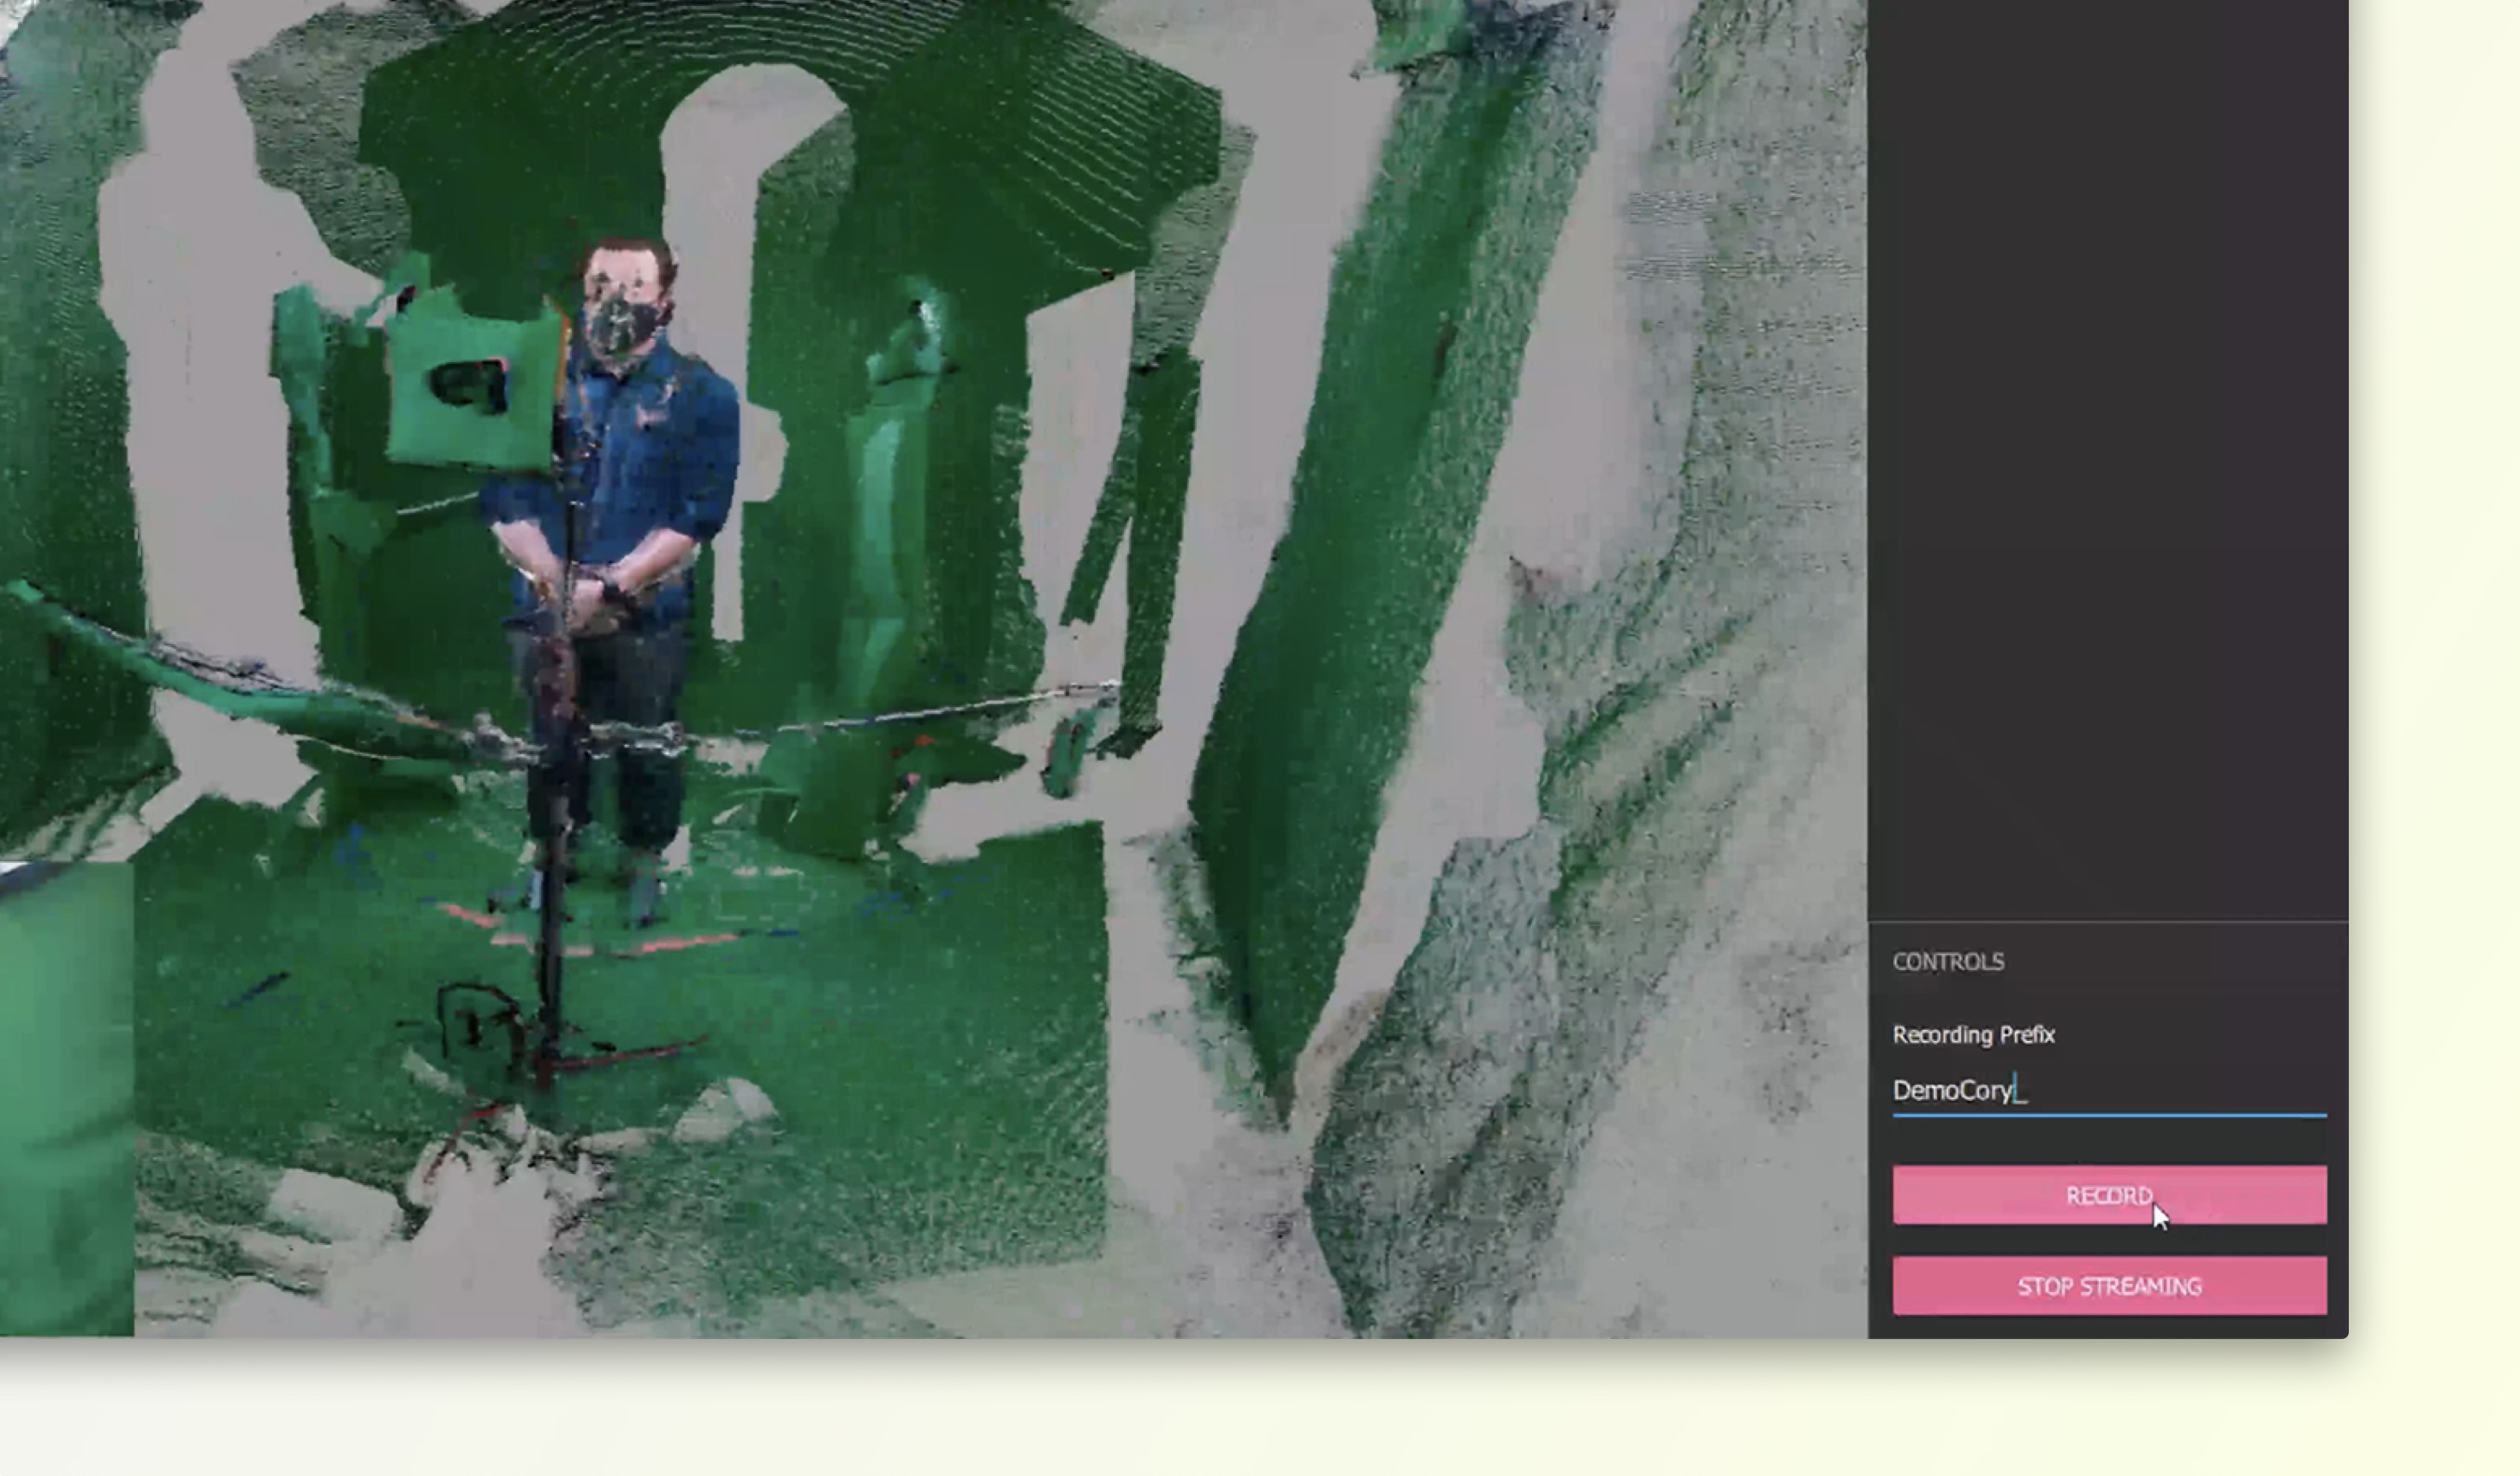
- Clicking Record immediately begins writing the captured frames to disk. This will reveal a Diagnostics panel.
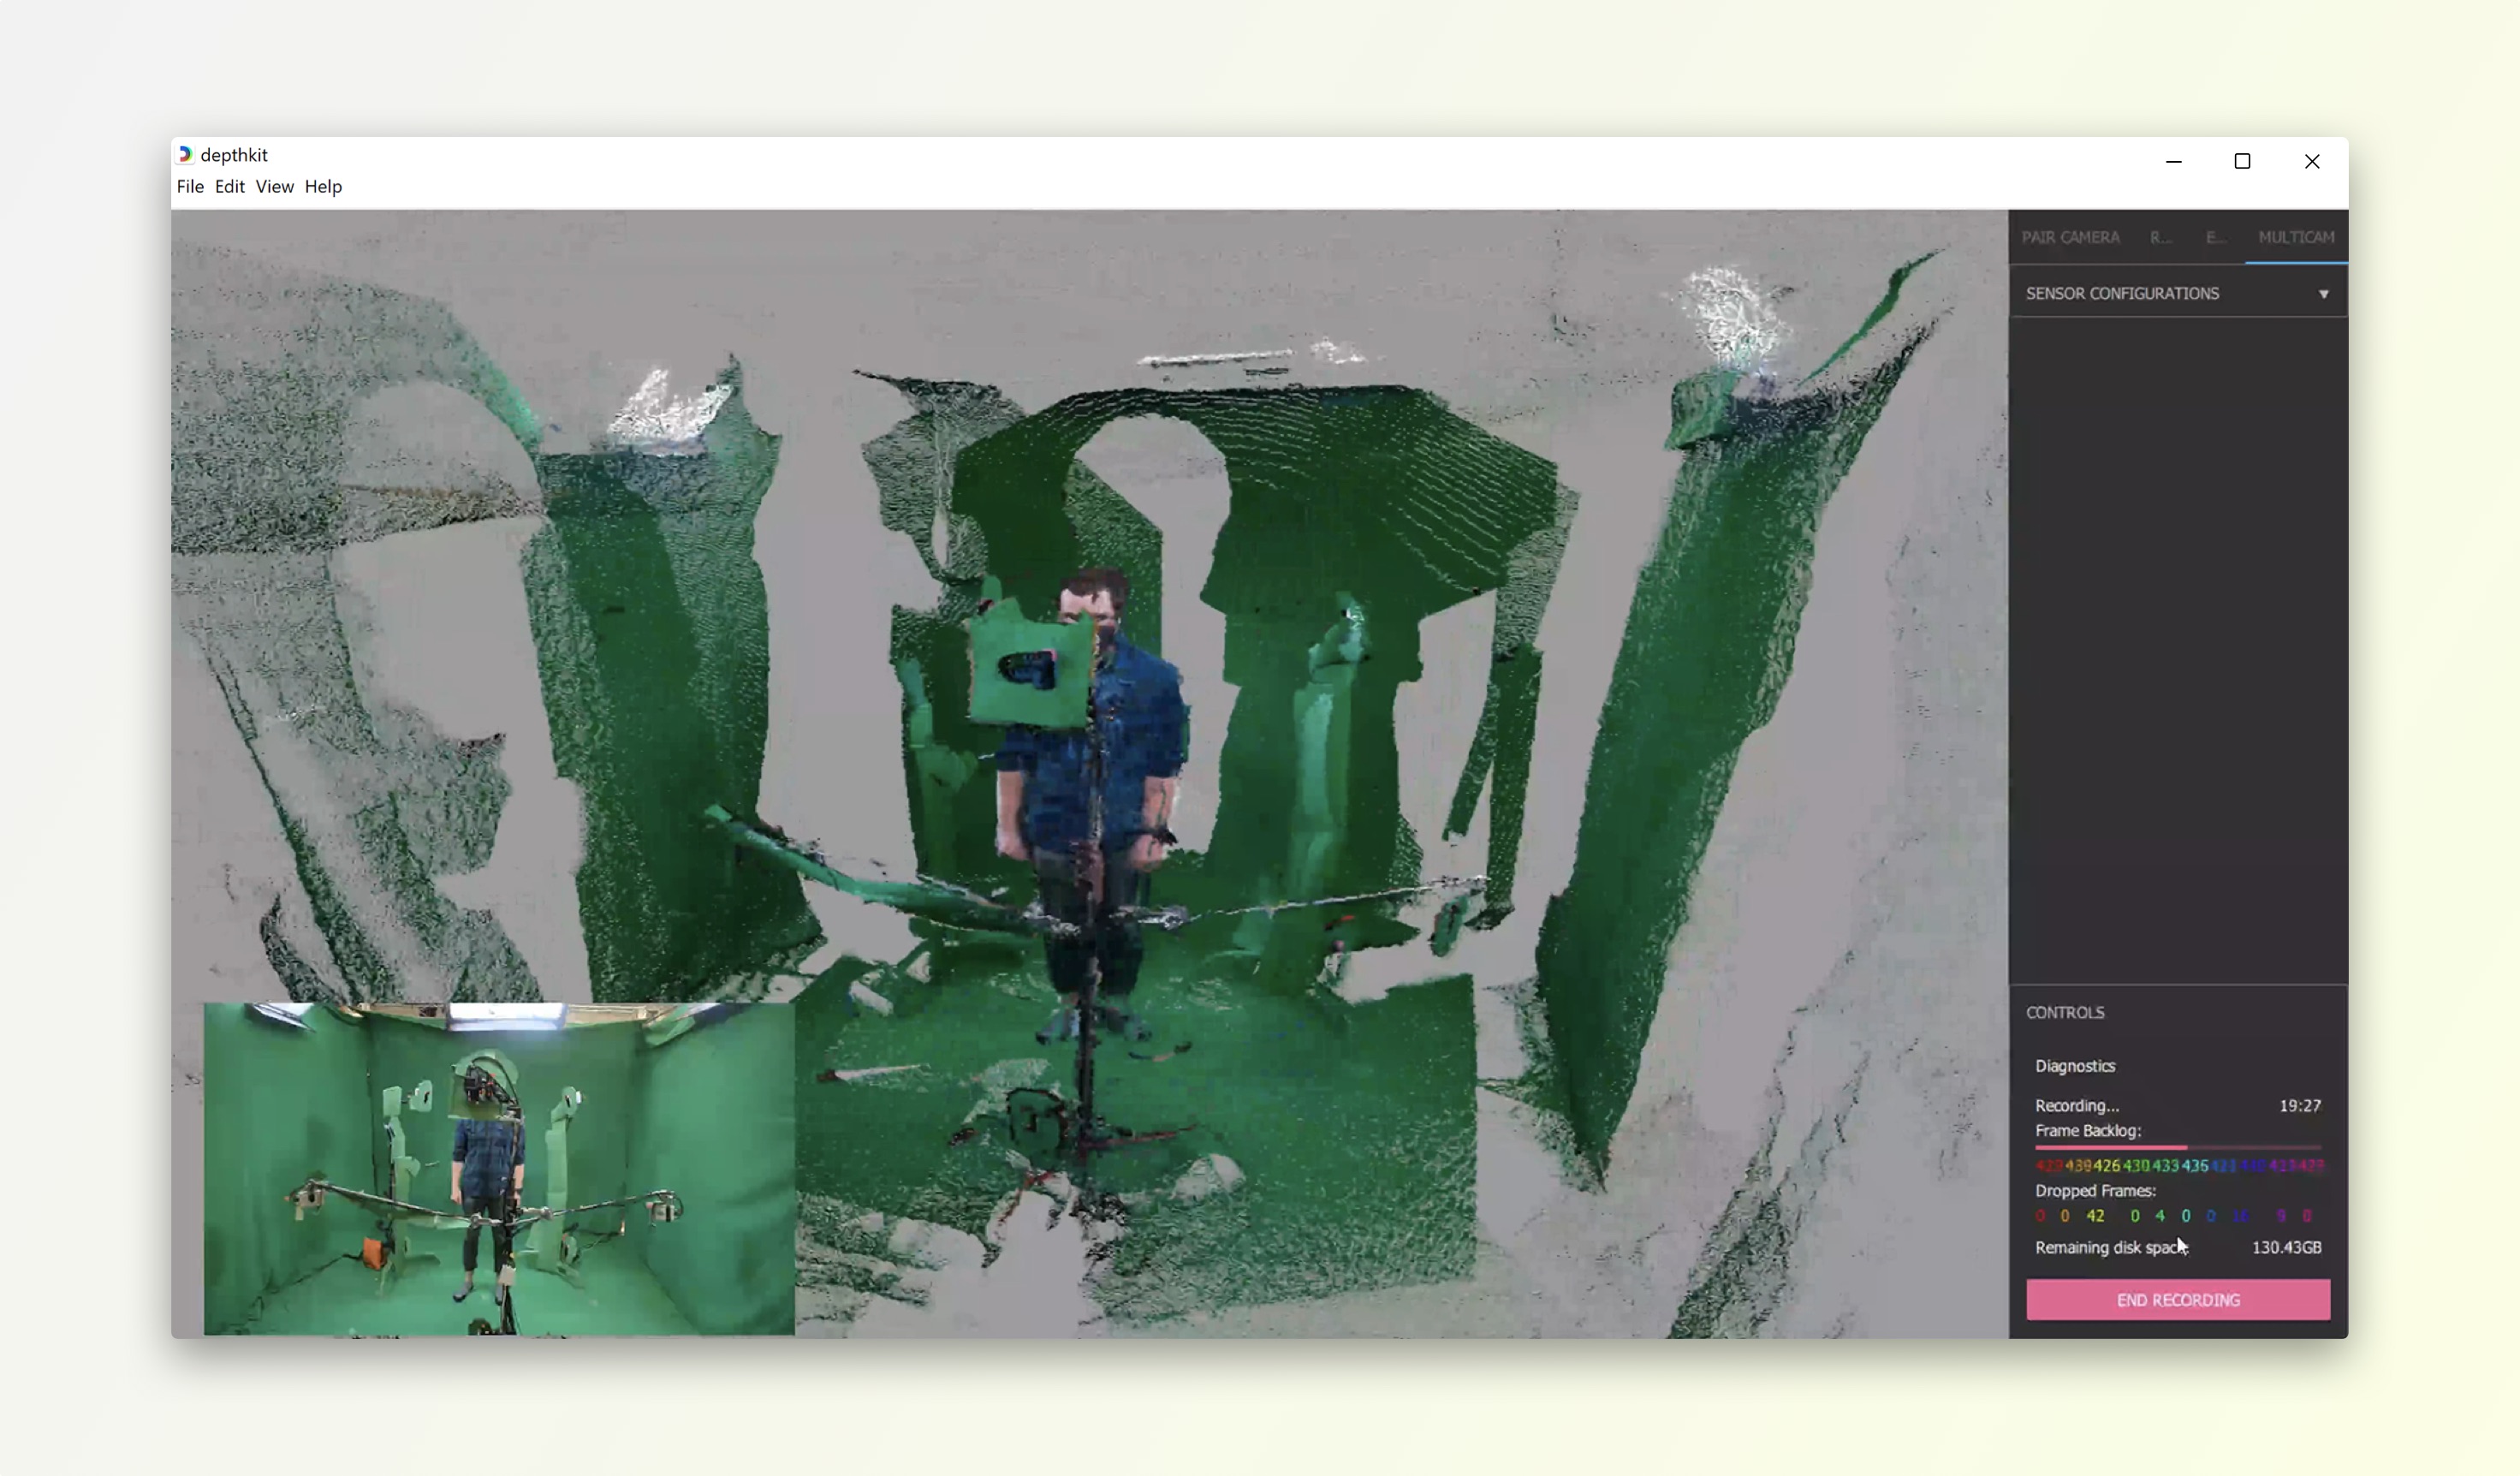
Performance Diagnostics
The Diagnostics section will inform you of each sensor's performance for the active recording. It is important to keep a close eye on this performance to ensure you are recording with minimal or no dropped frames.
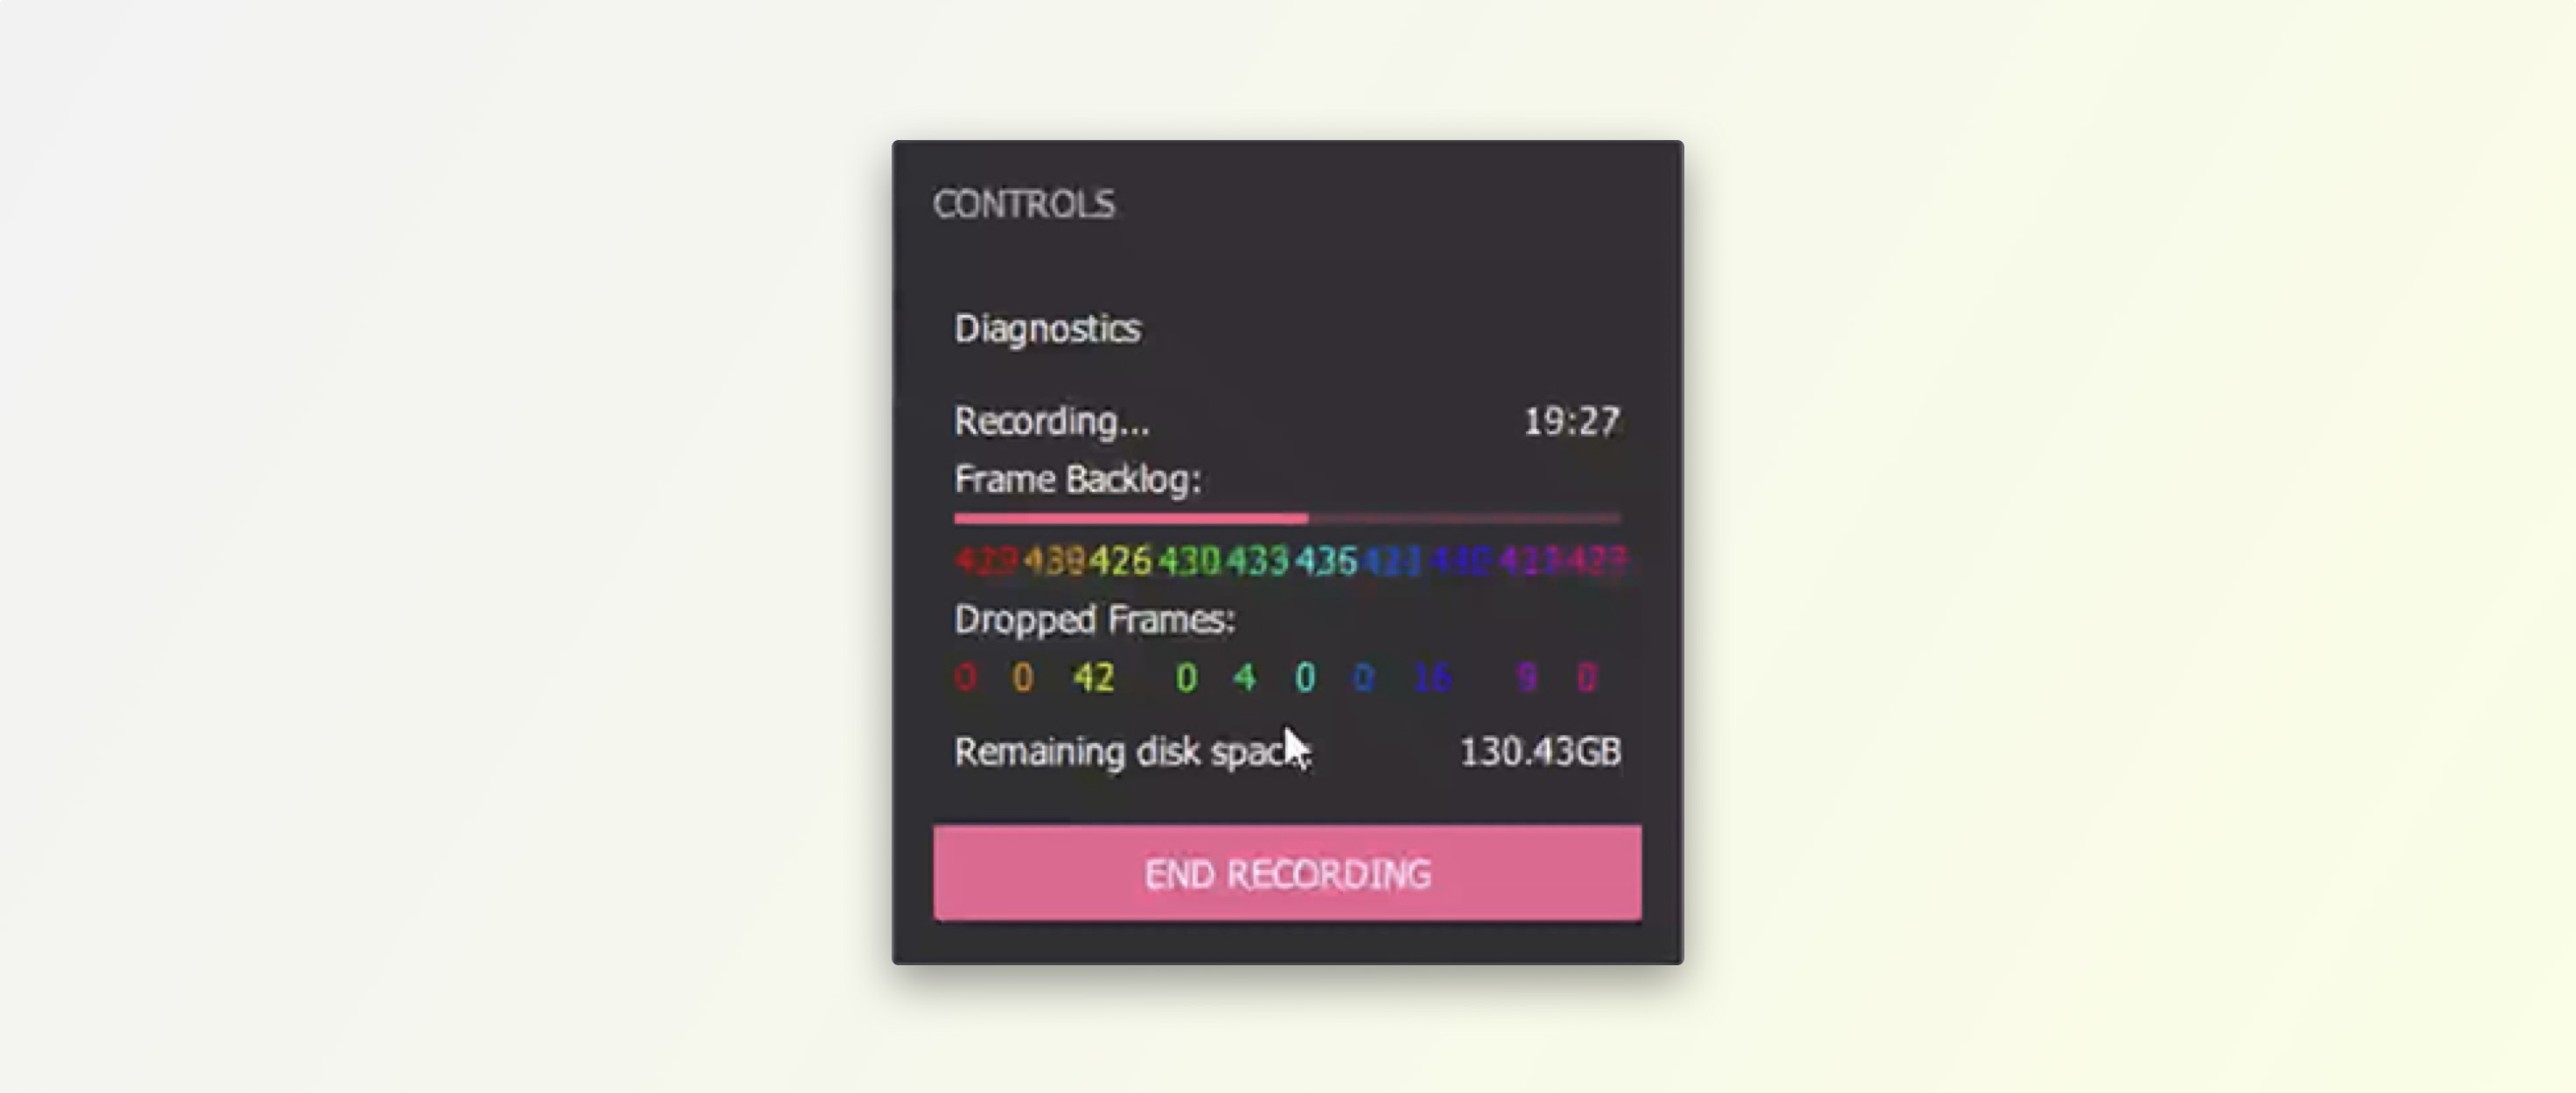
Frame Backlog generated a queue in your system memory to optimize your performance and reduce dropped frames. The Frame Backlog meter represents the maximum amount of frames that can be stored in the backlog. If the meter fills up, the recording is automatically stopped. Depthkit then finalizes the recording by writing all frames to disk before the next capture can begin.
Dropped Frames are non-recoverable data. If you have excessive dropped frames during capture, you may need to reduce the color resolution of each sensor to a resolution which is supported by your hardware.
Ending recording and finalizing the capture
- Click End Recording to stop the multi-sensor capture. If you have a remaining frame backlog, your clip may take a few moments to finalize.
- Click Stop Steaming when you are complete with your takes and ready for processing.
Next steps
Once you have at least one Depthkit Studio capture recorded, proceed to the Processing Studio captures guide.
Updated 10 months ago
