Lens Correction Profile
Prior to pairing your depth sensor and camera, you will need to correct for the lens distortion of your camera. You can do this by creating a custom Lens Correction Profile. If you've ever used Lens Corrections in Lightroom or Photoshop, this process can be pretty familiar. Essentially, it is an operation to remove any level of lens distortion. However, instead of applying it as a post-process, we will create a Lens Correction Profile at the start.
The following steps are a best practice for a successful lens profile for Depthkit. See here for a complete guide on creating a lens profile from Adobe's website.
This lens profile is specific to your camera and lens combination. It cannot be shared between similar lens and camera rigs. The good news is, once you generate this profile for a given camera and lens combination, you can use it repeatedly for all Depthkit footage captured with that rig if you lock the lens at the focal length that you generated the lens correction file with. If you change the focal length or video resolution, you will need to generate a newLens Correction Profile .
In this page
Choosing a focal length →\ Camera/lens settings →\ Lens correction profile software →\ Capturing the calibration chart →\ Generating a lens correction profile →\ Lens correction profile troubleshooting →\ Next steps →
Choosing a focal length
Before understanding the distortion of the lens, we need to decide on the focal length that you are going to use for your final shoot. Our intention is to match the video camera's field of view to the depth sensor field of view to ensure that they overlap as closely as possible. Open Depthkit to the Record Tab and compare what you see in the Depth Preview at the bottom left corner of the viewport to the field of view of your camera.
📘 For Femto Bolt and Azure Kinect, Choose Final Field of View You Intend To Use
If you're using the Femto Bolt or Azure Kinect, settle on the field of view that you intend to use for your production and select it in the Stream Configuration panel before continuing. We recommend a depth mode of 640x576 Narrow raw for most capture environments.
Looking at Depth Preview in the bottom left corner of the viewport, tilt your rig until the top of the frame aligns to a recognizable feature in the scene. Now looking at your cameras viewfinder or LCD zoom out until you can see that same feature in the camera preview.
🚧 Test Your Camera Aspect Ratio With A Test Recording
Occasionally, the aspect ratio that you see in your camera viewport will not match the video that your camera will produce. For example, your viewport may be 4:3 and your recorded video could be 16:9 so when you record little black bars appear at the top and bottom of the frame. Test a recording to ensure that your LCD preview matches your recorded video.
Camera/lens settings
To ensure the camera captures valid data for the calibration:
- Exposure Mode & ShutterKeep your camera set to manual exposure, and choose exposure settings like shutter speed/angle which capture the calibration chart in clear black and white.
- ISO: An ISO of 400 or less is recommended to avoid excess noise in the image, which could impact the calibration.
- Aperture/F-Stop: A relatively closed aperture (f/8+) is recommended to keep the chart in as precise focus as possible.
- Gamma/Picture Profile: Apply a gamma curve or picture profile like Rec.709 to avoid reducing the contrast of the captured calibration chart. Presets like "Log" or "Cine" may capture the chart in such low contrast that the lens calibration software fails to detect it.
Lens correction profile software
There are several ways to generate a lens correction profile.
We recommend using the Adobe Lens Profile Creator, a free utility that can provide a quick and easy way to create a Lens Correction Profile. You'll receive a download link for the Adobe Lens Profile Creator when you subscribe to Depthkit Cinema.\ See the following steps for creating a Lens Correction Profile for Depthkit using Adobe's Lens Profile Creator.
📘
If you are unable to access the Adobe Lens Profile Creator link, reach out to support@depthkit.tv for assistance.
Capturing the calibration chart
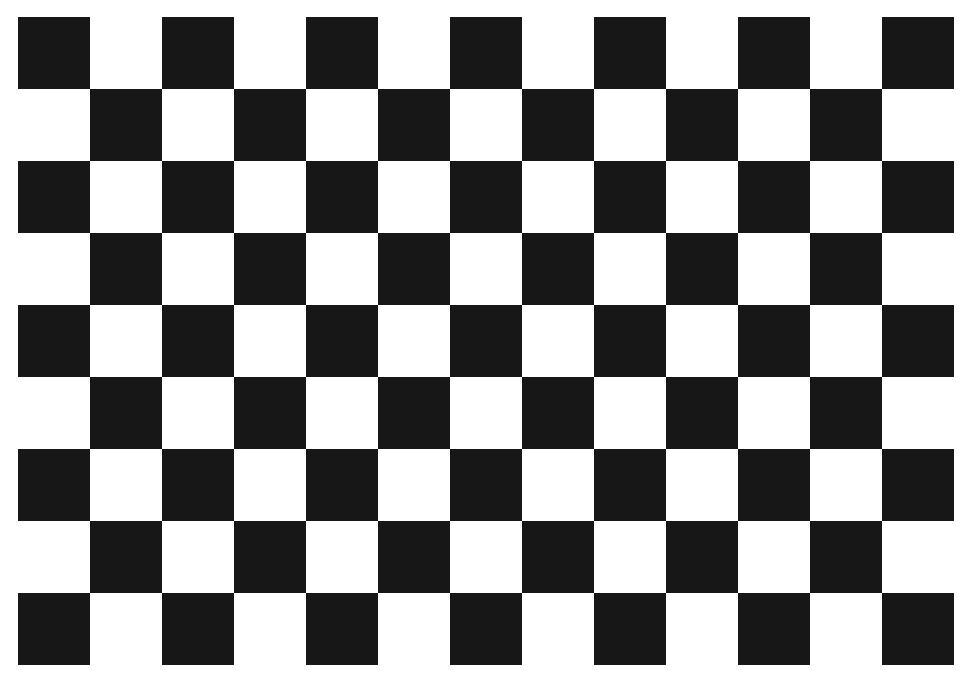
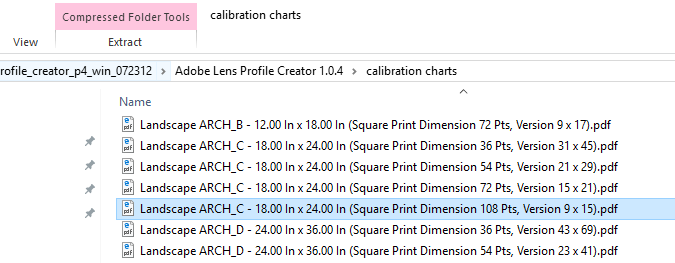
A good Lens Correction Profile begins by capturing a calibration chart. This is a specific chessboard pattern available in the Adobe Lens Profile Creator. There is a folder of PDF charts that come with the application.
-
Open the chart PDF and make it full screen.
-
Avoid glare on the screen. Increase your screen brightness and turn off any surrounding lights, particularly lights that are behind the camera or create glare on the screen. The light coming from your display will be plenty to generate a good Lens Correction Profile.
-
Once you calibration screen is ready, set up your camera on a tripod, roughly at the same level as the chart. The chart should be perpendicular to your camera.
-
Set your camera to manual exposure and stop it down so that the whites of the chart are not too 'clipped' or over-exposed. We recommend that you use an aperture or f-stop of f/8 or above. Focus your lens on the calibration chart.
-
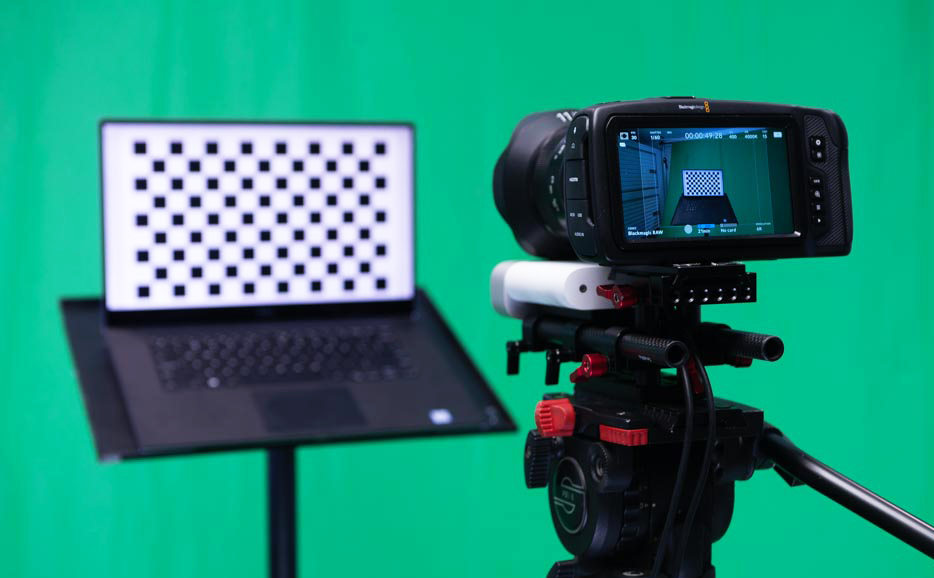
Now you are ready to capture the calibration screen. The goal is to capture a single video of the chart placed across the frame in a grid like pattern. Think of your video frame as a grid, starting at the center and then positioning the calibration chart as close to the edges of the frame as possible. Make sure no part of the calibration chart is outside of the frame. With this in mind, you can record a video and adjust the camera so the calibration chart fits into each grid section. We will need to pull still images from this video for generating the profile. The reason why we capture a video first is to reduce the error that may be caused from differences in frame size between a still image and a video when using a camera that introduces crop.

Depending on the size of your calibration chart, your frame maybe be broken into nine sections or more. The below example captured in a 5x4 grid pattern to fill the frame with the calibration chart.
- Now you have captured a single calibration chart video. Next, grab single frames representing sections of the grid. You can grab these frame quickly using Quicktime X, Windows Media Player, Adobe Media Encoder, DaVinci Resolve, or even VLC.
Extracting frames from video
📘 Exporting Frames From Your Video
We recommend exporting your images as TIFF or JPEG files for best results.
To extract frames in Adobe Premiere:
- Import the video into Premiere.
- In the timeline, position the play head over the frame that you would like to extract and hit Ctrl+Shift+E (or Shift+E on a Mac) or click the camera icon in the project panel. This will bring up an export dialog to export the desired frame.
To extract frames in Quicktime X (OS X):
- Select the desired frame. Use the arrow keys to select the exact frame that you want.
- Hit Command+C
- Hit Command+N in Preview and save the new image. Repeat for the remaining sections of the grid.
To extract frames in Windows Media Player (Windows):
- Select the desired frame and hit Control+I.
- When you see a Save Captured Image dialog box, save the image and repeat for the rest of the grid sections.
Generating a lens correction profile
Processing calibration chart images
-
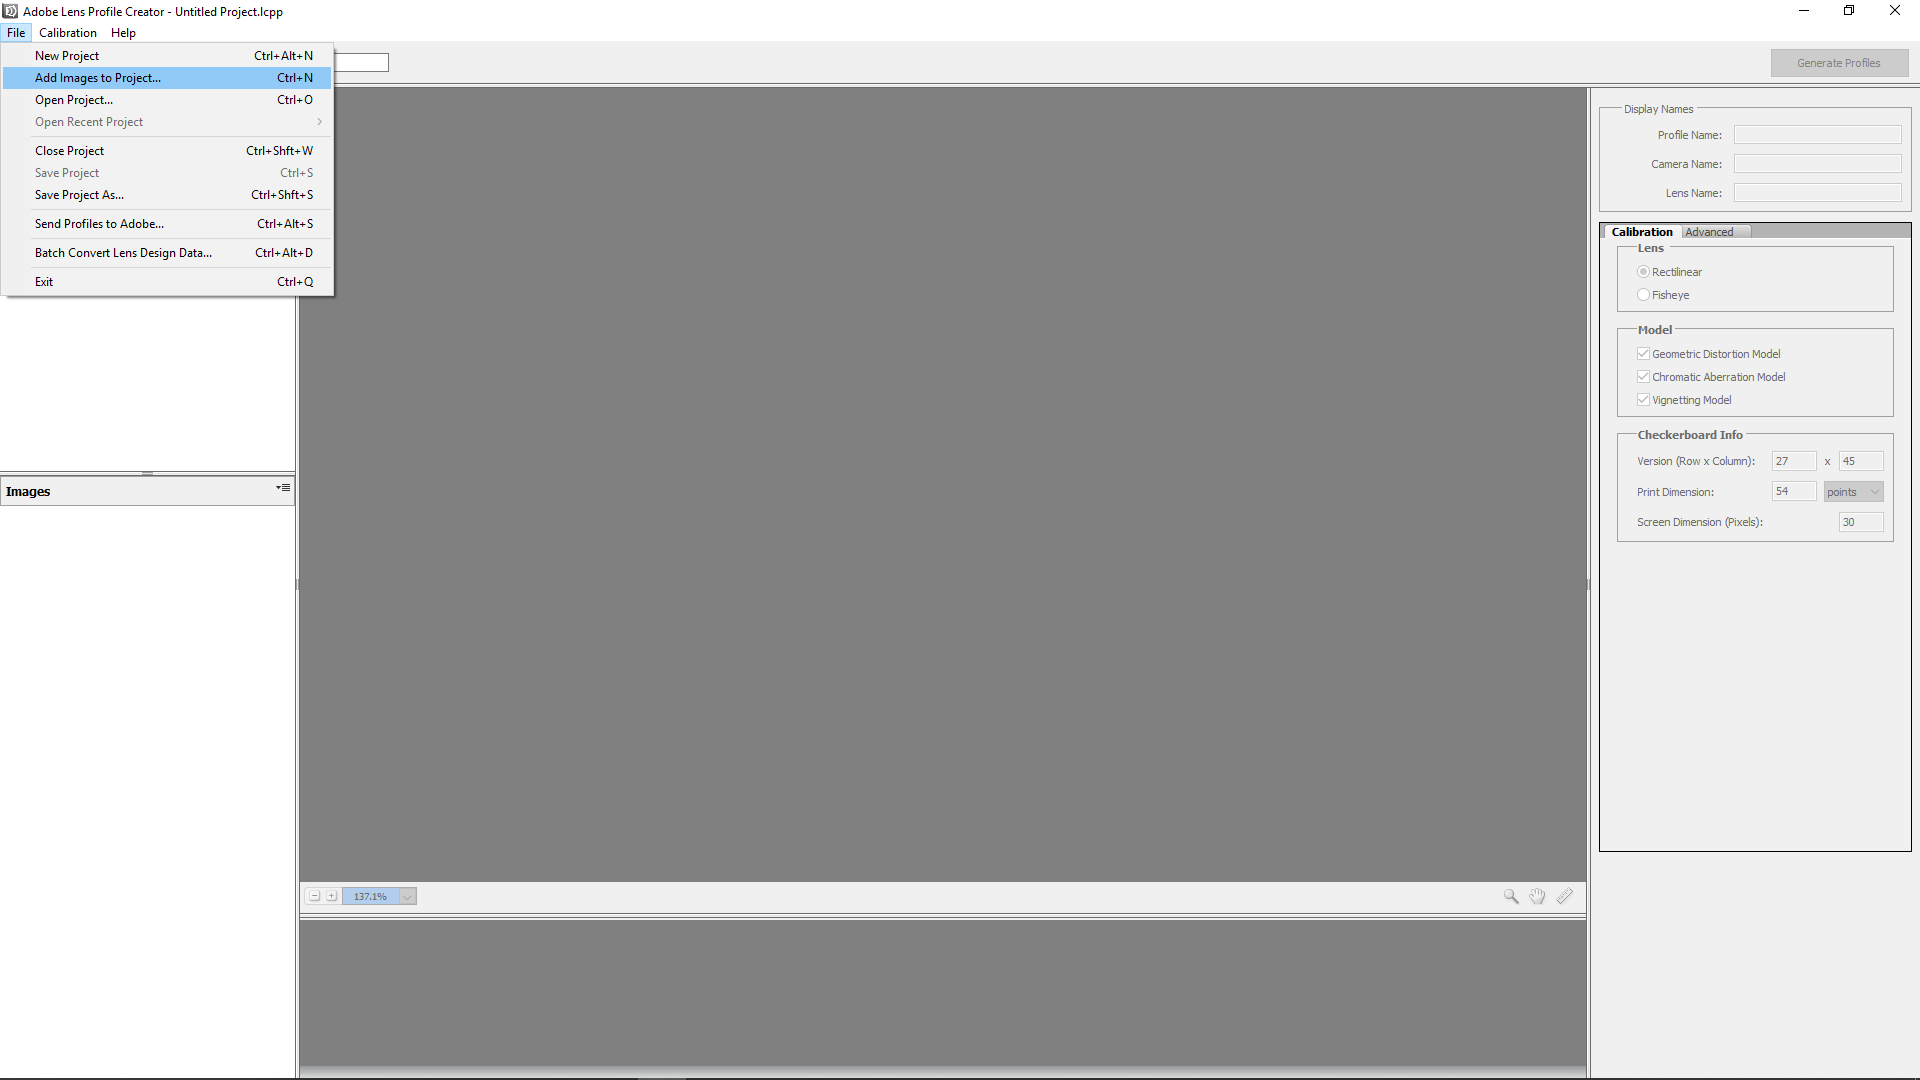
Open the Adobe Len Profile Creator tool and create a new project.
-
Under File, click "Add Images to Project".
- Type in your camera and lens model name under Display Names at the top of the panel on the right. It is important to be specific here, including the full model names. This profile will be reusable for this specific camera and lens combination.

Calibration Settings
- In the Calibration Menu in the panel on the right under Checkerboard Info, specify your version, row and column values. This refers to the rows and columns listed at the bottom on your Adobe calibration chart image. Specify the Screen Dimension in pixels, also listed on your calibration chart.
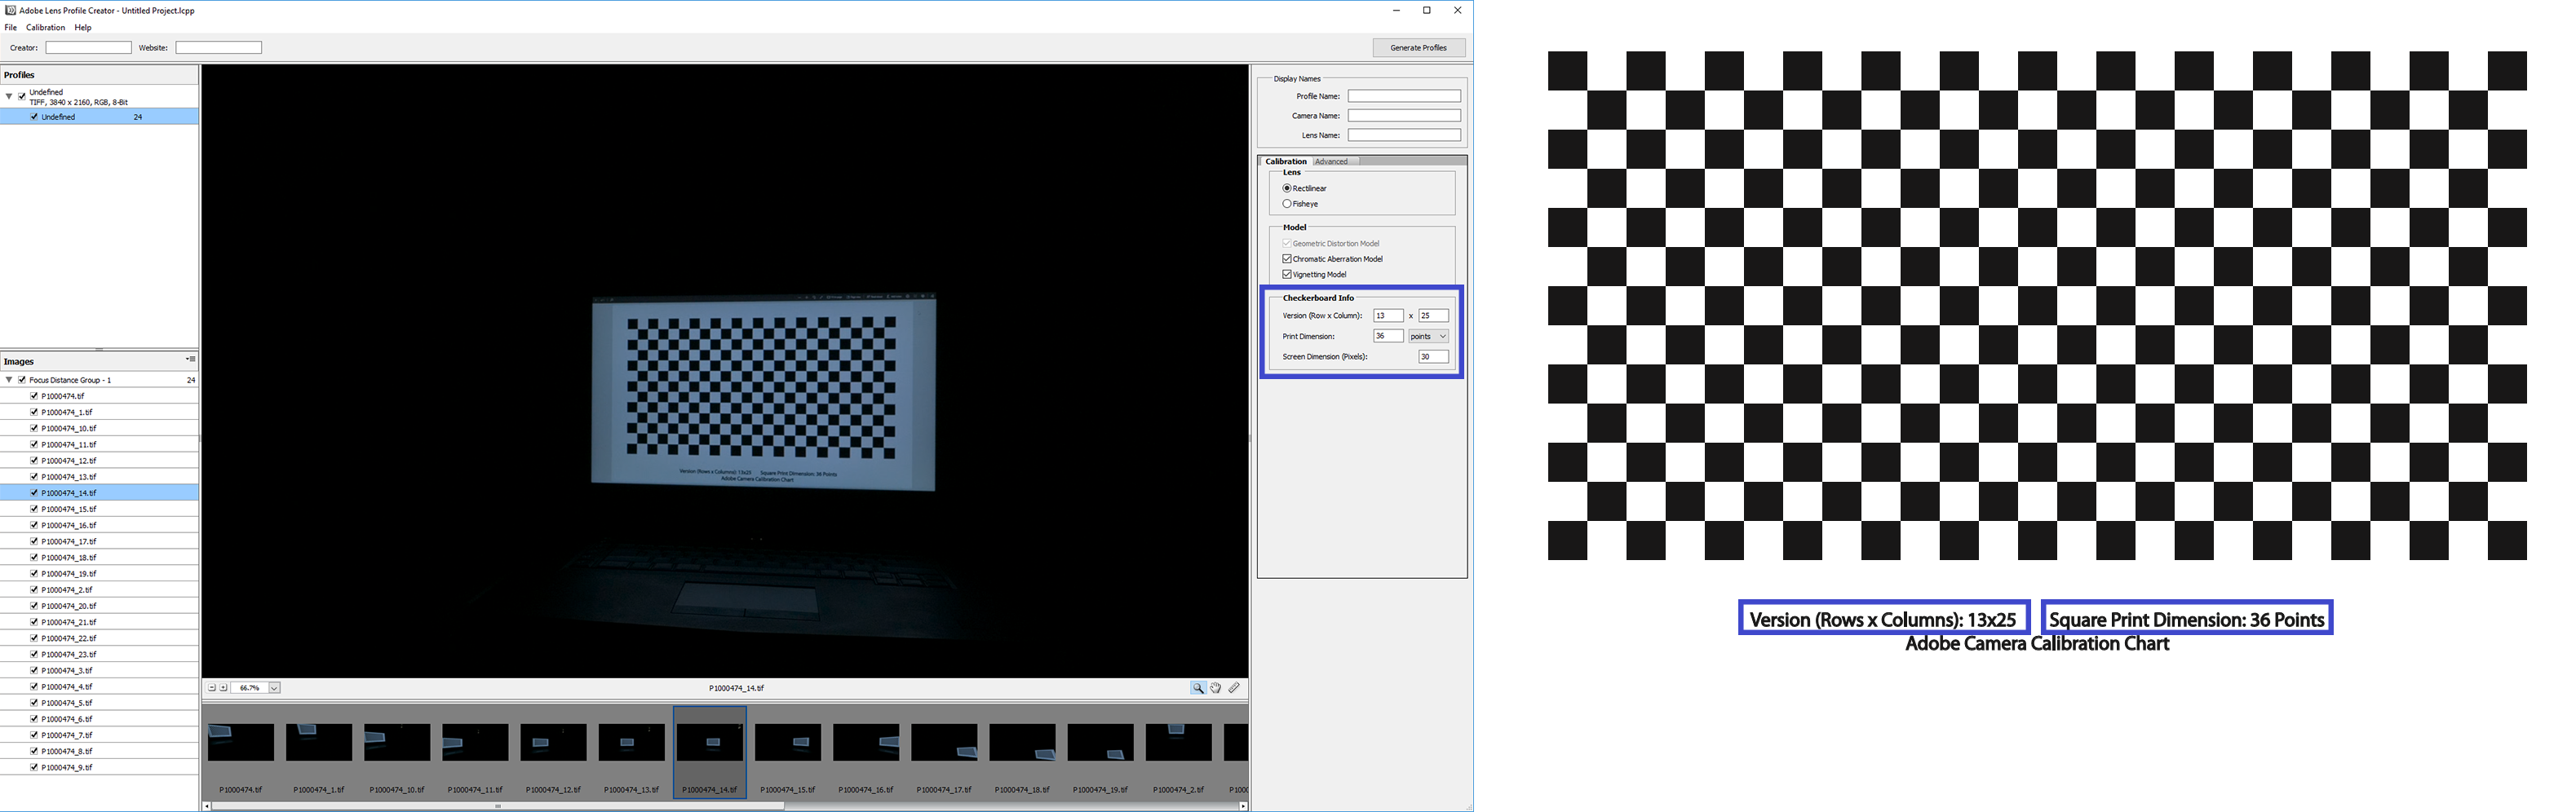
- Specify your Print Dimension using the ruler tool, found at the bottom right corner of the preview screen. For this value, measure a single checker square that is the smallest one in your image set using the ruler tool in the bottom right corner of the Adobe Lens tool. Measure the width (or height) of this square making sure your line is straight across and not angled diagonally. Input the value as your Screen Dimension in the corresponding dialog.
Disable Chromatic Aberration Model and Vignetting Model to reduce processing time.

- Switch from the Calibration tab to the Advanced tab in the menu on the right. Set the Rectilinear Lens Model to "Five-Parameter Radial and Tangential Distortion". However, if you are using a very wide lens and are prompted to "change your lens model or disable outlier images" you may have to leave this setting on automatic.
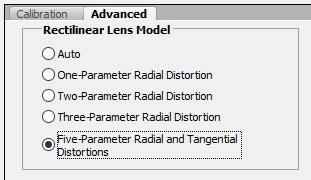
You are now ready to click Generate Profile in the top right corner of the interface. This may take a few moments. You will be prompted to save your profile. The result is a camera/lens specific Lens Correction Profile, or .lcp file, for use in Depthkit in the Camera Pairing workflow in Depthkit.

Lens correction profile troubleshooting
What if the generation of the Len Profile is unsuccessful?
- Make sure the calibration chart is in focus in your images.
- You may have images in which the calibration chart is not detected. It is fine for a few images to be disabled due to a failure to detect, but if the majority of your images are unsuccessful, you may need to re-shoot the image set.
- With some wide angle lenses, you may have a successful generation of a Lens Profile by switching the Rectilinear Lens Model to Auto. This isn't the best practice, but if you are running into errors (as seen below) and you don't have time to take new images, this may be a solution.

Next steps
Once you have generated a lens correction profile, you can proceed with Camera Pairing.