Processing Cinema captures
In this page
Importing Cinema clips to the Depthkit computer→\ Linking Cinema clips →\ Synchronizing Cinema clips →\ Setting in and out points →\ Aligning Cinema clips →\ Refining Cinema clips →\ Isolate →\ Next steps →
Importing Cinema clips to the Depthkit computer
First, import the Cinema clips from your Cinema camera to the computer containing your Depthkit project. This can be done in different ways, so check the manual or documentation of your camera for best practices.
File location: The clips do not need to be in a specific location on the computer, but adding a folder to your Depthkit project and storing the Cinema clips there ensures that the project will remain intact if it ismoved to a different drive or computer.
Re-encoding: You may need to re-encode these files for Depthkit if your camera uses a codec unsupported by Windows Media Foundation. Examples of this are proprietary video formats like RED's Redcode RAW, or Blackmagic's BRAW. You can use software like Adobe Media incoder to re-encode the footage to H.264 or H.265 (mp4) for Depthkit - Just ensure that the resolution and framerate stay identical to the original clips.
Linking Cinema clips
In Depthkit's Edit window Library, select the clip that you would like to process. By default, the take is already set up with the sensor video in the 3D view port.

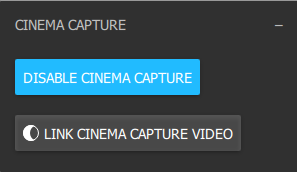
- Expand the Cinema Capture Panel and click the Enable Cinema Capture button to enable the linking of the cinema captures to the sensor captures.

- Click Link Cinema Capture Video to import the video into Depthkit.
Once the video is linked, you will see that the 3D viewport now previews the video from your camera instead of the sensor. In addition, the video file path is linked within the Cinema Capture panel.

Synchronizing Cinema clips
- Now you need to synchronize the cinema and sensor video, which will in turn synchronize your depth data as well.
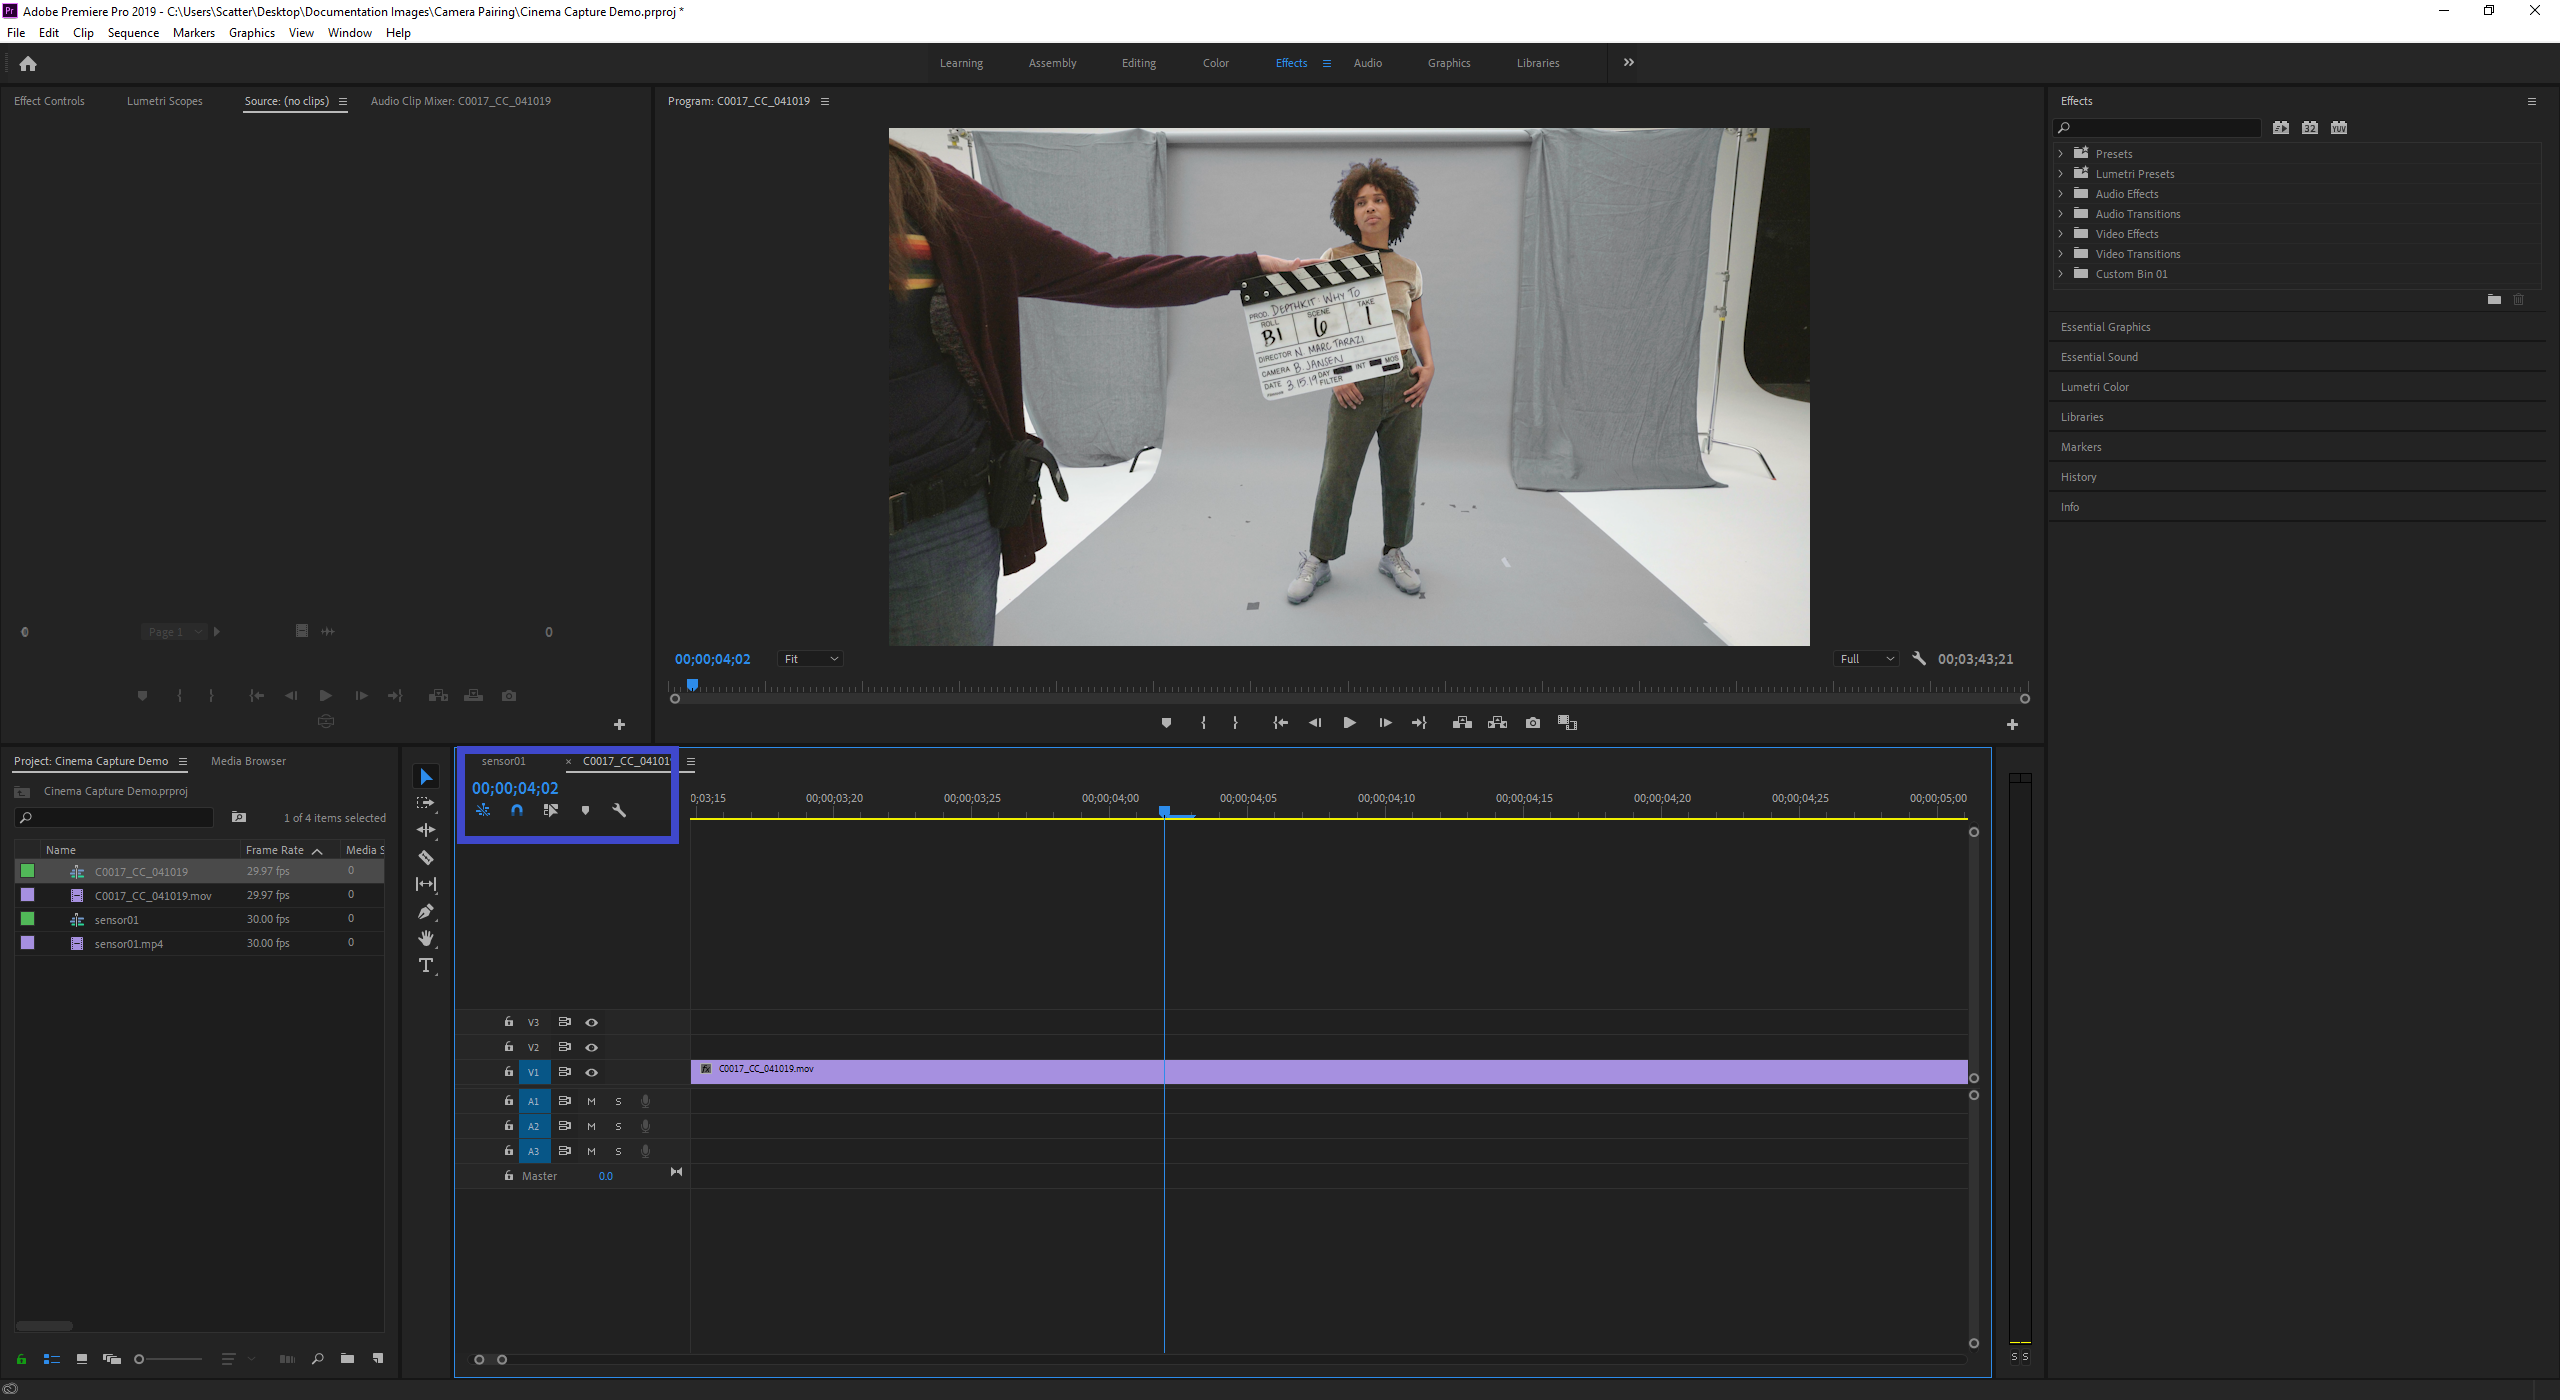
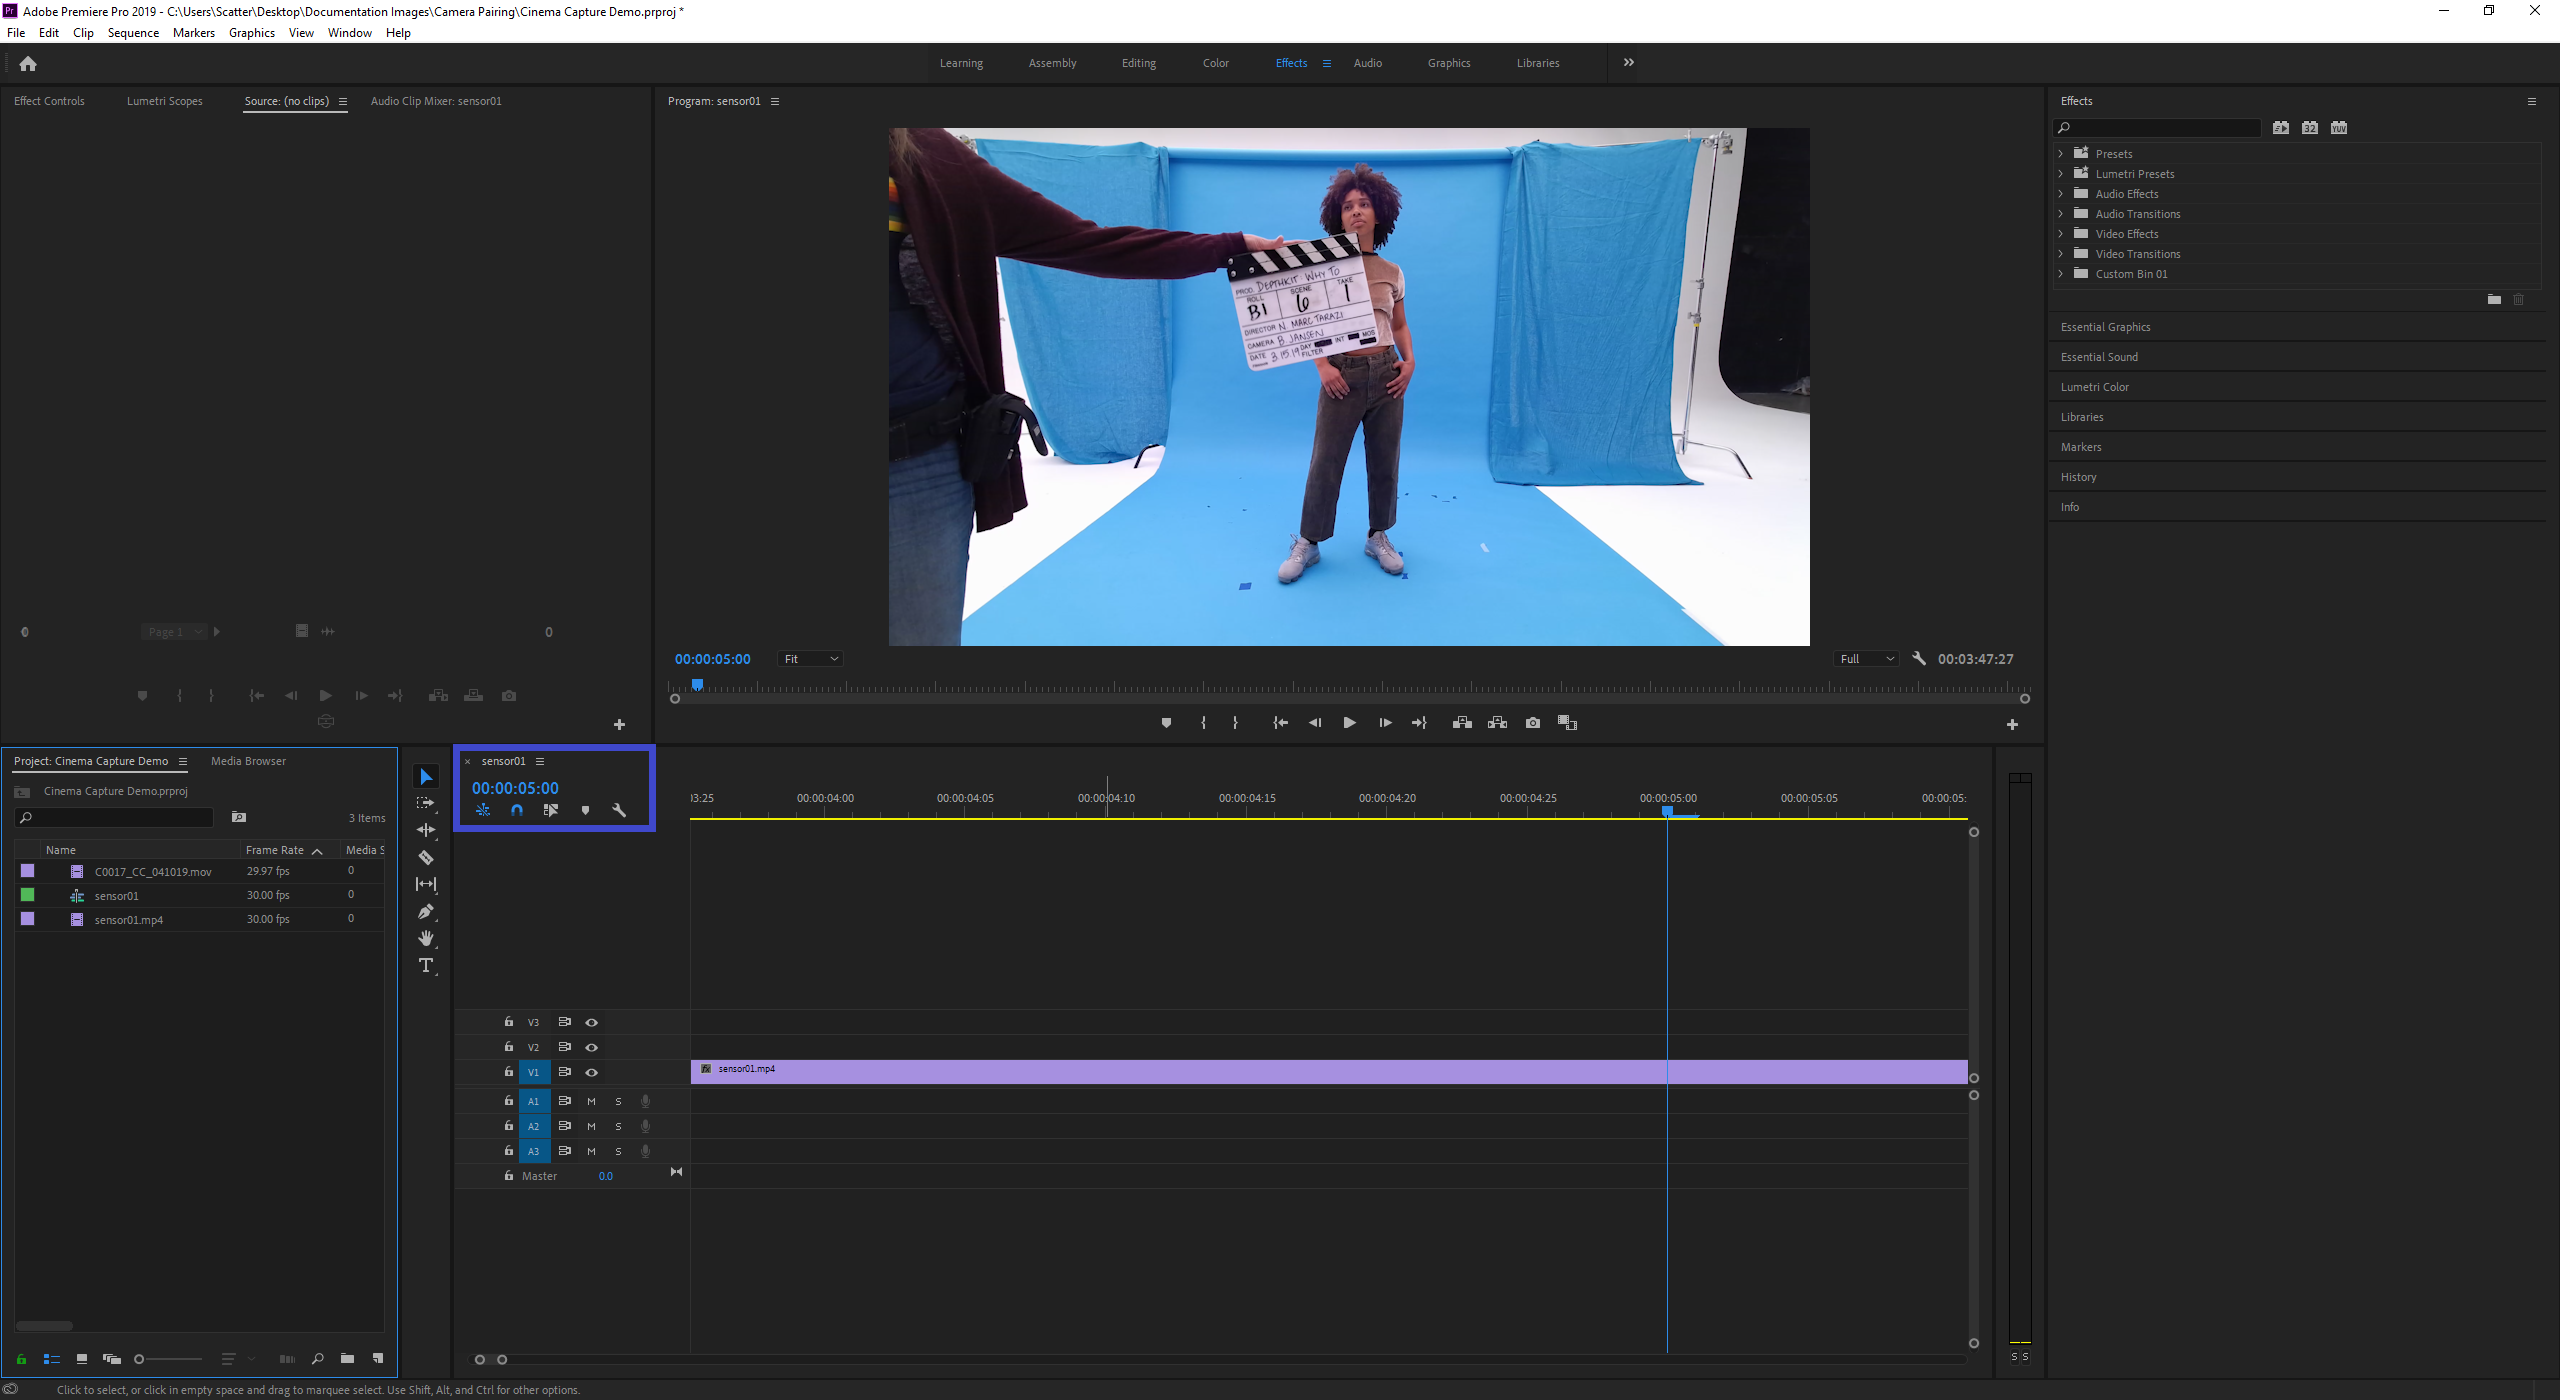
A quick way to do this is to take both the cinema and sensor video into a video editor like Adobe Premiere and find the clap, or slate, to use as the sync point. Note the time-code for both videos.
📘 Use Clip-Relative Timecode, Not Time of Day
Gather the time from the start of the video – note that the numbers will be relatively low – not the timecode representing time of day. Some professional cameras will produce timecode against a 24 hour clock which will look like 01:23:45:01.
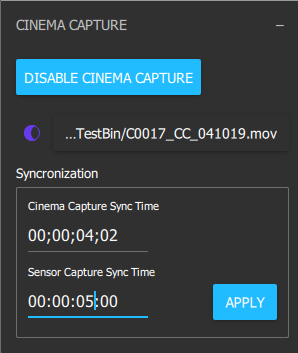
As seen in the example below, the Cinema Capture has a sync point of 00;00;04;02. The sync point of the Sensor Capture is 00:00:05:00.
Paste these time-codes under Synchronization in the Cinema Capture panel.
Once applied, you will notice that the play-head jumps to the sync point on the timeline and in the 3D view port and your footage is now synchronized.
Aligning Cinema clips
🚧 Depth & Color Alignment
On some Azure Kinects, we have noticed a slight misalignment between the sensor depth and color - More information is available on Microsoft's Azure Kinect SDK GitHub. In the meantime, we have provided an Alignment panel to solve for this potential issue in Depthkit Cinema.
Once your Cinema footage is linked and synchronized, if you notice a slight offset between the color and depth in your take, you can solve this with the Alignment panel, located within the Cinema Capture panel. With this functionality, you can tweak the depth and color alignment to solve for any discrepancy that your sensor may have introduced. Translate, rotate, or scale can all be used to adjust as needed.
For best results, apply any translation, rotation, or scale prior to adding a refinement mask to your clip.
If your sensor introduced this misalignment, you may need to apply these tweaks to all of your Cinema Captures. Simple click the Copy to Cinema Captures button to do this. This action will only copy the alignment values to takes with enabled Cinema Captures that share the same Camera Pairing data.
Please note that this not recommended as a solution for bad or moderate Camera Pairings. You must start your project with a good Camera Pairing to be set up for success to process your takes.

Setting in and out points
Moving the In and Out points on the timeline determines which portion of the capture will be exported. Use the Jump to In button to play the capture from the In point, and preview the duration of the selected timeline region.
Note that with Depthkit Cinema enabled, moments at the very beginning or end of your clip may be unavailable if there isn't data from both the sensor and the Cinema clip for that time.
Refining Cinema clips
Refinement is an optional step which enhances the quality of your capture.

If you have activated the Refinement workflow, follow the steps in the Applying Refinement section.
Isolate

The isolate panel allows you to remove excess or background data from your footage. You can isolate your scene in using different combinations of the Depth Range, Mask, and Crop tools.
Setting the depth range
Just like in the Record window, depth segmentation allows you to adjust your depth range as needed. Adjust this to bring both the near and far clipping planes as close to your subject as possible without clipping any part of them throughout the recording, so that the closest areas of your subject are red-orange, and the furthest areas are magenta. This results in higher-fidelity depth data.

Toolbar > Enable Depth Range Adjustment in 3D Viewport
To enable adjustment of the near and far plane positions in the 3D viewport, toggle on the Depth Range Adjustment button in the toolbar in the top-right.
Applying a mask
If you would like to remove the background from your clips using more than just the Depth Range, you can do so in a couple of ways:
- Add Refinement Mask: If you have Refinement enabled and have generated a refinement mask, you can apply the mask here to take full advantage of the Refinement tools.
- Apply automatic Kinect Mask (Kinect for Windows v2 only): Removes the background by applying the Kinect's body index segmentation data.
Crop
If Refinement is enabled, you can crop the top, bottom, and sides of your clip as well. Adjust these so that they are as close to your subject as possible without clipping them at any point in your recording.

📘 Persistent settings
Depthkit automatically saves in/out points and the depth range values, so there is no need to save a take before closing the application or recording a new take.
Next steps
When you're done with all of these steps, you're ready to Export your Cinema captures.