Editing Core captures
With at least one recording captured, the Export context is now available. You can get here by double clicking your take in the Library panel or by clicking the Edit tab. Here, you can play your recordings, set in and out points, adjust the depth range, enhance your depth/color quality, and you'll be ready to export your desired clip. Simply select a take from your Library to view in the 3D scene and edit in the timeline.
The Edit view divided into several panels for processing you clip. Explore the Refine, Isolate, and Export panels below.
In this page
Setting In and Out points →
Refinement →
Isolate →
Export →
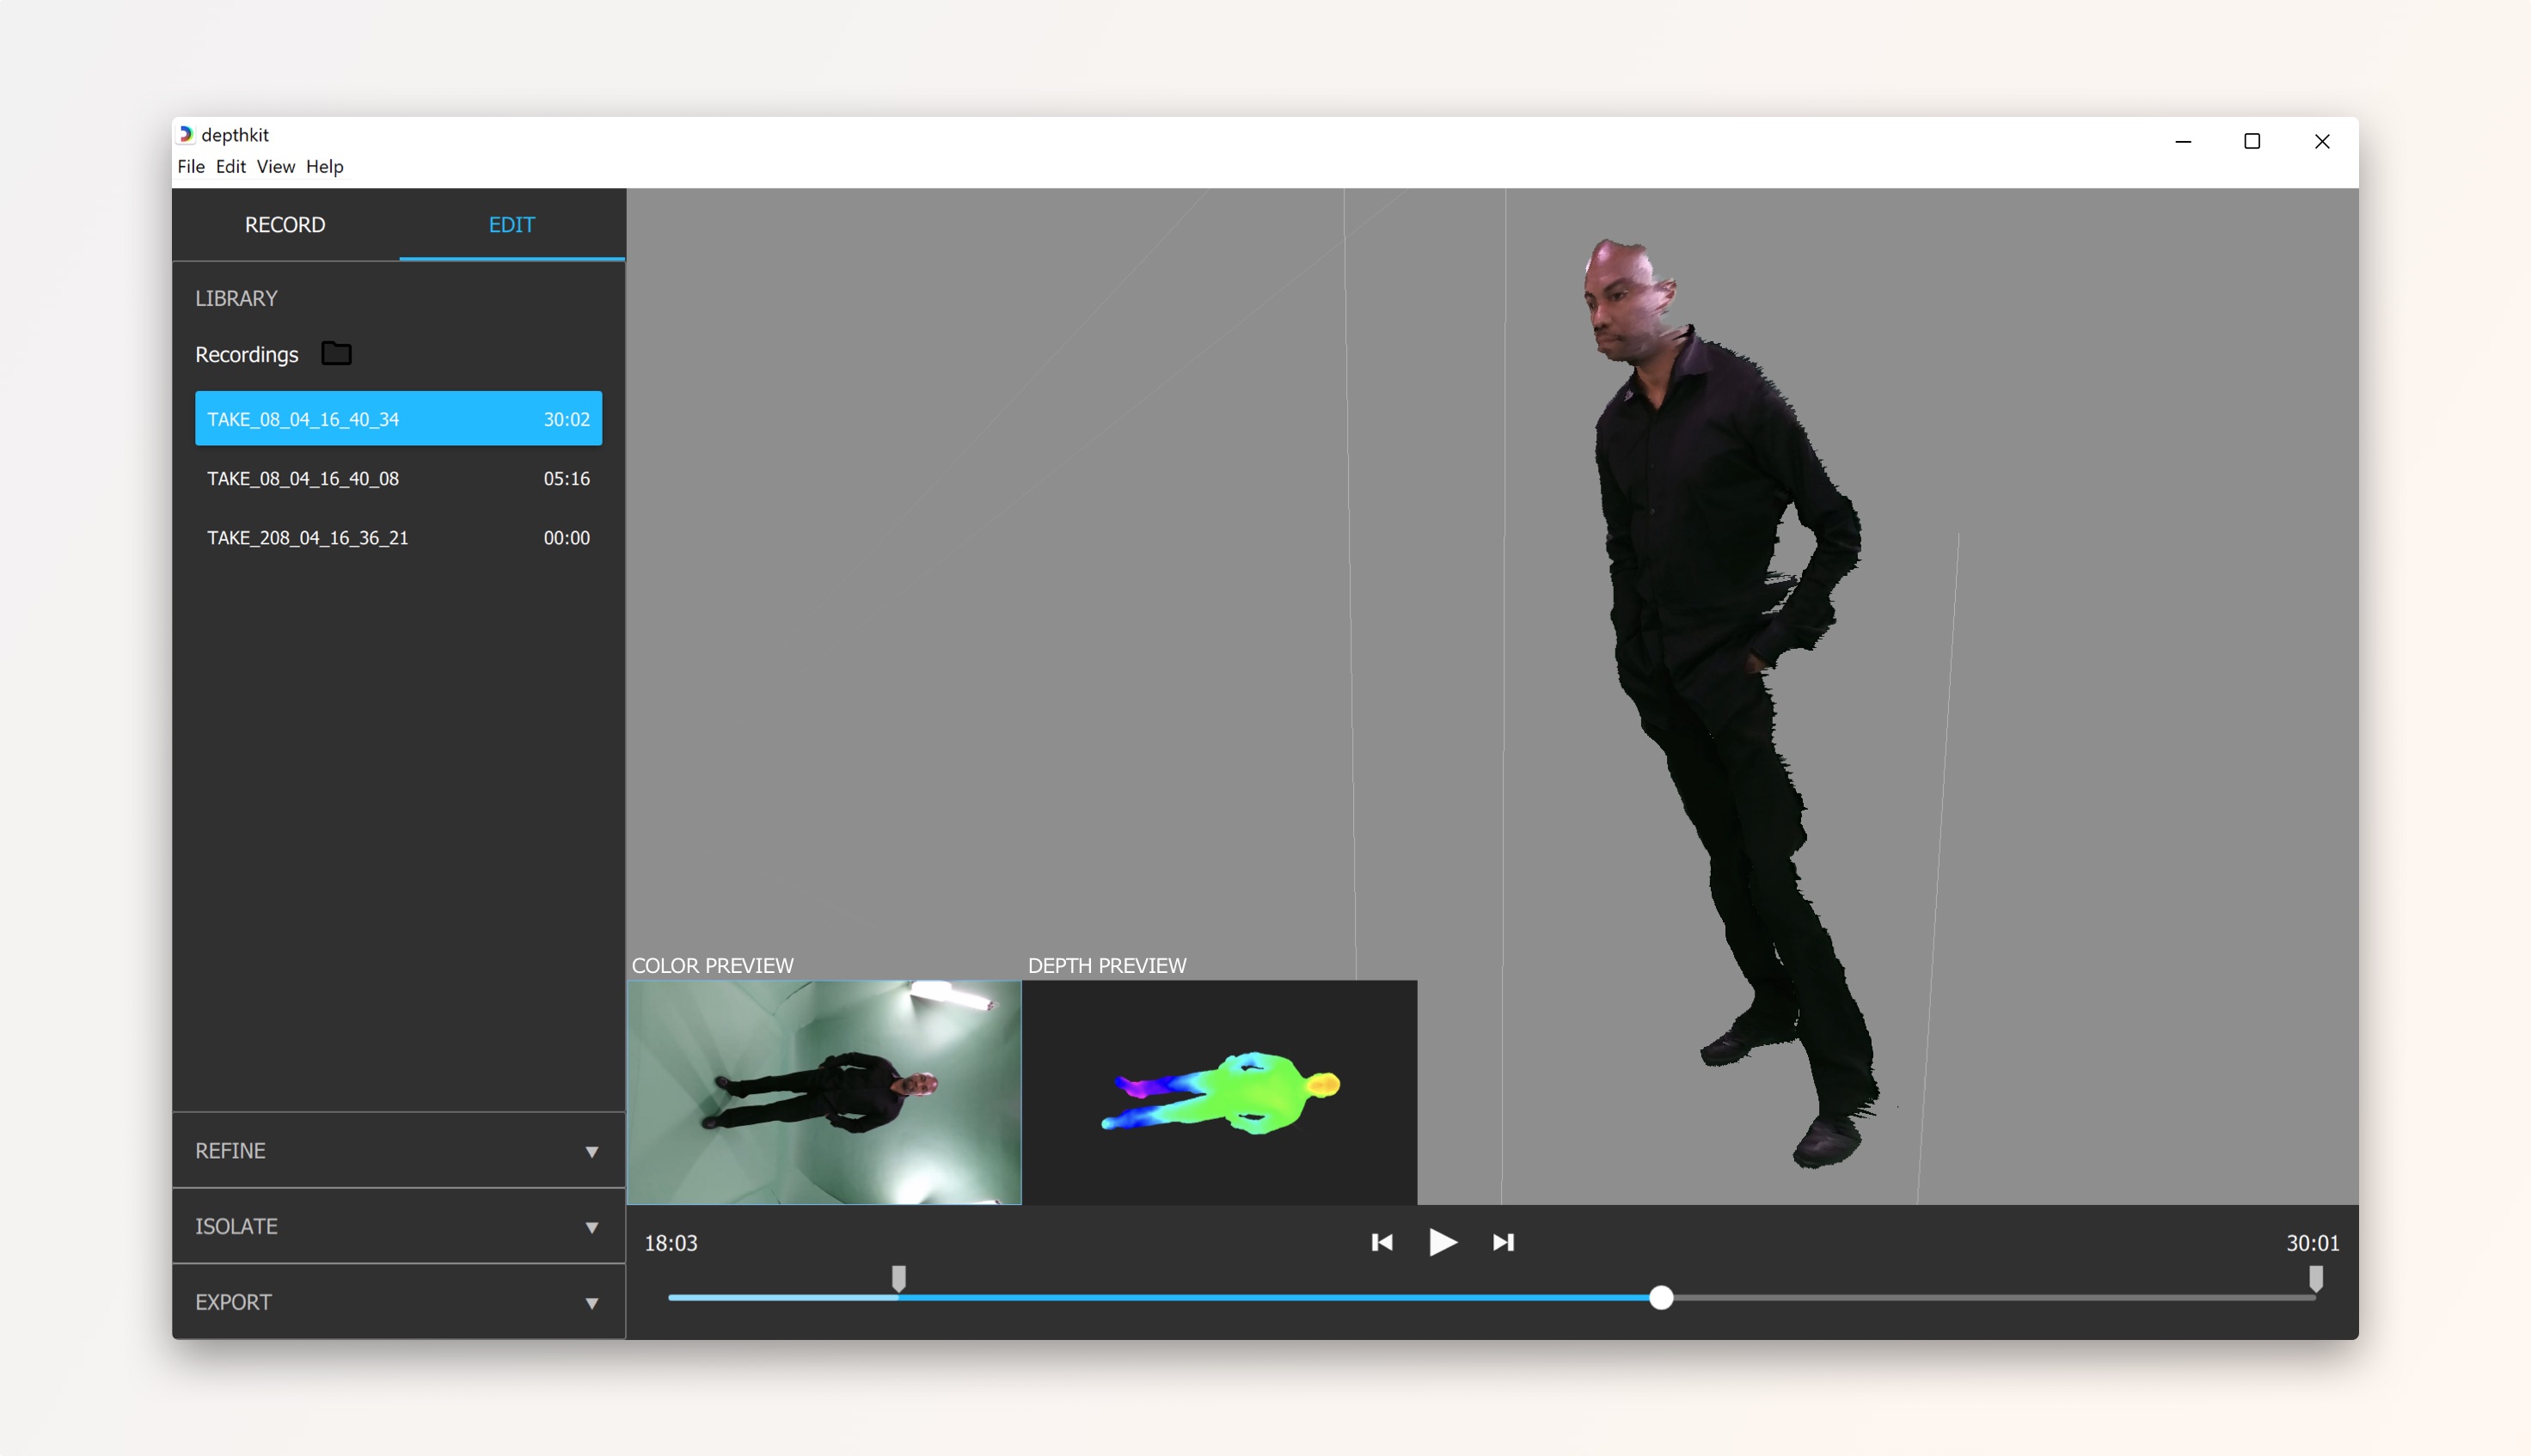
Set In and Out points
Moving the In and Out points on the timeline determines which portion of the capture will be exported. Use the Jump to In button to play the capture from the In point, and preview the duration of the selected timeline region.
Refinement
Refinement is an optional step which enhances the quality of your capture.
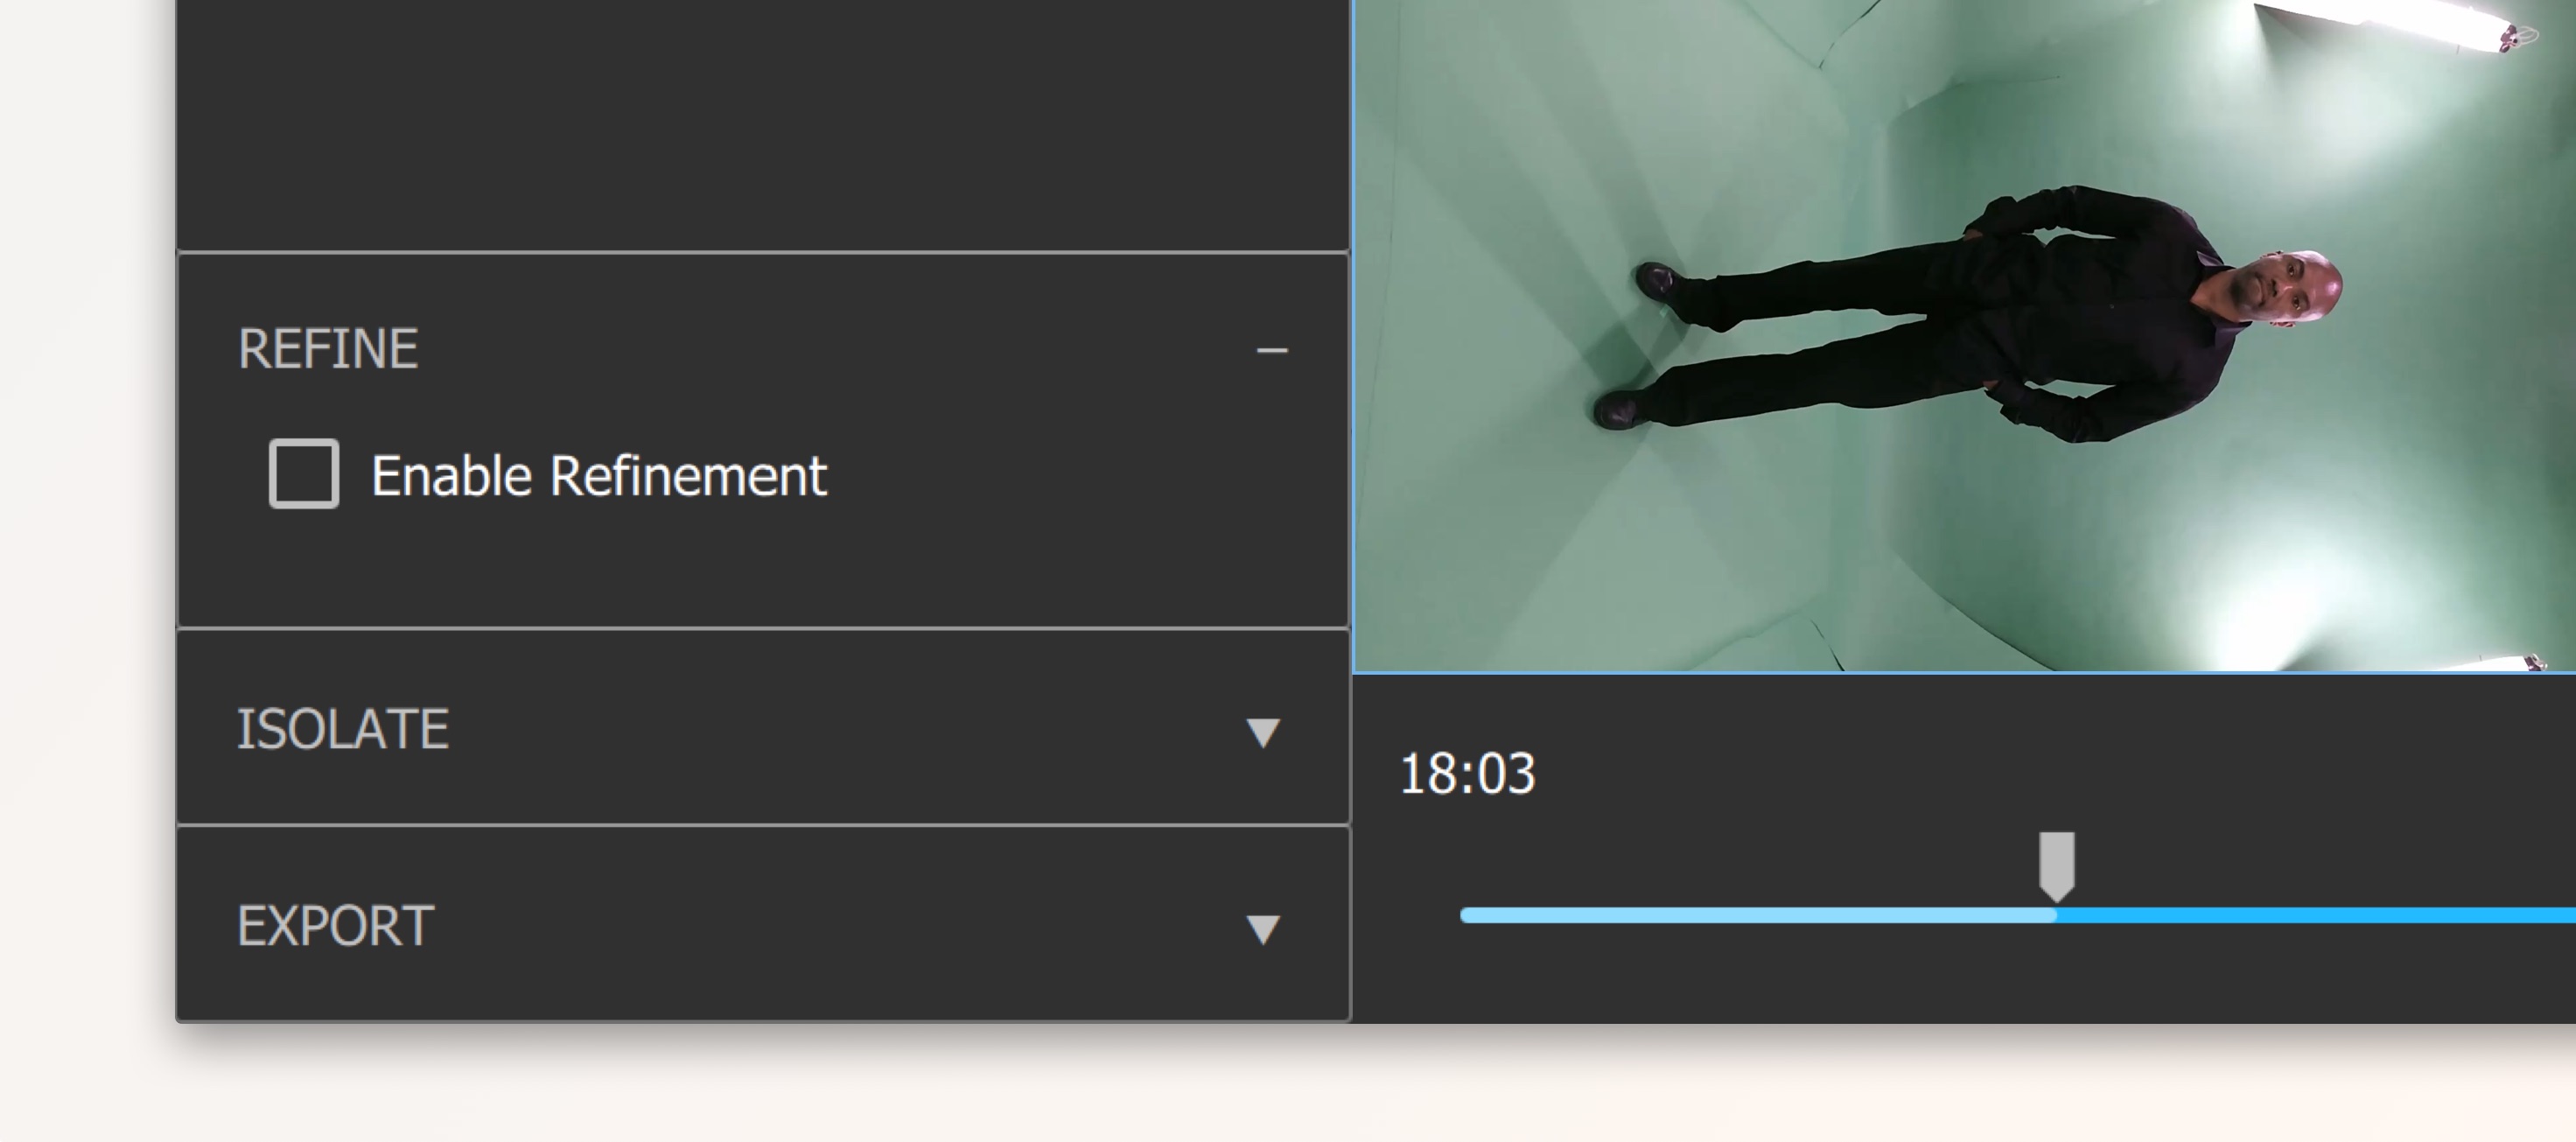
If you have activated the Refinement workflow, follow the steps in the Applying Refinement section.
Isolate
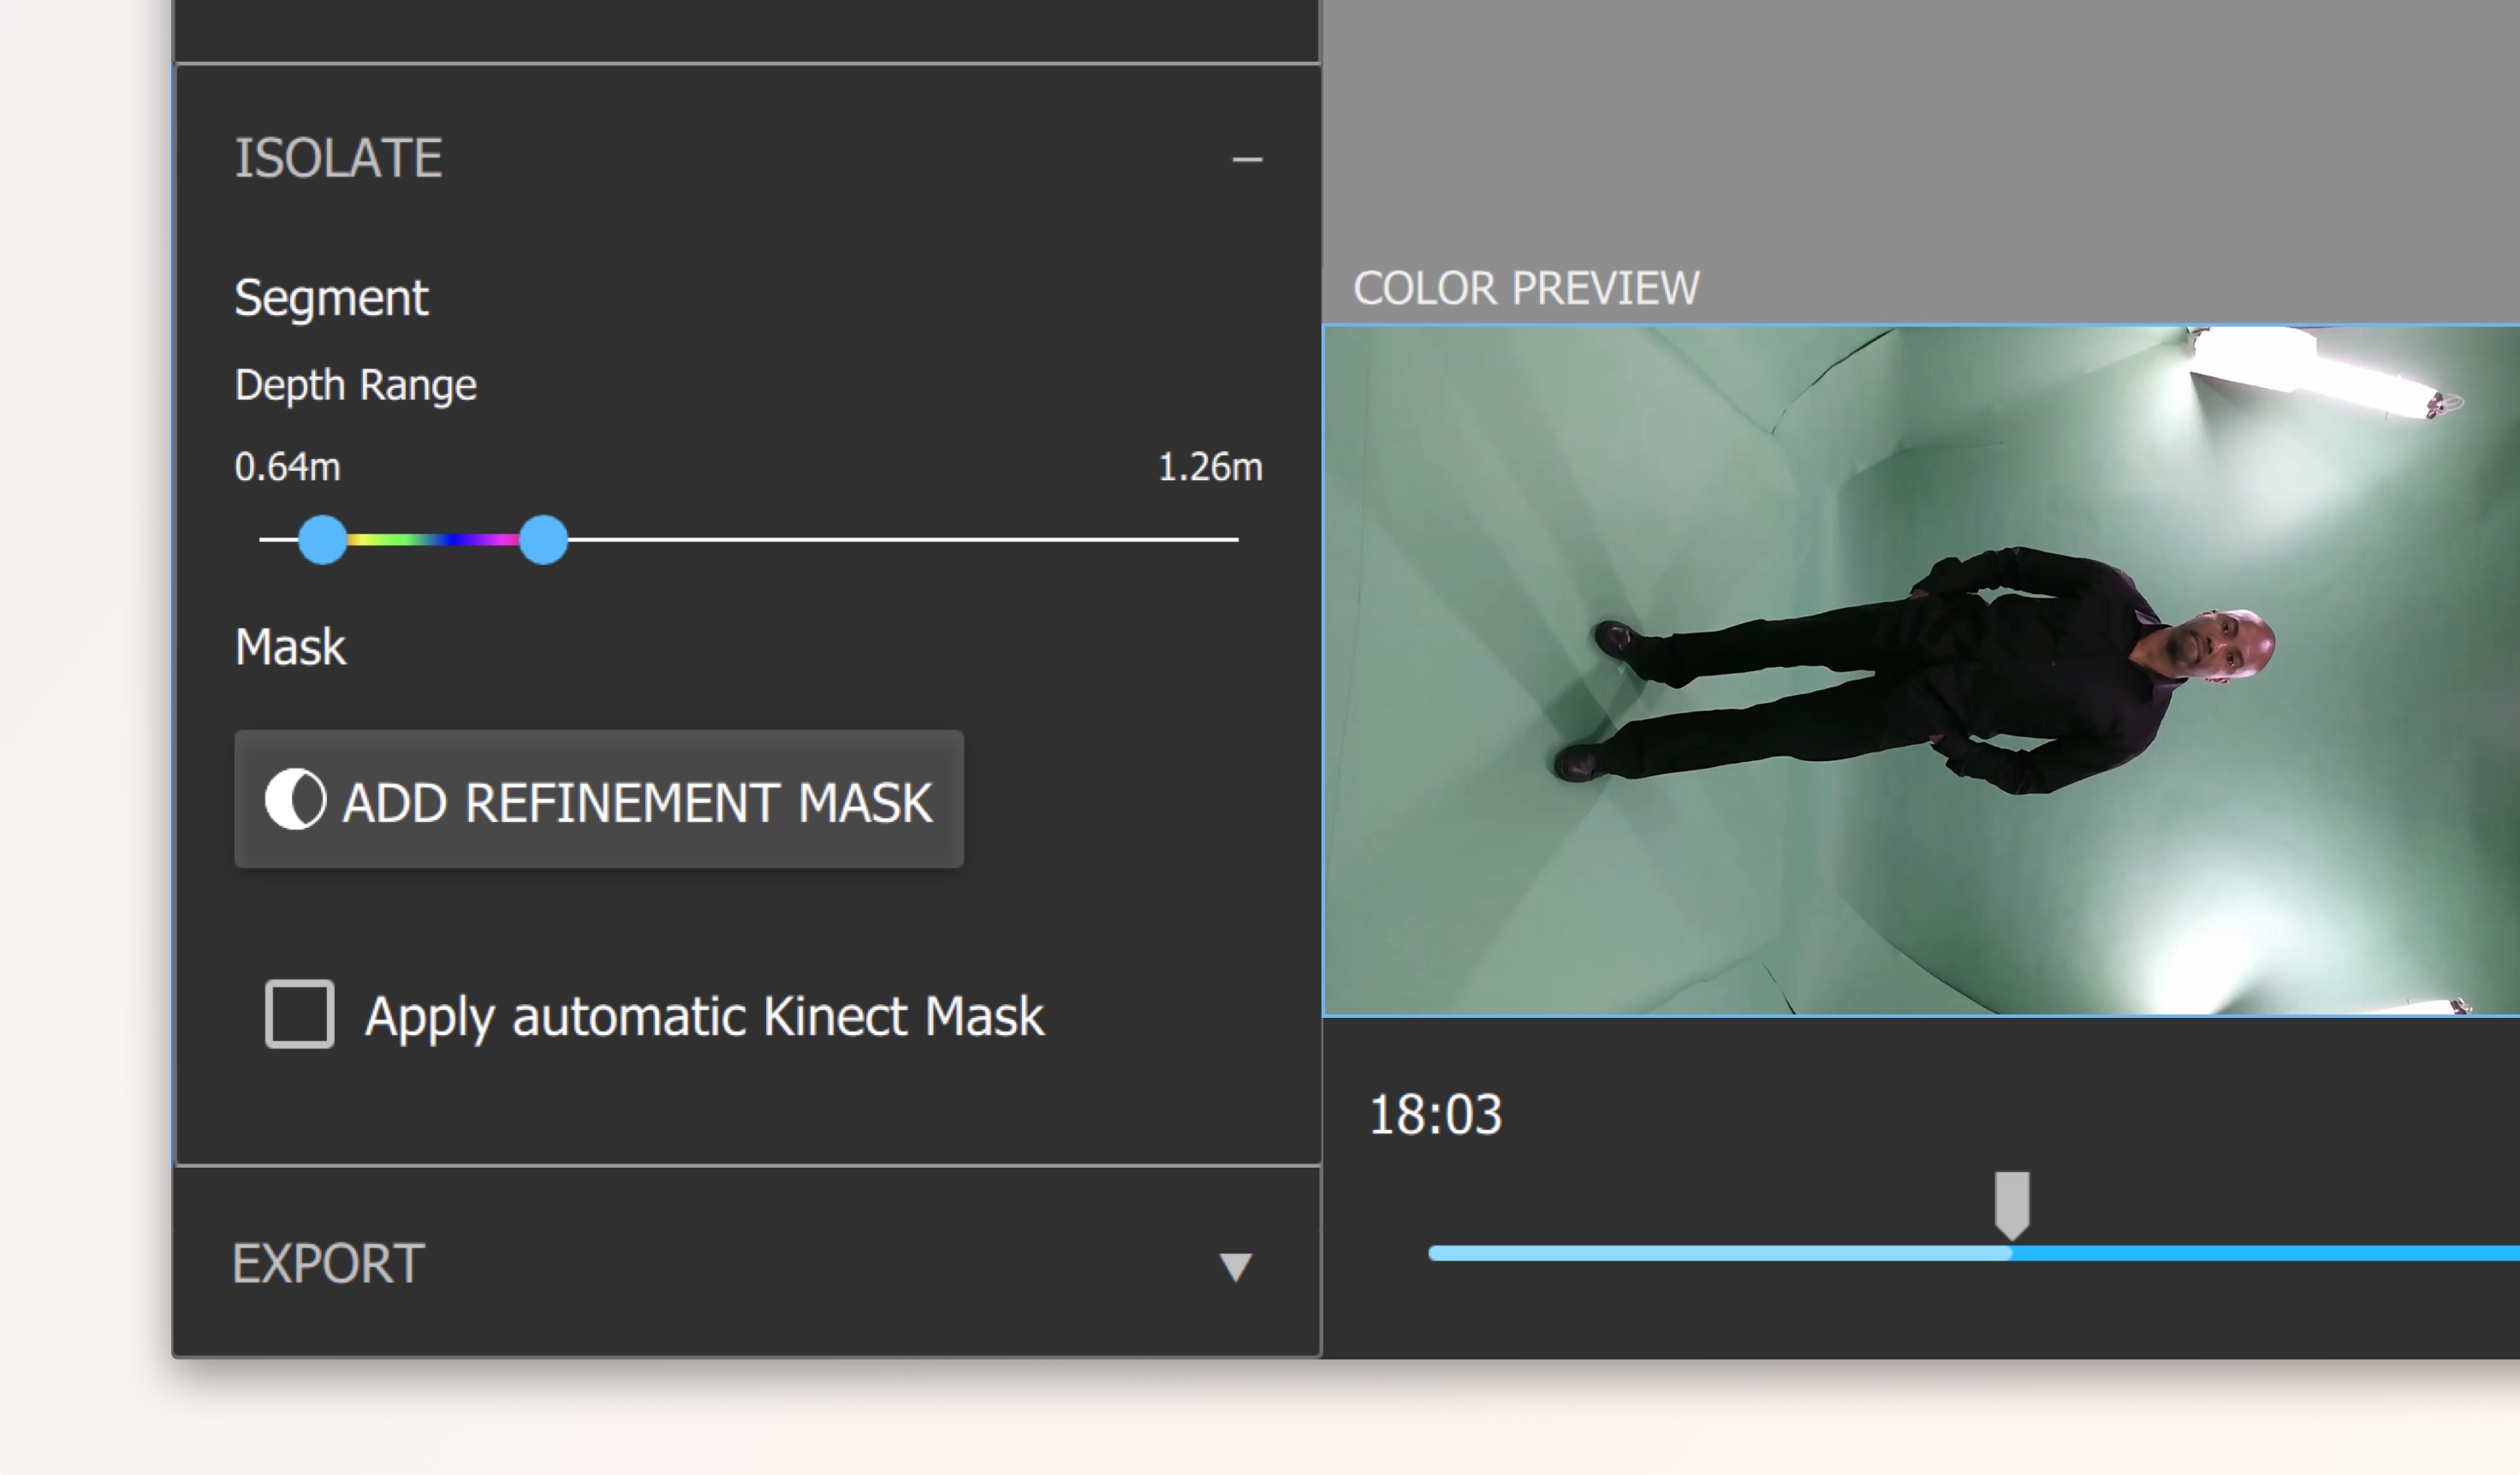
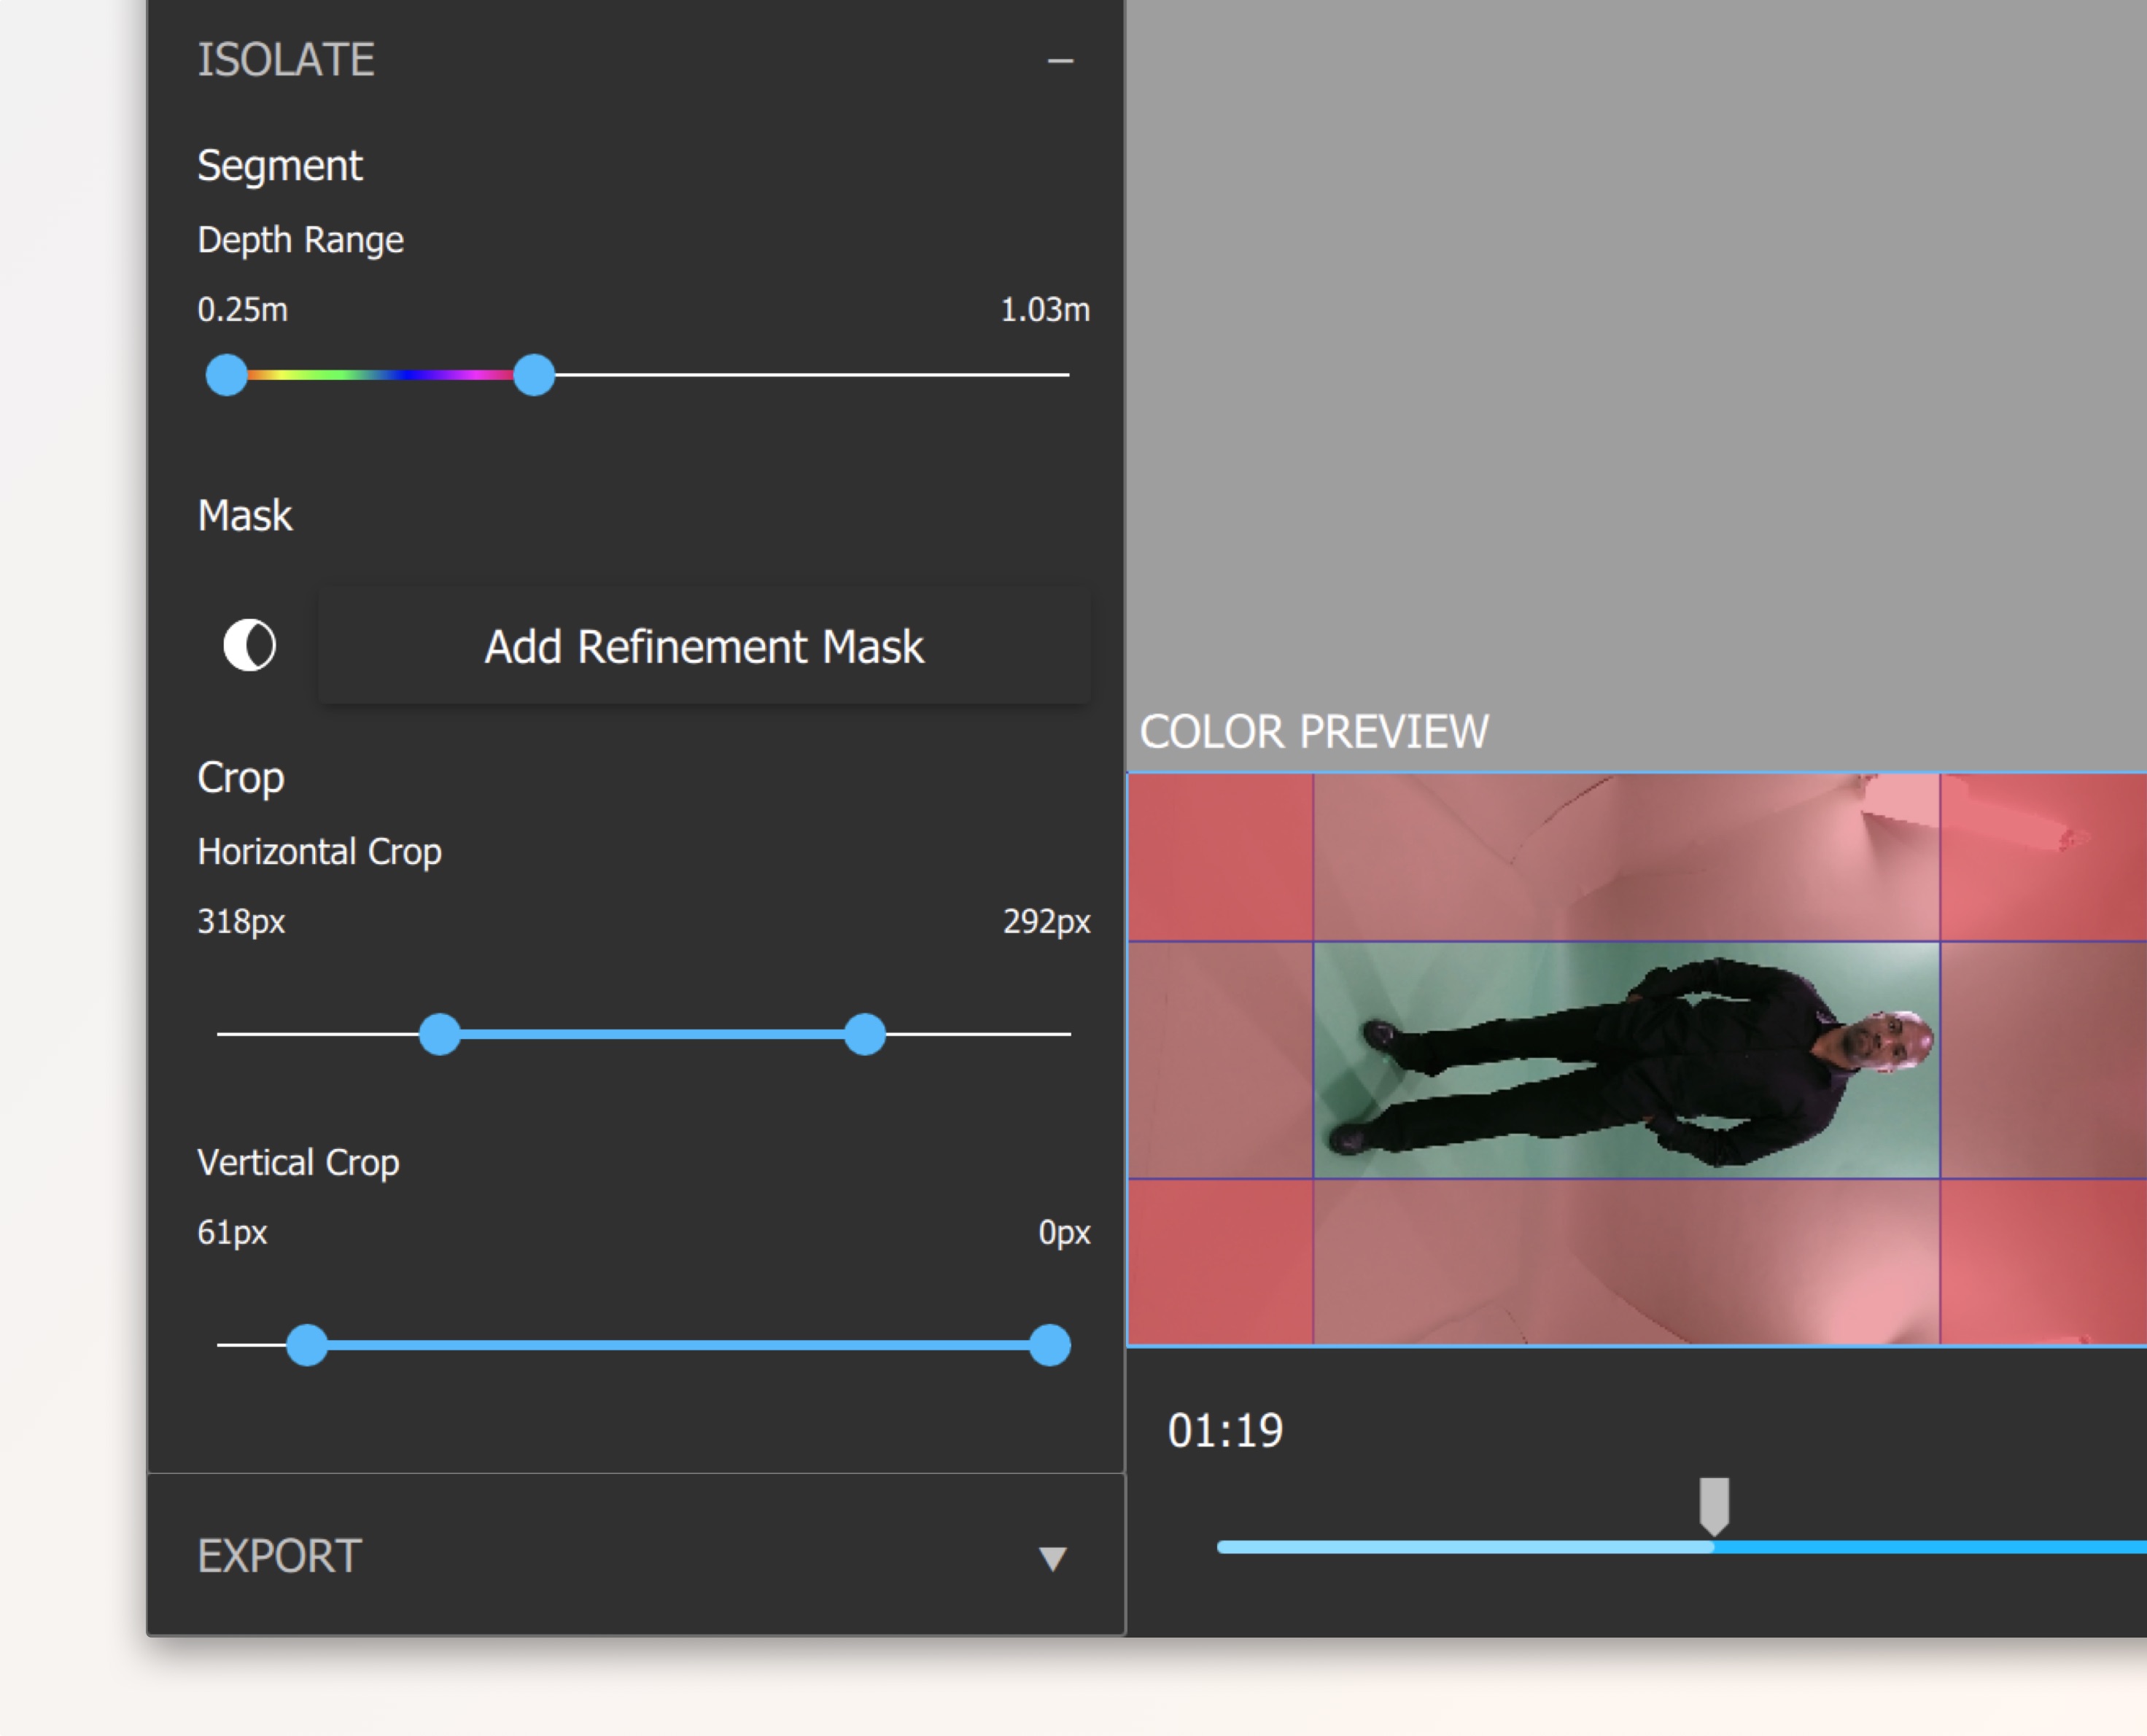
The isolate panel allows you to remove excess or background data from your footage. You can isolate your scene in using different combinations of the Depth Range, Mask, and Crop tools.
Segment: Depth Range
Just like in the Record window, depth segmentation allows you to adjust your depth range as needed. Adjust this to bring both the near and far clipping planes as close to your subject as possible without clipping any part of them throughout the recording, so that the closest areas of your subject are red-orange, and the furthest areas are magenta. This results in higher-fidelity depth data.
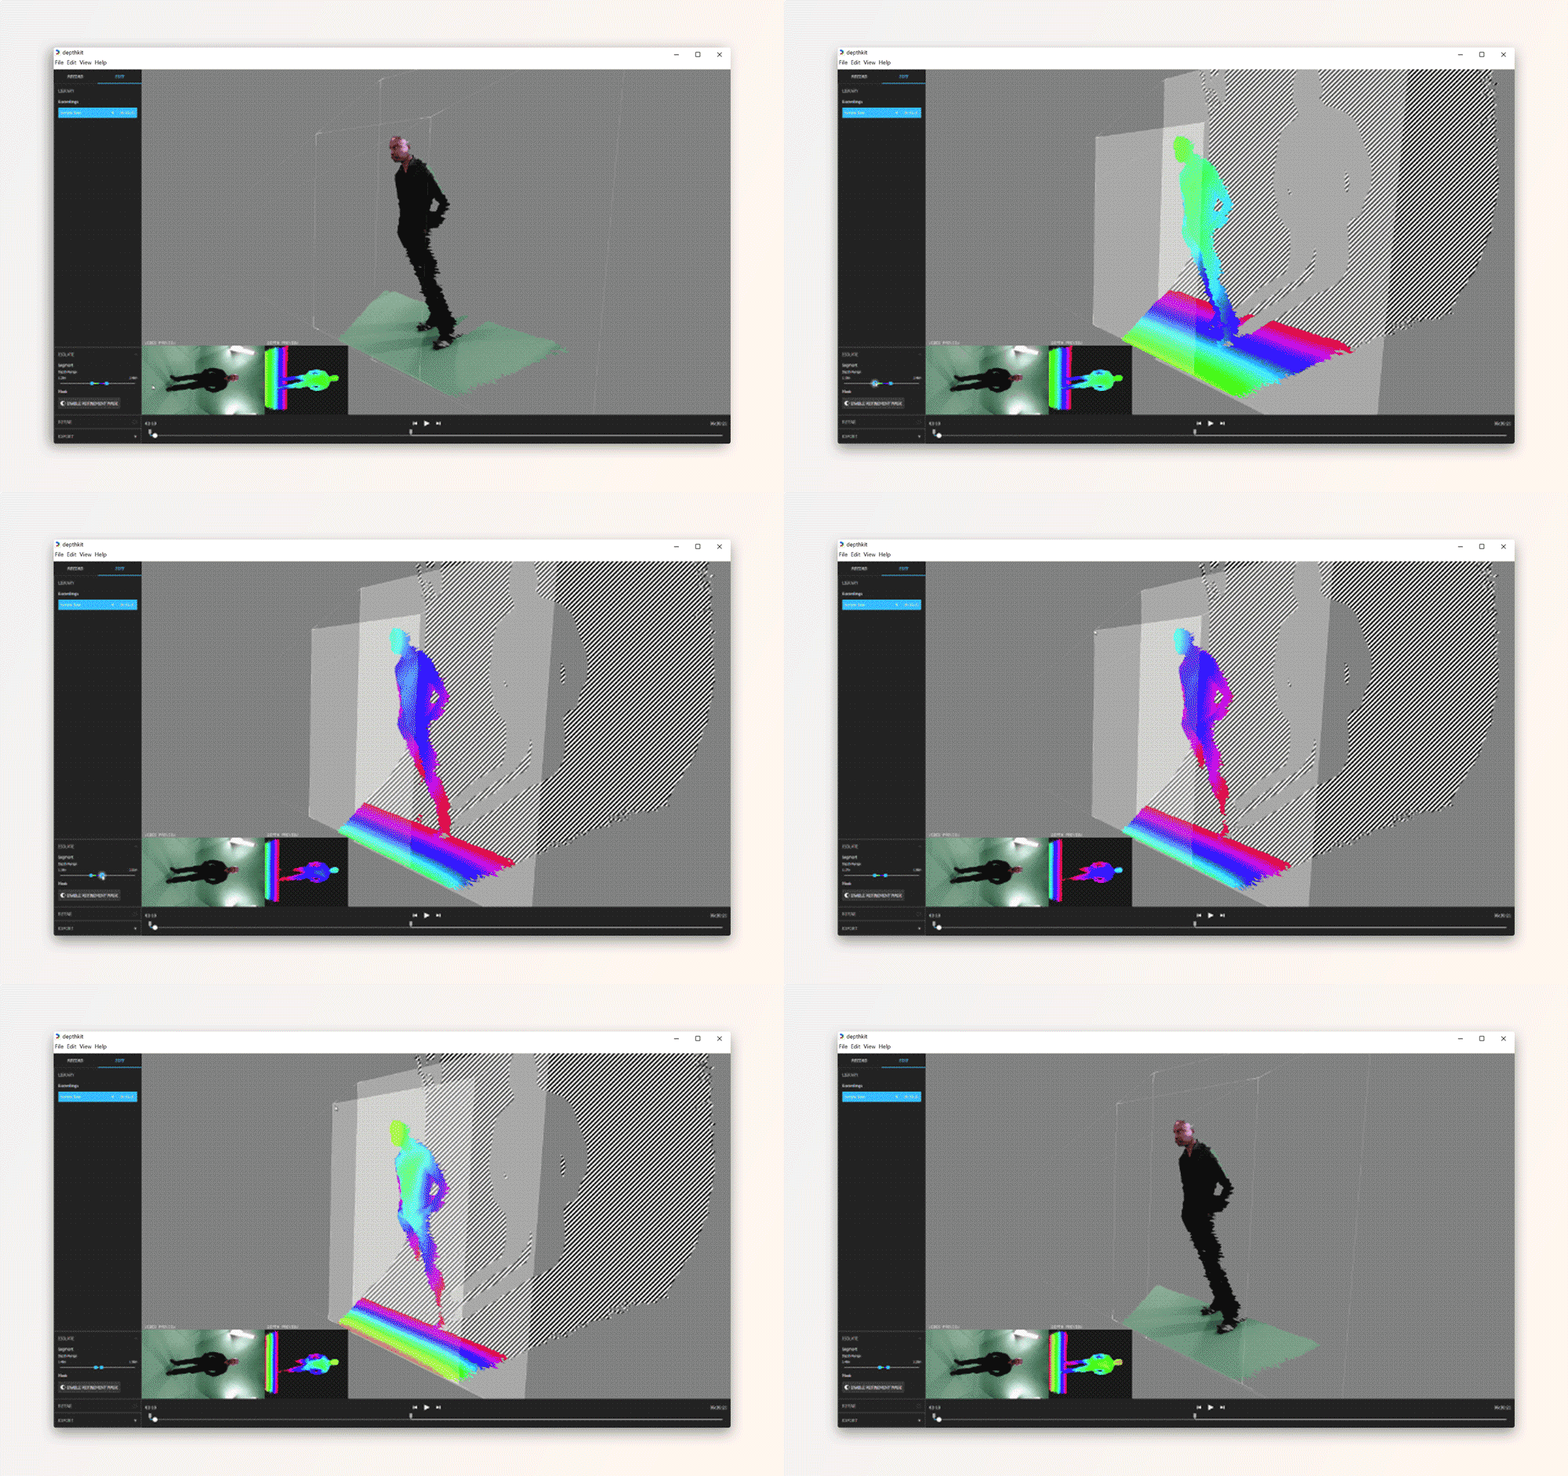
Toolbar > Enable Depth Range Adjustment in 3D Viewport
To enable adjustment of the near and far plane positions in the 3D viewport, toggle on the Depth Range Adjustment button in the toolbar in the top-right.
Mask
If you would like to remove the background from your clips using more than just the Depth Range, you can do so in a couple of ways:
- Add Refinement Mask: If you have Refinement enabled and have generated a refinement mask, you can apply the mask here to take full advantage of the Refinement tools.
- Apply automatic Kinect Mask (Kinect for Windows v2 only): Removes the background by applying the Kinect's body index segmentation data.
Crop
If Refinement is enabled, you can crop the top, bottom, and sides of your clip as well. Adjust these so that they are as close to your subject as possible without clipping them at any point in your recording.
Persistent settingsDepthkit automatically saves in/out points and the depth range values, so there is no need to save a take before closing the application or recording a new take.
Export
When you have finished editing your Depthkit capture, proceed to Exporting Core captures to export it in the format of your choice.
Updated 10 months ago
