Timeline integration
In this page
Resources & requirements →
Setting up the Timeline →
The Depthkit Studio Expansion Package supports both the Unity player and AVPro. When working with Depthkit clips on the Unity Timeline, we recommend using the Unity player for best results.
Resources & requirements
- Check out our guide for Asset encoding settings that are optimized for the Timeline.
- Download Unity's free Default Playables from the asset store and import it into your project.
Setting up the Timeline
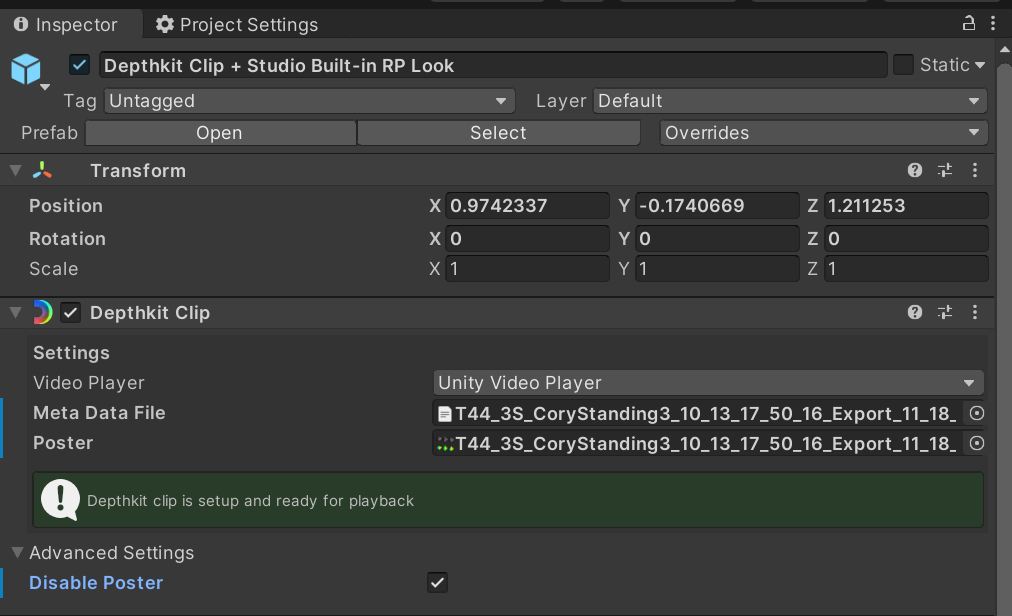
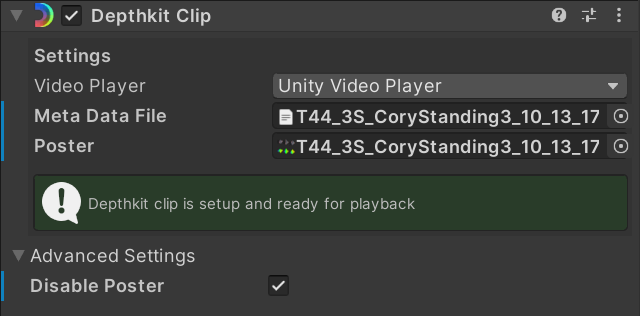
Import the Depthkit Studio Expansion Package into your project with your preferred Depthkit prefabs. Set up a Depthit clip by linking the metadata text file and Combined Per Pixel video. In the Depthkit Clip component under Advanced, select Disable Poster.
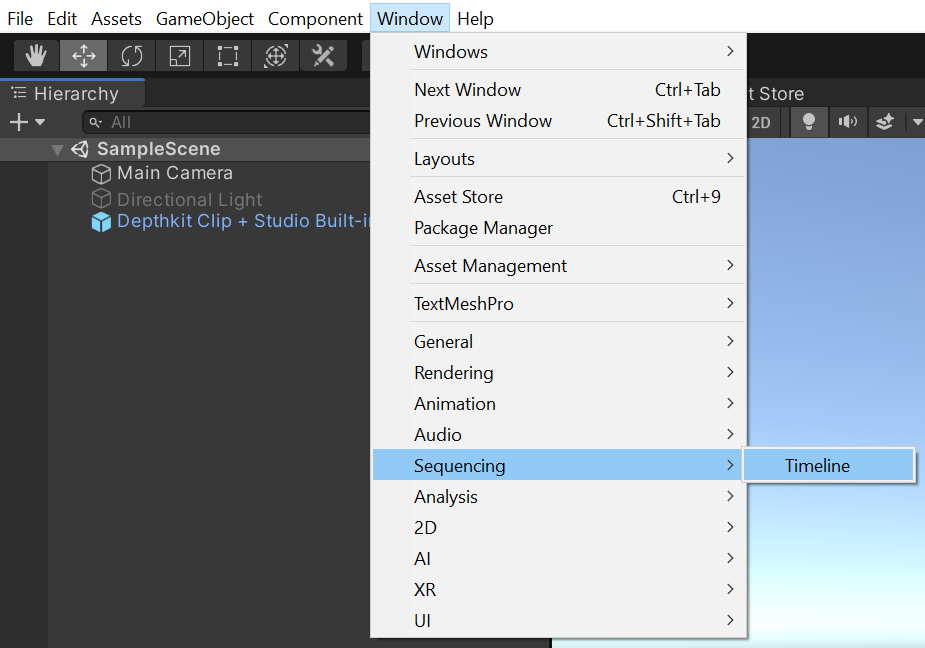
Launch the Timeline by selecting Window → Sequencing → Timeline.
Create an empty game object. Select this object in the Hierarchy and in the Timeline tab, click Create to begin a new timeline. This will create a Timeline playable asset.
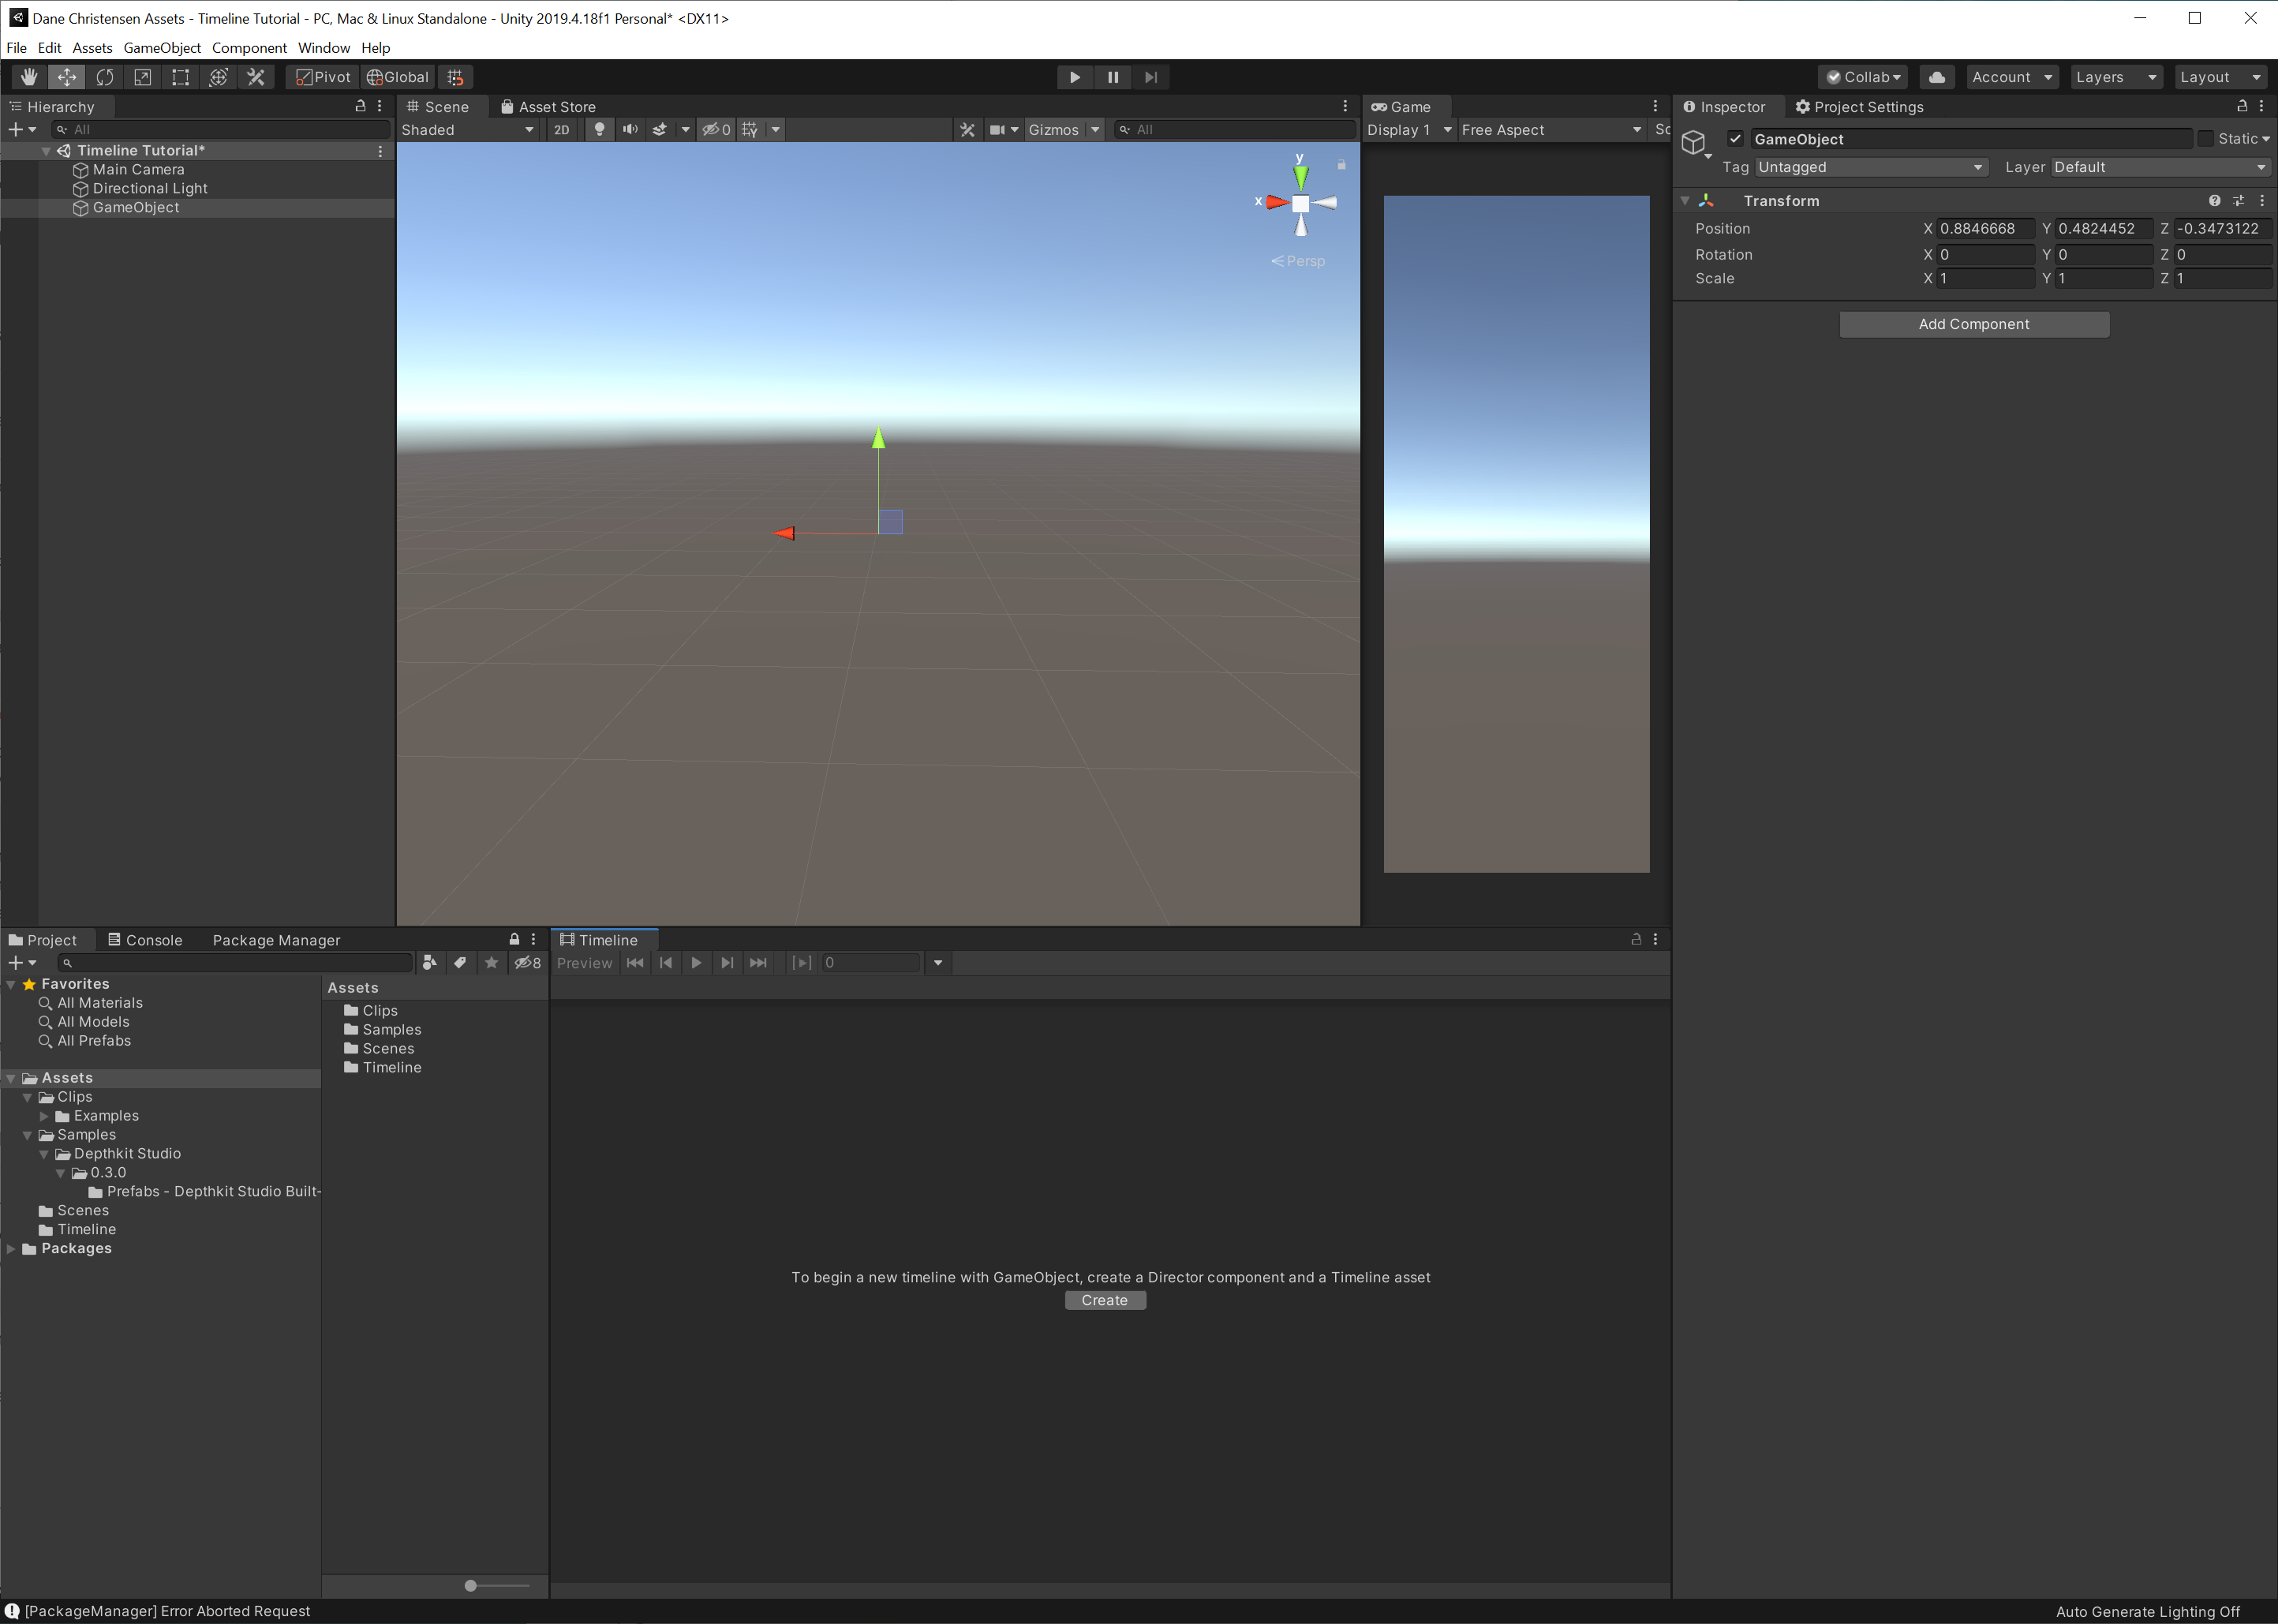
Pro tipTo lock your Timeline instance to the Timeline window, click the lock icon in the upper right corner.

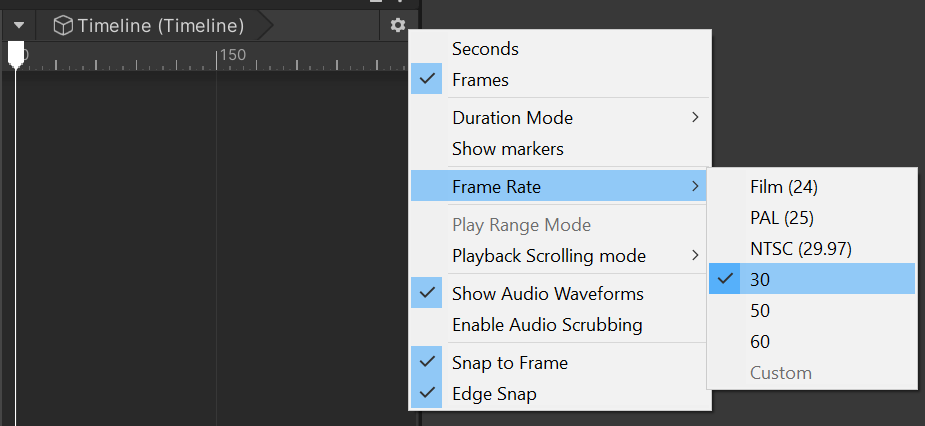
Under the Timeline settings, set your frame rate to 30, to match your Depthkit asset framerate.
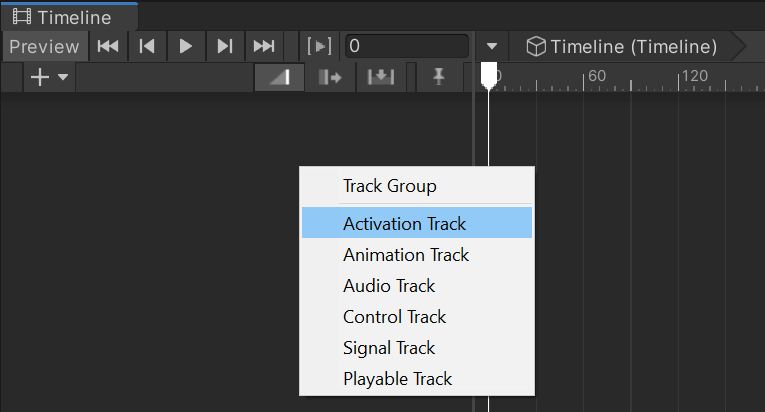
Right click in the Timeline window and select Activation Track.
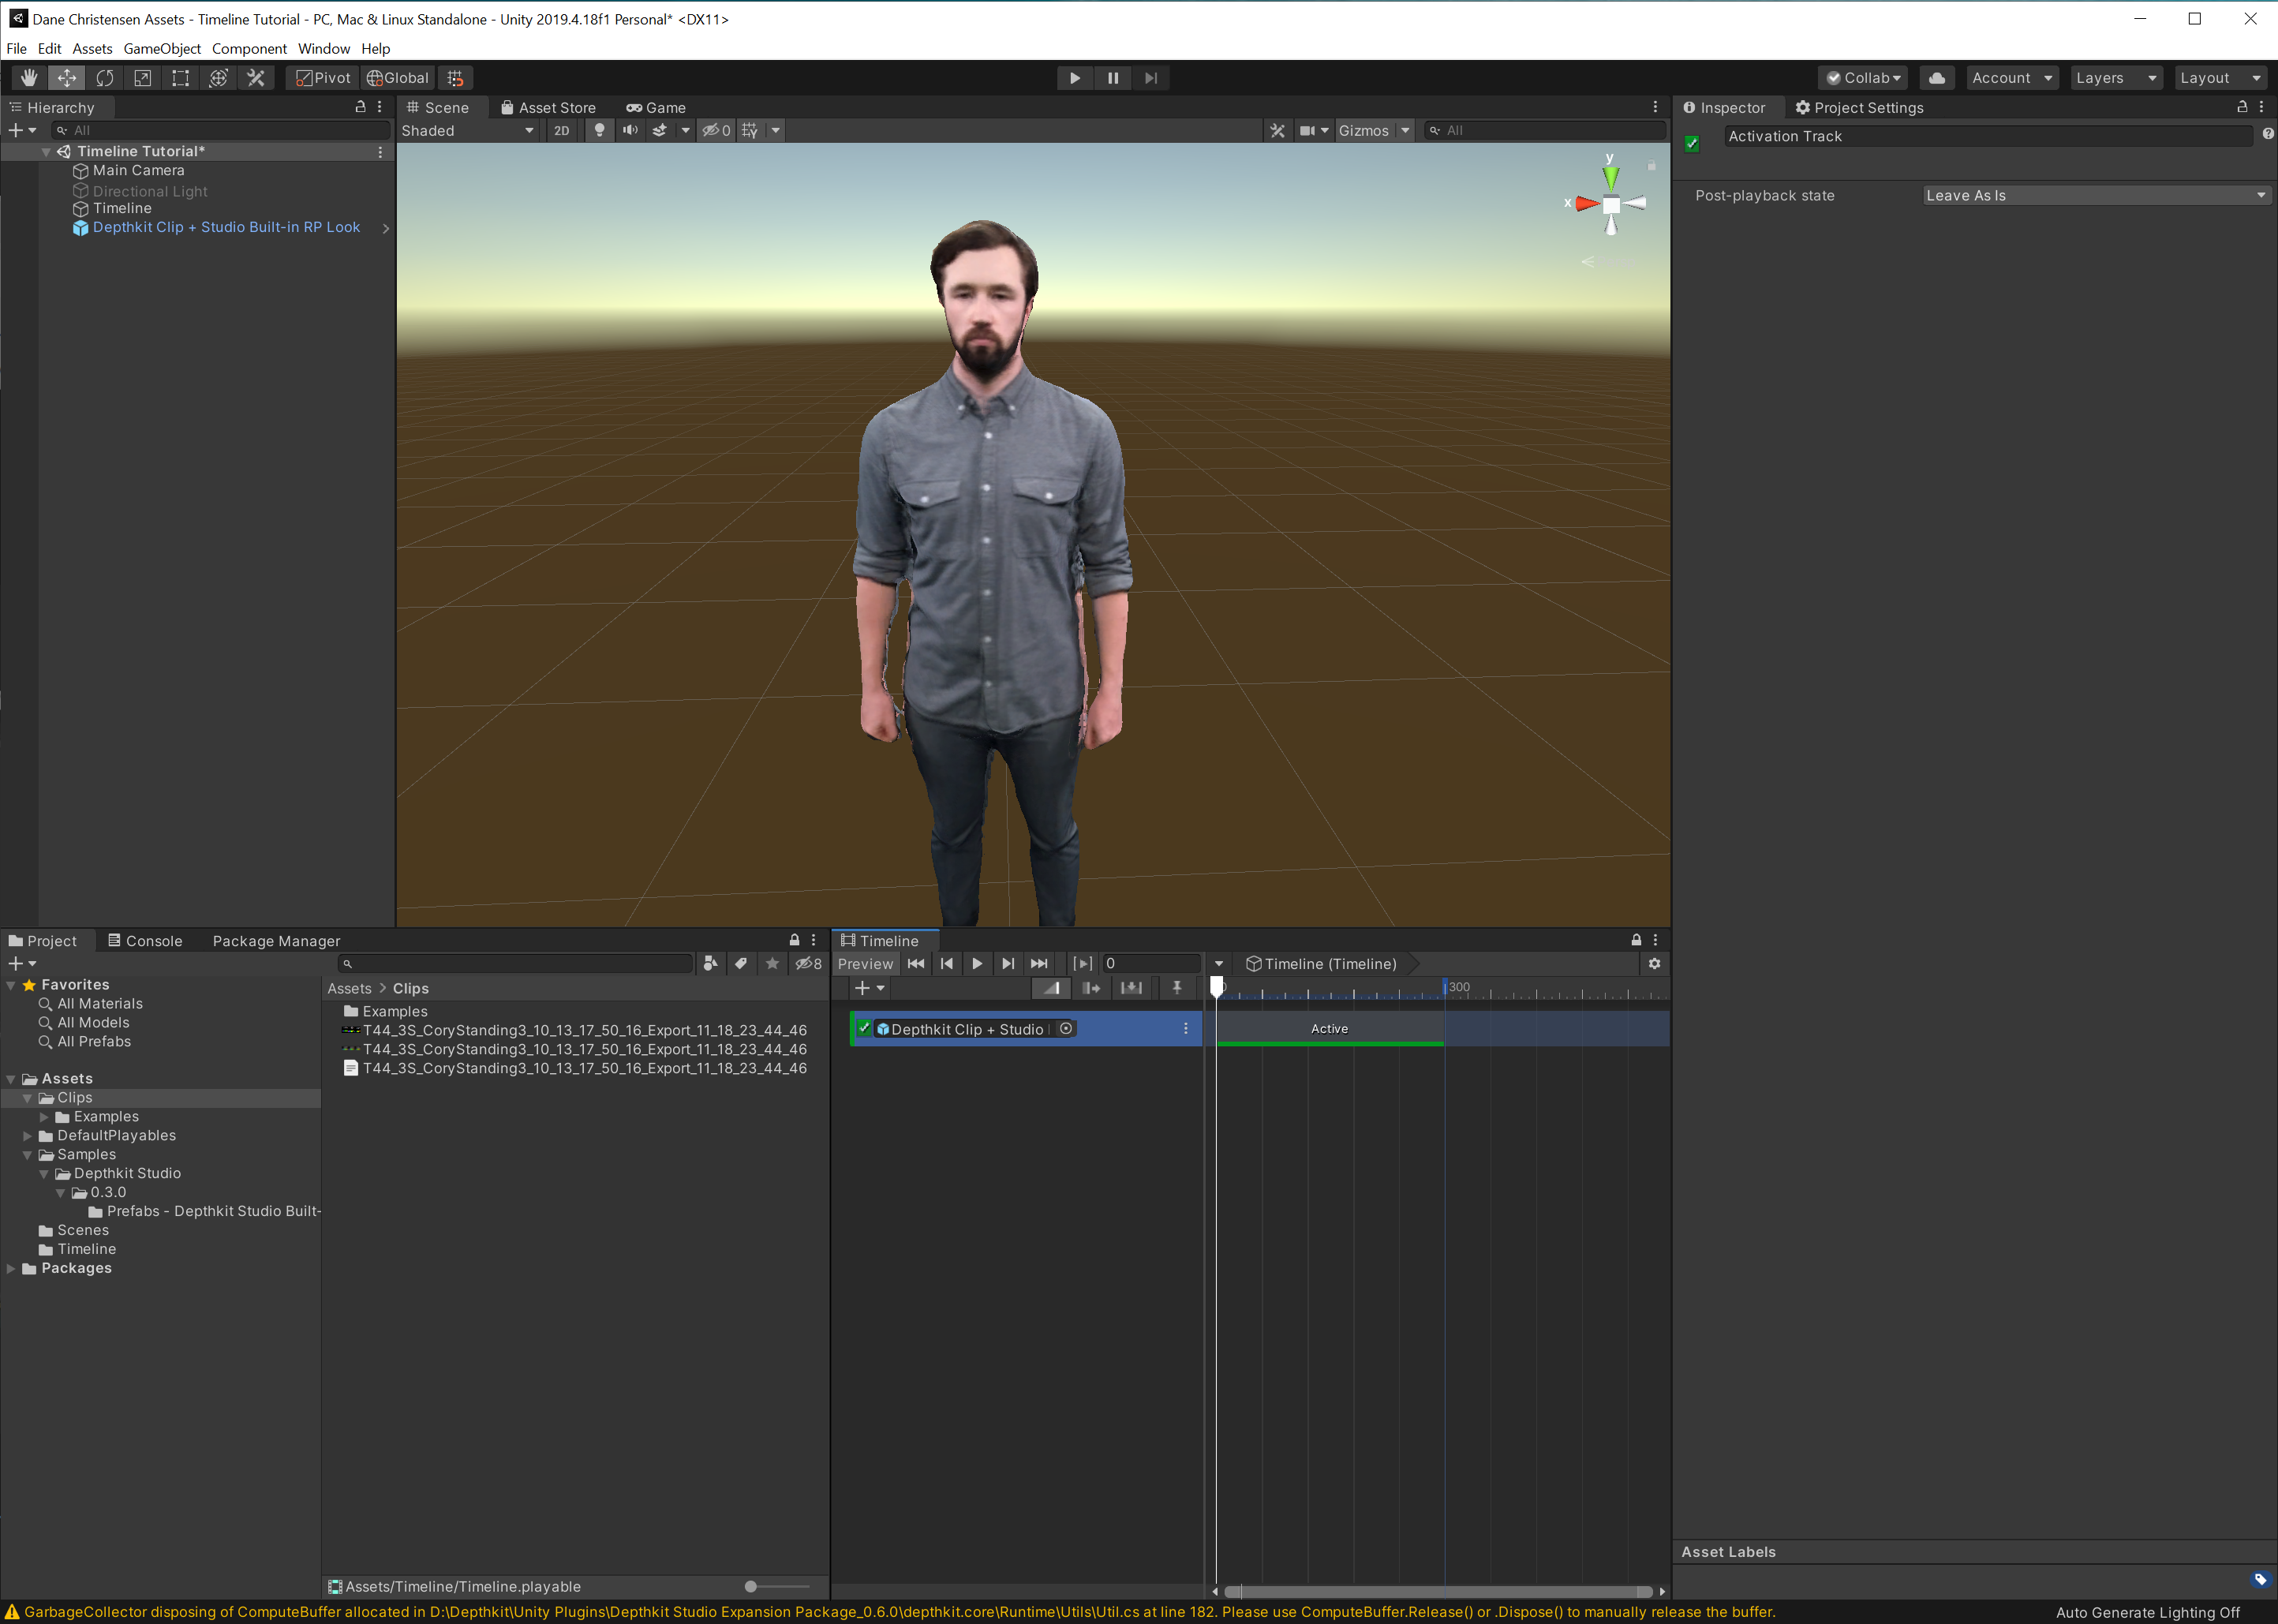
Assign your Depthkit Clip to the Activation Track.
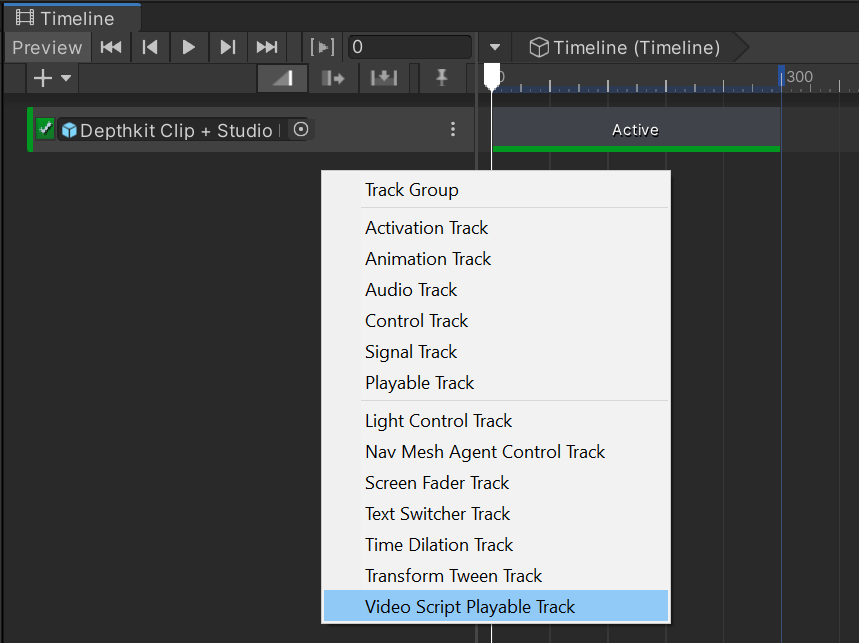
Right click in the Timeline again and select Video Script Playable Track.
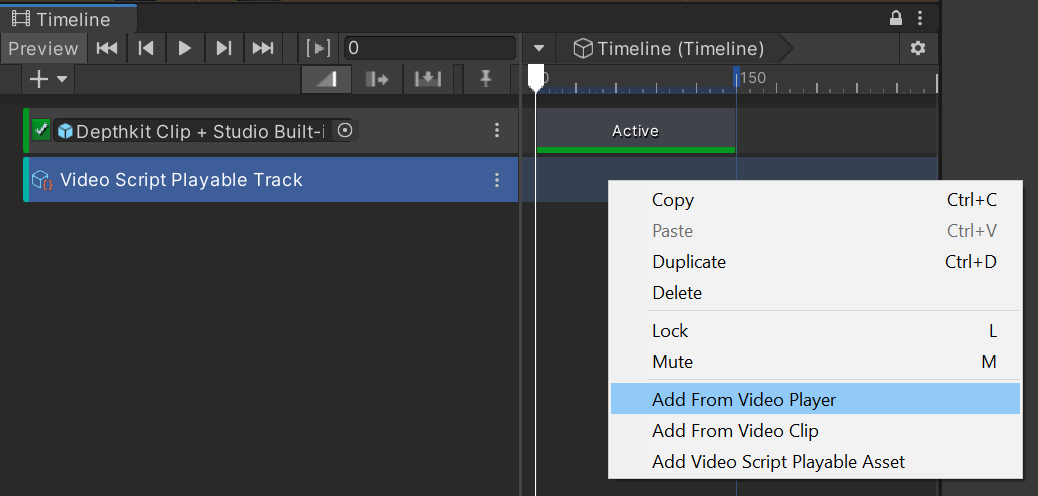
Select this new track, right click, and select Add From Video Player. Select your Depthkit clip.
Select the video player track and see the Inspector.

Due to a quirk in Unity's interface, you can enable dragging and dropping the Depthkit object in the hierarchy onto the Timeline Clip > Video Player slot by doing the following:
- Get to the point where you are unable to connect the Depthkit object to the Video Player field Timeline Clip.
- In the Hierarchy, select any object other than the Depthkit object so that its properties are displayed in the Inspector.
- In the Project bin, double-click the timeline to open it in the Timeline pane, and select the playable clip to show the clip's properties in the Inspector.
- You should now be able to drag the Depthkit object onto the Video Player slot in the clip properties as shown in the video.
Assign the video file from your Depthkit clip to the Video Clip field.
Set your preload time to three seconds.
The Depthkit clips needs a few seconds to warm up when playing on the timeline.As a result, you will want to set your activation track to start 3 seconds prior to the start of your actual video clip.
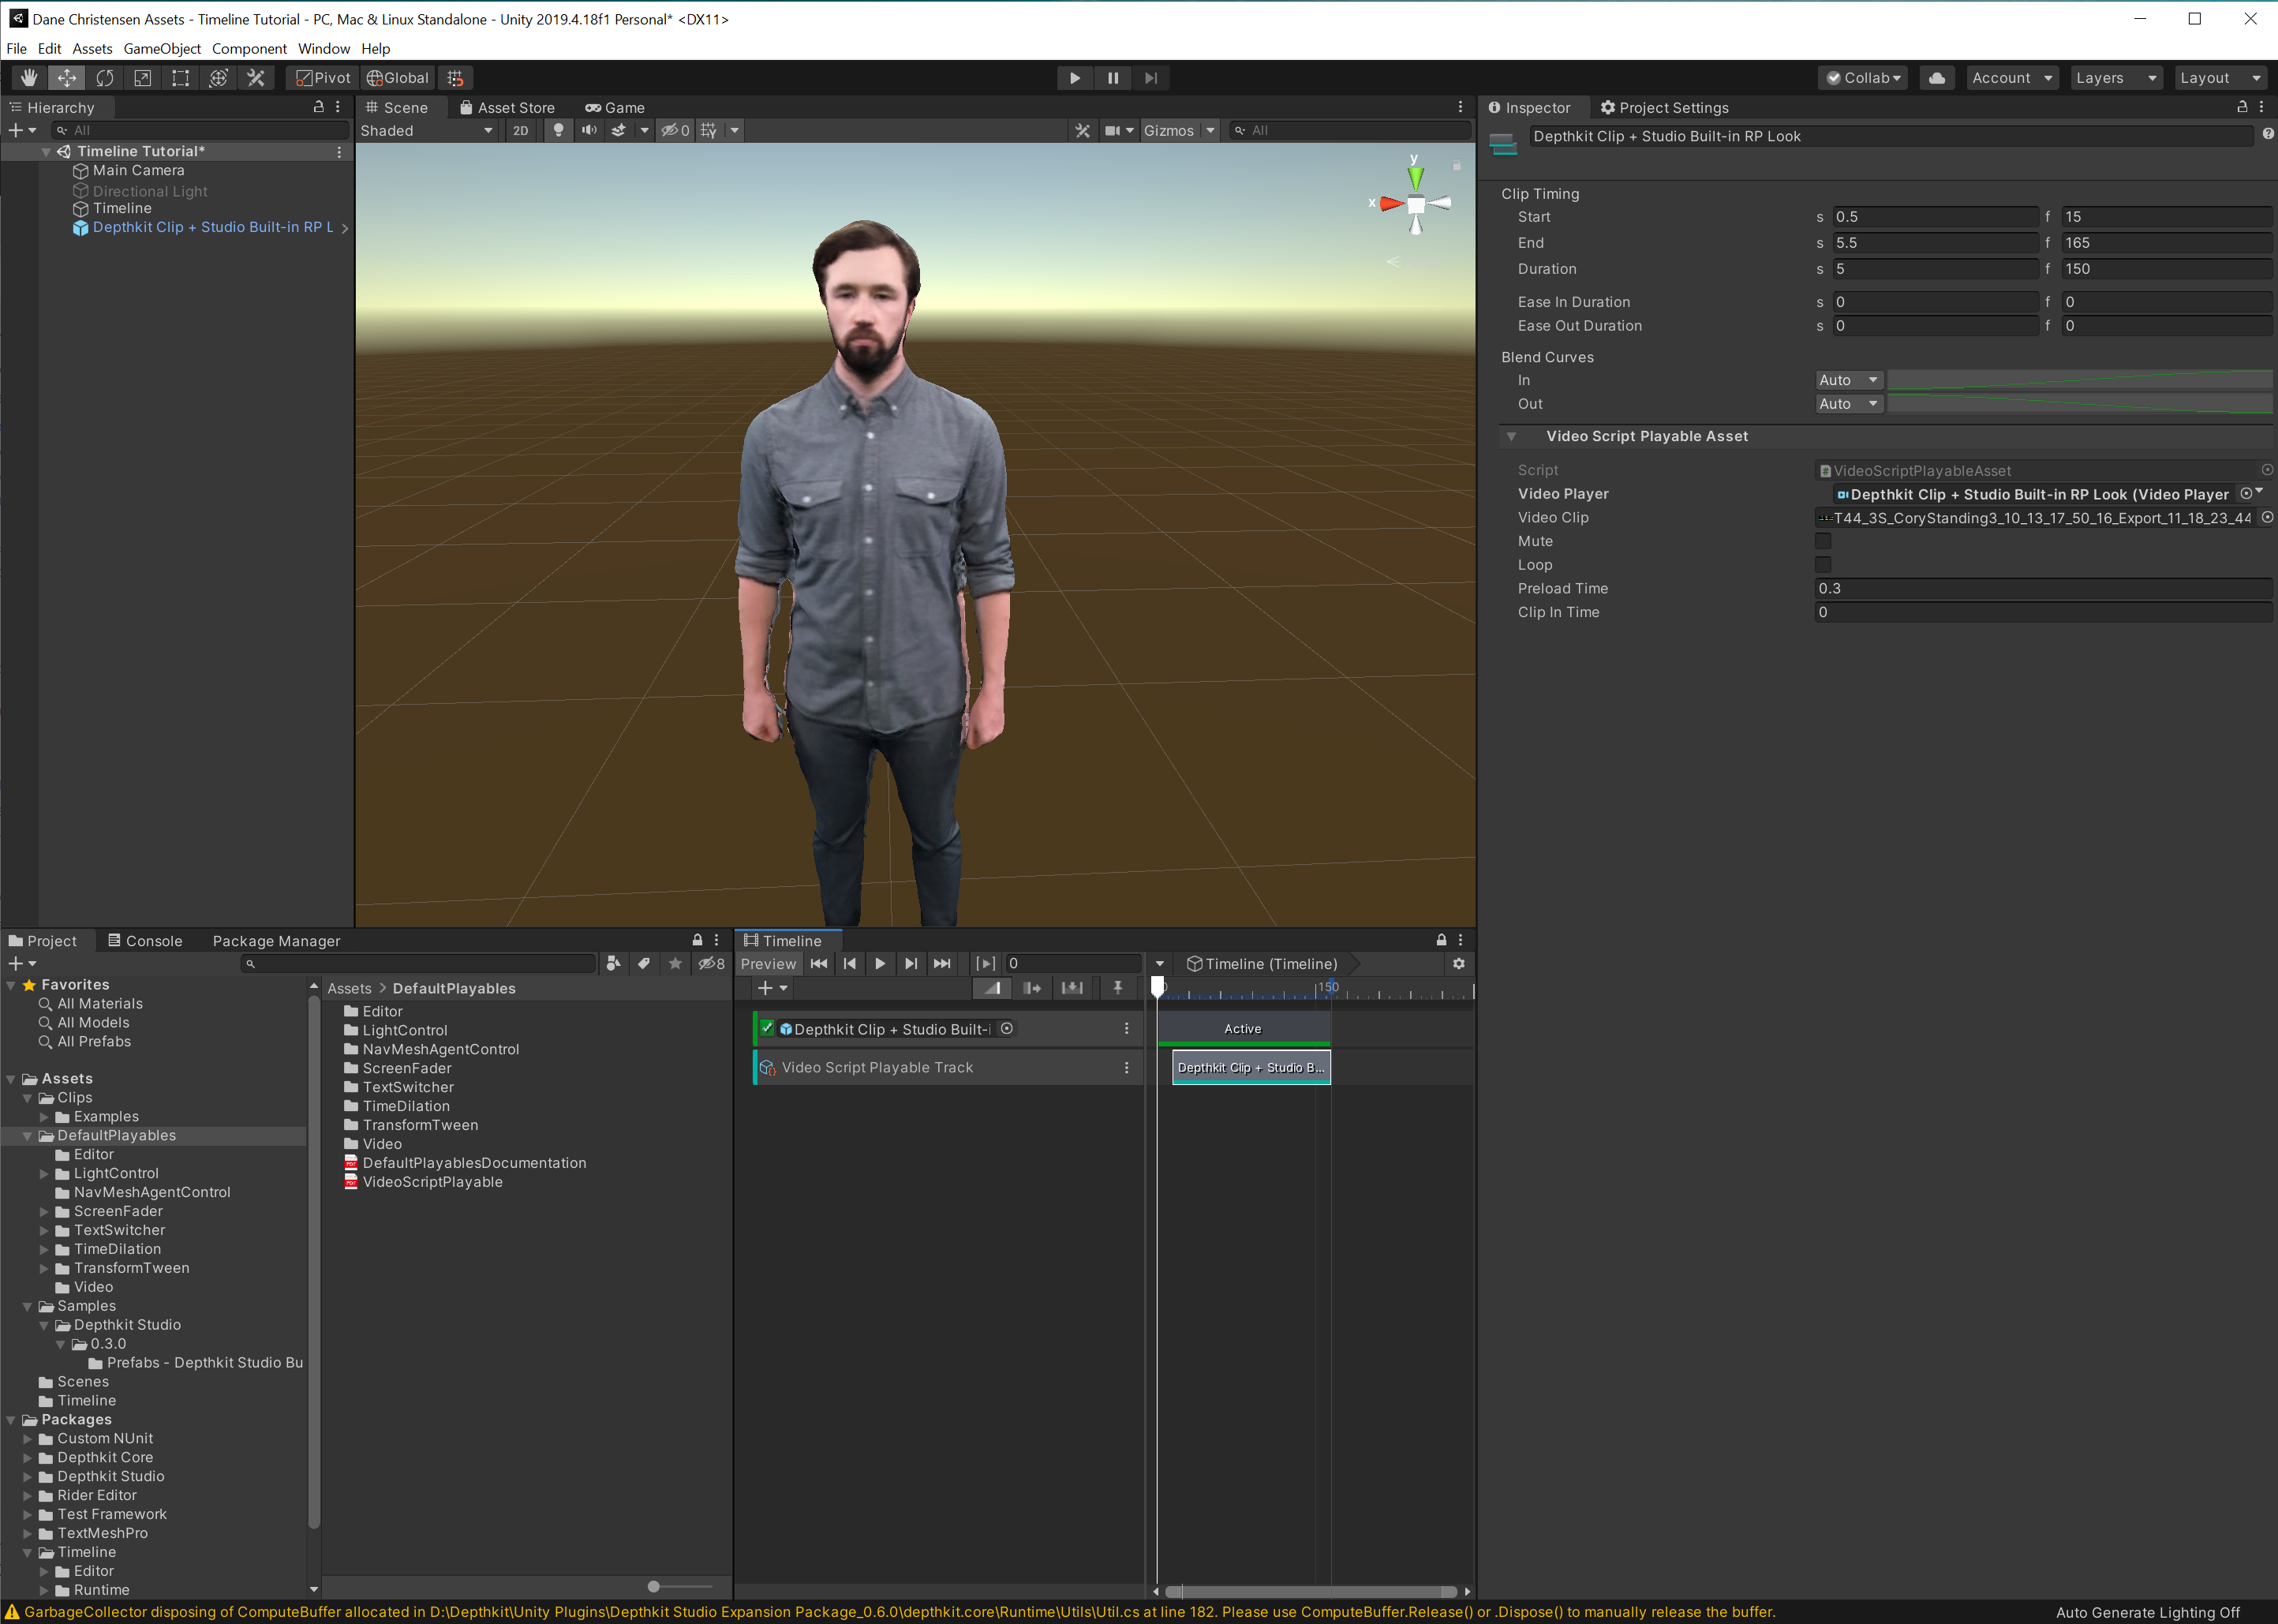
Now you are all set to play your Depthkit clip and scrub via the Unity Timeline.
My clip isn't showing up when I scrub via the Timeline.
Try the following steps:
- Ensure your Depthkit clip poster image is disabled under Advanced Settings.
- Ensure your Activation Track is set to start 3 seconds before the Video Script Playable Asset.
- Ensure your video clip was encoded with the settings outlined in the Image Sequence encoding guide.
- Set the Timeline playhead to the start of the Activation Track and scrub into the clip. This will allow the clip to "warm up" and can be a helpful trick if you are not having successful scrubbing.
Updated 10 months ago
